
K Tahoe 4WD V8-4.8L VIN V (2000)
9. Pull up on the center tabs of the lock button (2).
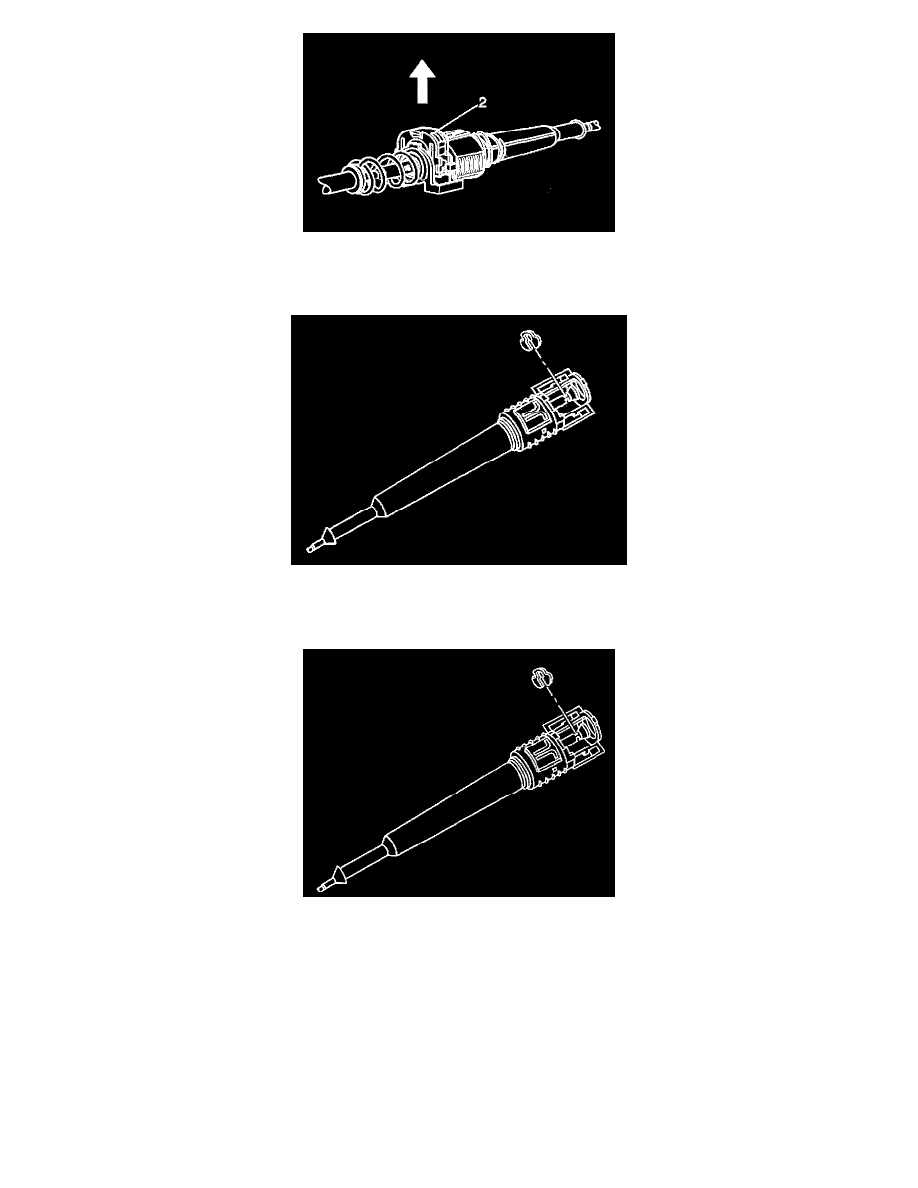
Important: Do not reuse the existing removed E-clip. Discard the removed E-clip.
10. Remove the E-clip by pulling radially on the center section of the E-clip.
11. Pull the shift cable center connector ends apart.
12. Remove the cable half from the vehicle.
13. Install a NEW E-clip to the shift cable end by pushing the E-clip straight down (radially) onto the cable end.
14. Position the steering column shift lever to the park position.
15. Remove the steering column shroud. Refer to Steering Column Trim Covers - Disassemble -Off Vehicle (Column Shift) or Steering Column Trim
Covers - Disassemble - Off Vehicle (Floor Shift) or Steering Column Trim Covers -Disassemble - Off Vehicle (Export) In Steering and
Suspension.
16. Remove the driver's seat from vehicle. Refer to Seat Replacement - Front Bucket in Body and Frame.
17. Peal back the carpet and insulation around the driver's area. Refer to Carpet Replacement -Front (Pickup) or Carpet Replacement - Front (Utility)
in Body and Frame.