
K Tahoe 4WD V8-4.8L VIN V (2000)
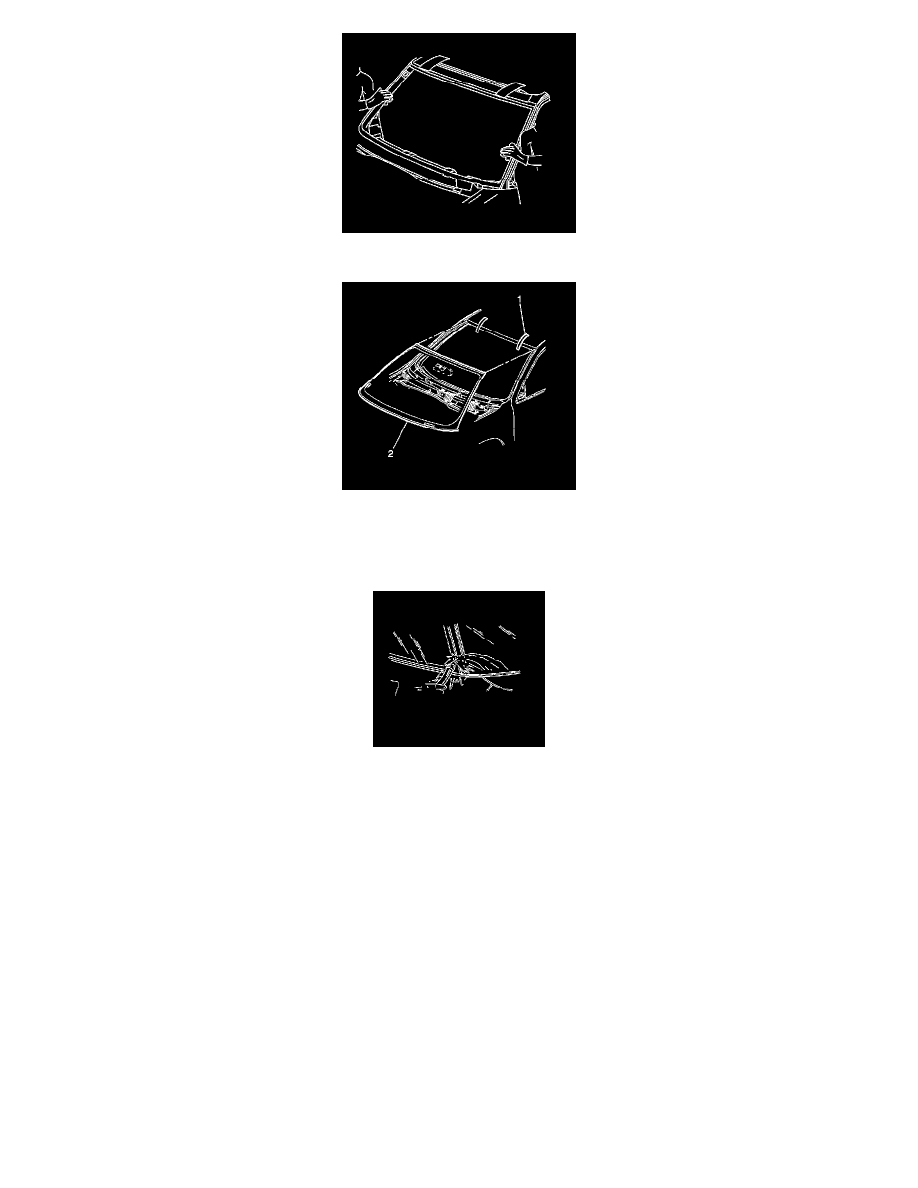
29. With the aid of an assistant, use the suction cups in order to install the windshield window into the opening.
30. Align the tape (1) lines on the windshield and the body.
31. Press the windshield firmly into place.
32. Tape the windshield to the body in order to minimize movement until the urethane adhesive cures.
33. Clean any excess urethane adhesive from the body.
Important: Do not direct a hard stream of high pressure water to the freshly applied urethane adhesive.
34. Use a soft spray of warm water in order to immediately water test the windshield window.
35. Inspect the windshield for leaks.
36. If any leaks are found, use a plastic paddle in order to apply extra urethane adhesive at the leak point.
37. Retest the windshield for leaks.
38. The following conditions must be maintained to properly cure the urethane:
39. Allow the vehicle to remain at room temperature (21°C or 70°F) at 30 percent relative humidity.
Caution: At least 24 hours are required for complete curing of repair material. The repair area should not be physically distrubed
until after that time. Insufficient curing of urethane adhesive may allow unrestrained occupants to be ejected from the vehicle
resulting in personal injury.
1. Allow a minimum of 6 hours for the moisture curing urethane adhesive.
2. Allow a minimum of 1 hour to 1 1/2 hours for the chemical curing urethane adhesive.
3. Partially lower a door window in order to prevent pressure buildups when closing doors before the urethane adhesive cures.
4. Do not drive the vehicle until the urethane adhesive is fully cured. Refer to the above curing times.
5. Do not use compressed air in order to dry the urethane adhesive.