K Tahoe 4WD V8-5.7L VIN R (1996)

Fuel Pump Balance Module: Service and Repair
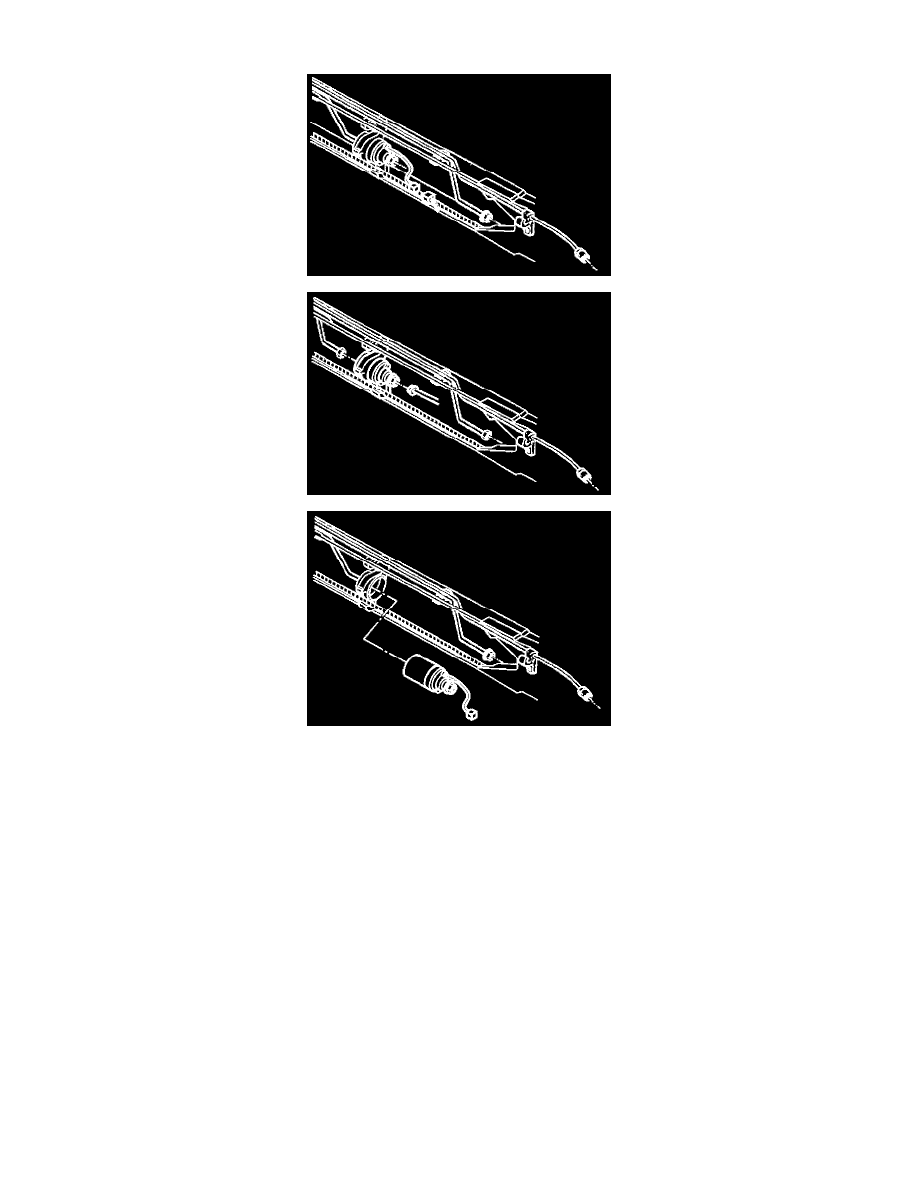
REMOVAL PROCEDURE
WARNING: To reduce the risk of fire and personal in jury that may result from a fuel leak, always replace O-ring seals exposed during
component service.
1. Disconnect the negative battery cable.
2. Loosen the filler cap(s) to Relieve fuel tank pressure. See: Service and Repair
3. Disconnect the electrical connector.
4. Clean both fuel pipe connections and surrounding areas at the fuel pump before disconnecting to avoid possible contamination of the fuel system.
5. Disconnect both fuel pipes from the pump.
6. Slide the pump out of the bracket.
INSTALLATION PROCEDURE
1. Install the new fuel pipe O-rings.
2. Position the new pump in the pump bracket.
3. Connect the fuel feed pipe and suction pipe to the fuel pump.
Tighten
-
Use a backup wrench to prevent the pump from turning. Tighten the fittings to 3O Nm (22 lb. ft.).
4. Connect the electrical connector.
5. Connect the negative battery cable.
6. Check for fuel leaks.
