
Lumina L4-151 2.5L (1991)
12. Left frame to body bolts, and adjust jackstand to lower left side of frame.
13. Transaxle mount and mount support.
14. Bolts holding engine wiring harness to transaxle case.
15. Transaxle oil cooler lines at transaxle.
16. Transaxle mount bracket.
^
Position drain pan under transaxle.
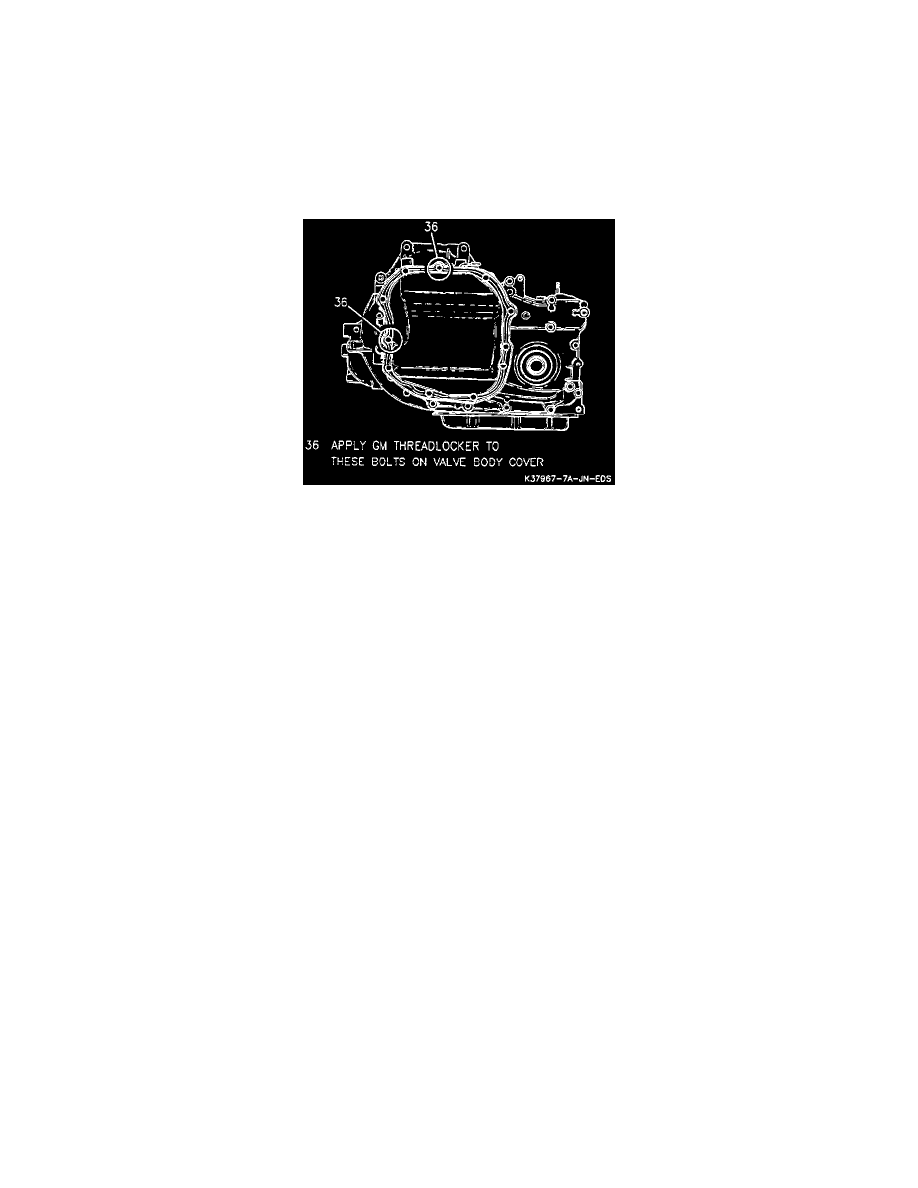
17. Valve body cover and gasket.
INSTALL OR CONNECT
1. Valve body cover and gasket.
Valve Body Cover
NOTE: It is necessary to use GM thread locker (P/N 12345382) or equivalent non-locking sealant to reduce the potential for fluid leaks on the
indicated bolts in the above figure.
2. Transaxle mount bracket.
3. Transaxle oil cooler lines at transaxle.
4. Engine wiring harness to transaxle case.
5. Transaxle mount and mount support.
^
Raise left side of frame and install new frame to body bolts.
6. Pinch bolt at intermediate steering shaft.
CAUTION: When installing the intermediate shaft make sure the shaft is seated prior to pinch bolt installation. If the pinch bolt is
inserted into the coupling before shaft installation, the two mating surfaces may disengage.
7. Ball joint.
8. Splash shield.
9. Tire and wheel assembly.
^
Lower vehicle.
^
Remove J-28467-A and J-36462.
10. T.V. cable.
11. Left torque strut bracket.
12. Left torque strut.
13. Negative battery cable.
14. Air cleaner assembly.
ADJUST
^
Fluid level.
^
T.V. cable.