Lumina V6-191 3.1L VIN T MFI (1993)

Remove or Disconnect
^
Fluid reservoir cover.
Inspect
^
Fluid level in reservoir and fill to the correct level if necessary.
Install or Connect
^
Fluid reservoir cover.
Inspect
^
With ignition "ON" apply brake pedal with moderate force and hold. Note pedal travel and feel.
^
If pedal feels firm and constant and pedal travel is not excessive, start the engine. With the engine running, recheck the pedal travel.
^
If it's still firm and constant and pedal travel is not excessive, go to Step 9.
^
If pedal feels soft or has excessive travel either initially or after engine start, use the Tech 1, "Release" then "Apply" the motors 2 to 3 times
and cycle the solenoids 5 to 10 times. Be sure to "Apply" the front and rear motors to insure the pistons are in the upmost position. Now repeat
the procedure and start at Step 1.
9. Road test the vehicle.
^
Make several normal (non-ABS) stops from a moderate speed to ensure proper brake system function.
Pressure Bleeding
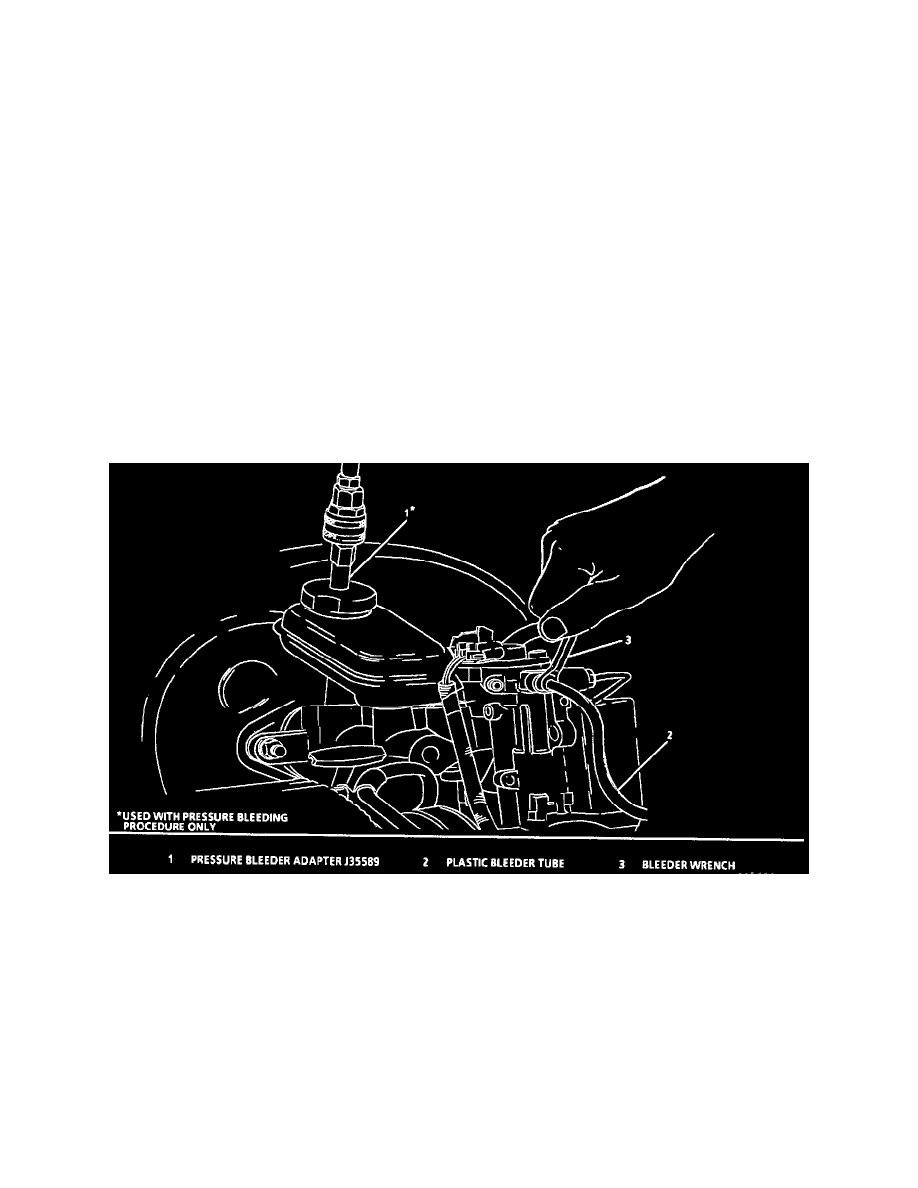
Attaching Bleeder Tube
Tools Required: J 35589 Bleeding Adapter
Note: Pressure bleeding equipment must be of the diaphragm type. It must have a rubber diaphragm between the air supply and the brake fluid to prevent
air, moisture and other contaminants from entering the hydraulic system.
Clean
^
Fluid reservoir cover and surrounding area.
Remove or Disconnect
^
Fluid reservoir cover.
Inspect
^
Fluid to be at proper level. Add clean brake fluid as required.
