
Lumina V6-191 3.1L VIN T MFI (1993)
^
No strands of wire are cut loose, and
^
No insulation is caught under the clip. Crimp the splice again, once on each end. Do not let the crimping tool extend beyond the edge of the
clip or you may damage or nick the wires, Fig. 9.
Step 5: Solder
Apply 60/40 rosin core solder to the opening in the back of the clip, Fig. 10. Follow the manufacturer's instruction for the solder equipment you
are using.
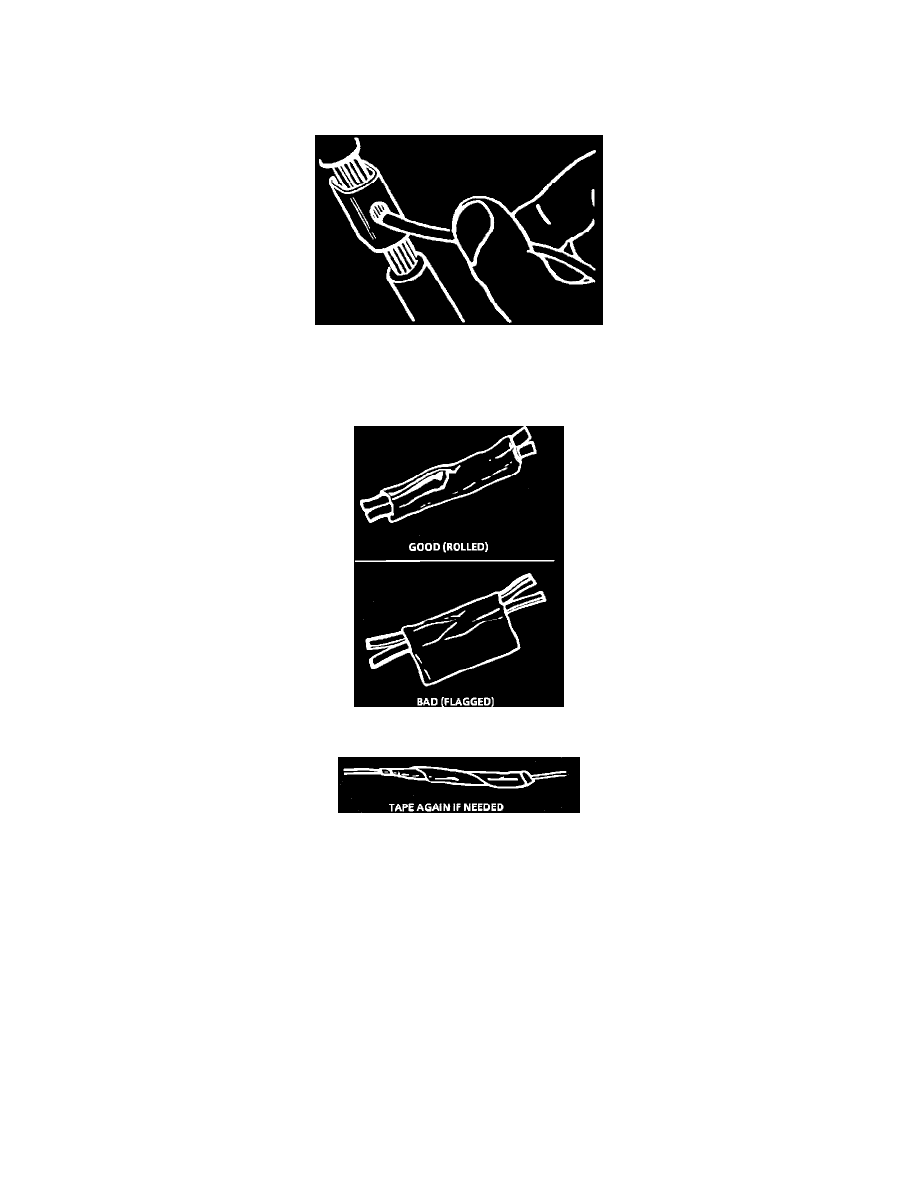
Step 6: Tape the Splice
Fig. 11 Proper First Taping
Fig. 12 Proper Second Taping
Center and roll the splicing tape. The tape should cover the entire splice. Roll on enough tape to duplicate the thickness of the insulation on the
existing wires. Do not flag the tape. Flagged tape may not provide enough insulation, and the nagged ends will tangle with the other wires in the
harness, Fig. 11.
If the wire does not belong in a conduit or other harness covering, tape the wire again. Use a winding motion to cover the first piece of tape, Fig.
12.
Terminal Repair