
Lumina V6-191 3.1L VIN T MFI (1993)
2. Lower vehicle if equipped with ABS brakes.
3. Bracket if vehicle is not equipped with ABS brakes.
4. Raise engine.
5. Raise vehicle and suitably support.
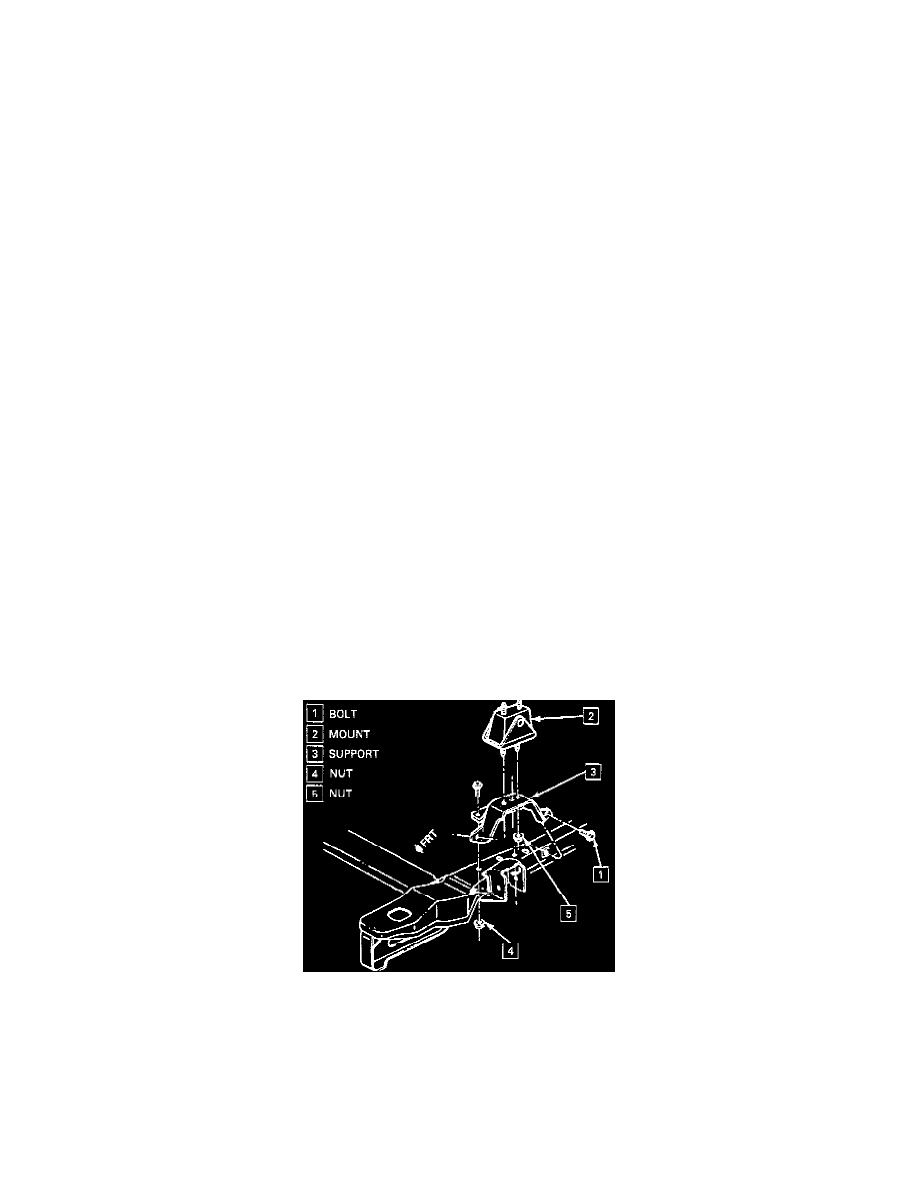
6. Bracket bolts/screws.
TIGHTEN
^
Front bolts/screws to 48 Nm (35 lb. ft.).
7. Left drive axle.
8. Wiring harness.
9. Left side steering rack bolt/screw at frame.
10. Frame bolts/screws.
11. Remove supports from frame.
12. Ball steering knuckle.
CAUTION: When installing the intermediate shaft make sure the shaft is seated prior to pinch bolt installation. If the pinch bolt is inserted
into the coupling before shaft installation, the two mating shafts may disengage.
13. Pinch bolt at intermediate steering shaft.
14. Engine mount nuts.
15. Nuts retaining transaxle mount. Refer to "Transaxle Mount".
16. Splash shield.
17. Tire and wheel assembly.
18. Lower vehicle.
19. Bolt(s)/screw(s) at top of transaxle mount bracket.
TIGHTEN
^
Bolt(s)/screw(s) to 85 Nm (63 lb. ft.).
20. Remove J 28467-A, J 28467-90 and J 36462.
21. Shift cable clip at lever and mount bracket.
22. Exhaust crossover pipe.
23. Negative battery cable.
24. Air cleaner assembly.
Transaxle Mount
TRANSAXLE MOUNT
Transaxle Mounts
REMOVE OR DISCONNECT
1. Raise and suitably support vehicle.
2. Left front tire and wheel assembly.
3. Inner splash shield.
4. Nuts from mount.
5. Raise transaxle using jackstand.
6. Mount.