
Lumina V6-191 3.1L VIN T MFI (1993)
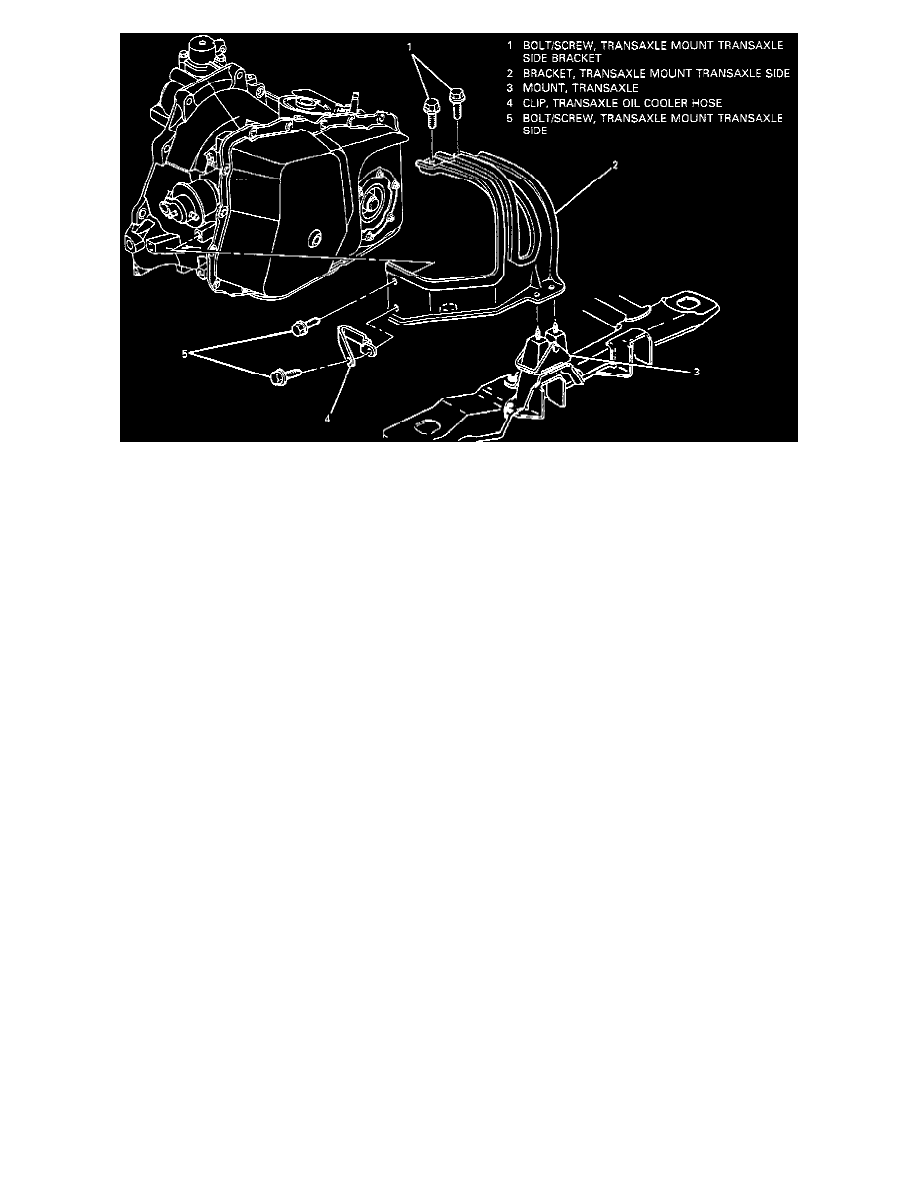
Transaxle Bracket Hydra-Matic 4T60-E (3.1L)
TOOLS REQUIRED:
^
J 28467-A Engine Support Fixture
^
J 28467-90 Engine Support Fixture Adapter
^
J 36462 Support Adapter Leg
REMOVE OR DISCONNECT
1. Air cleaner assembly.
2. Negative battery cable.
3. Exhaust crossover pipe.
4. Shift cable clip at lever and mount bracket.
5. Install J 28467-A, J 28467-90 and J 36462.
6. Bolt(s)/screw(s) at top of transaxle mount bracket.
7. Raise vehicle and suitably support.
8. Left front tire and wheel assembly.
9. Inner fender splash shield.
10. Nuts retaining transaxle mount. Refer to "Transaxle Mount".
11. Loosen engine mount nuts.
CAUTION: Failure to disconnect the intermediate shaft from the rack and pinion stub shaft can result in damage to the steering gear and/or
intermediate shaft. This damage may cause loss of steering control which could result in personal iniury.
12. Pinch bolt at intermediate steering shaft.
13. Ball joints at steering knuckle.
14. Support right and left sides of frame with jackstands.
15. Left frame to body bolts/screws.
16. Loosen right frame bolts/screws.
17. Left side steering rack bolt/screw at frame.
18. Wiring harness.
19. Left drive axle.
20. Bracket bolts/screws.
21. Lower vehicle.
22. Lower engine enough to remove bracket.
23. Bracket if vehicle is not equipped with ABS brakes.
24. Raise vehicle if equipped with ABS brakes.
25. Bracket if vehicle is equipped with ABS brakes.
INSTALL OR CONNECT
1. Bracket if vehicle is equipped with ABS brakes.