
Lumina V6-204 3.4L DOHC (1991)
Engine Fuel Lines
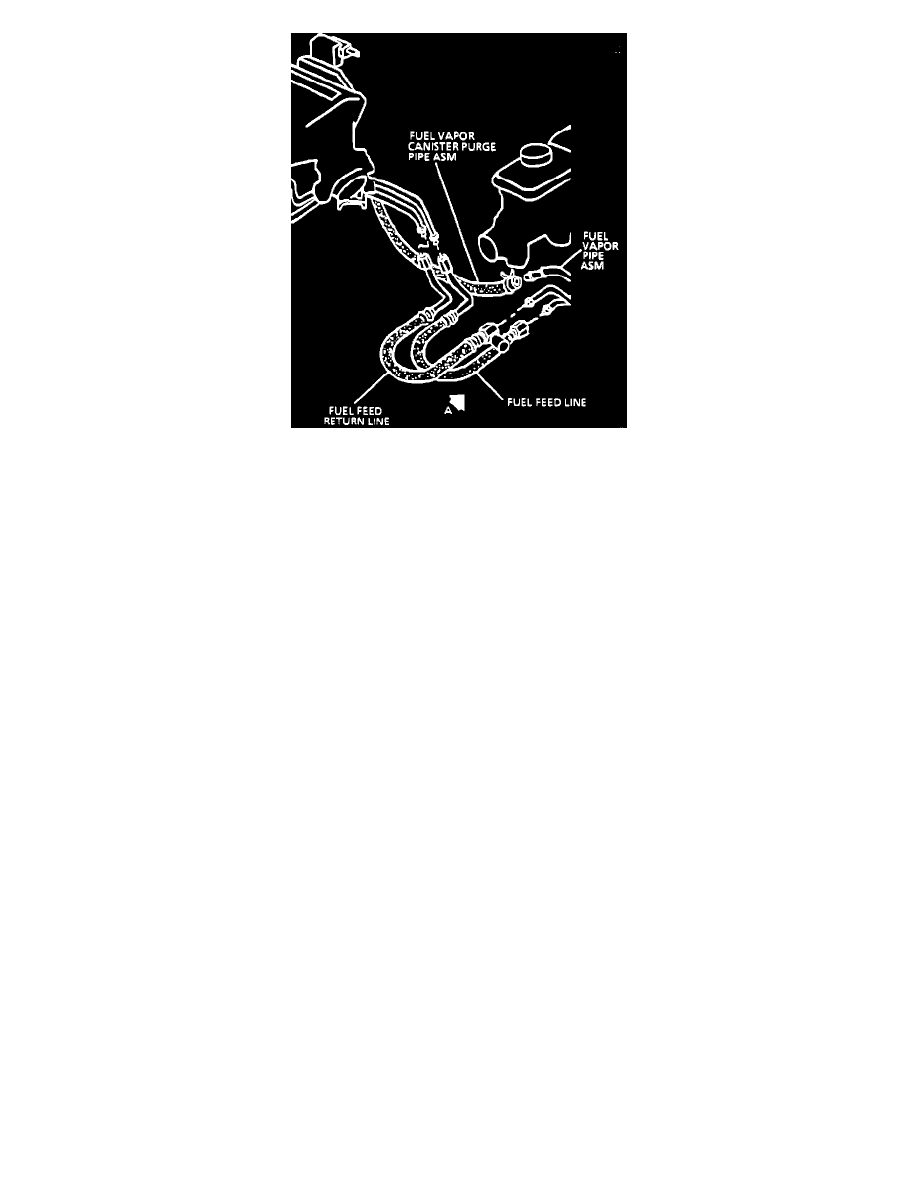
FUEL FEED AND RETURN PIPES/HOSES
NOTE: DO NOT attempt to repair rear fuel feed and return pipe assemblies. If damaged, replace.
REMOVAL:
1.
Remove the negative battery cable.
2.
Relieve the fuel system pressure, refer to MAINTENANCE PROCEDURES/FUEL SYSTEM PRESSURE RELIEF.
3.
Drain the fuel tank, refer to MAINTENANCE PROCEDURES/FUEL TANK DRAINING.
4.
Remove the fuel tank, refer to FUEL TANK AND FUEL LEVEL SENDING UNIT.
5.
Move the tank to a suitable work area away from heat, flame or other source of ignition.
NOTE: Clean all fuel pipe and hose connections and surrounding areas before disconnecting to avoid possible contamination of the fuel system.
6.
Remove the rear fuel feed and return pipe assemblies from the fuel level meter.
7.
Remove the retaining clip from the vapor pipe and rear fuel feed and return pipe assemblies.
^ Note the position of the retaining clip for installation.
8.
Remove the vapor pipe from the insulator clips.
^ Note the position of the vent pipe for installation.
9.
Remove the insulation clips and rear fuel feed and return pipe assemblies from the fuel tank, discard the O-rings.
10.
Remove the desired rear fuel pipe assembly to be replaced from the insulation clips.
^ Note the position of the rear fuel pipe assembly to be replaced for installation.
INSTALLATION:
1.
Position new rear fuel pipe assembly on insulator clips as noted during removal.
2.
Position new O-rings on the fuel feed and return pipe assemblies.
3.
Install the insulator clips and rear fuel feed and return pipe assemblies on the fuel tank.
4.
Position the vapor pipe on the insulator clips as noted during removal.
5.
Install the retainer clip on the vapor pipe and rear fuel feed and return pipe assemblies as noted during removal.
6.
Connect the rear fuel feed and return pipe assemblies to the fuel level meter, and tighten the rear fuel feed and return pipe fittings to 22.0 Nm (16.0
lb.ft).
7.
Install the fuel tank.
8.
Add fuel and install fuel filler cap.
9.
Connect the negative battery cable.
10.
Turn ignition switch ON for two seconds, then turn to OFF for ten seconds. Again turn the ignition switch to ON [position and check for fuel
leaks.
NOTE: For 3.1L engine refer to DIAGNOSIS AND TESTING PROCEDURES/IDLE LEARN PROCEDURE.
FUEL FEED AND RETURN PIPES (UNDER BODY)