
Lumina V6-3.1L VIN J (2000)
Windshield Moulding / Trim: Service and Repair
Windshield Upper Reveal Molding Replacement
Windshield Upper Reveal Molding Replacement
Removal Procedure
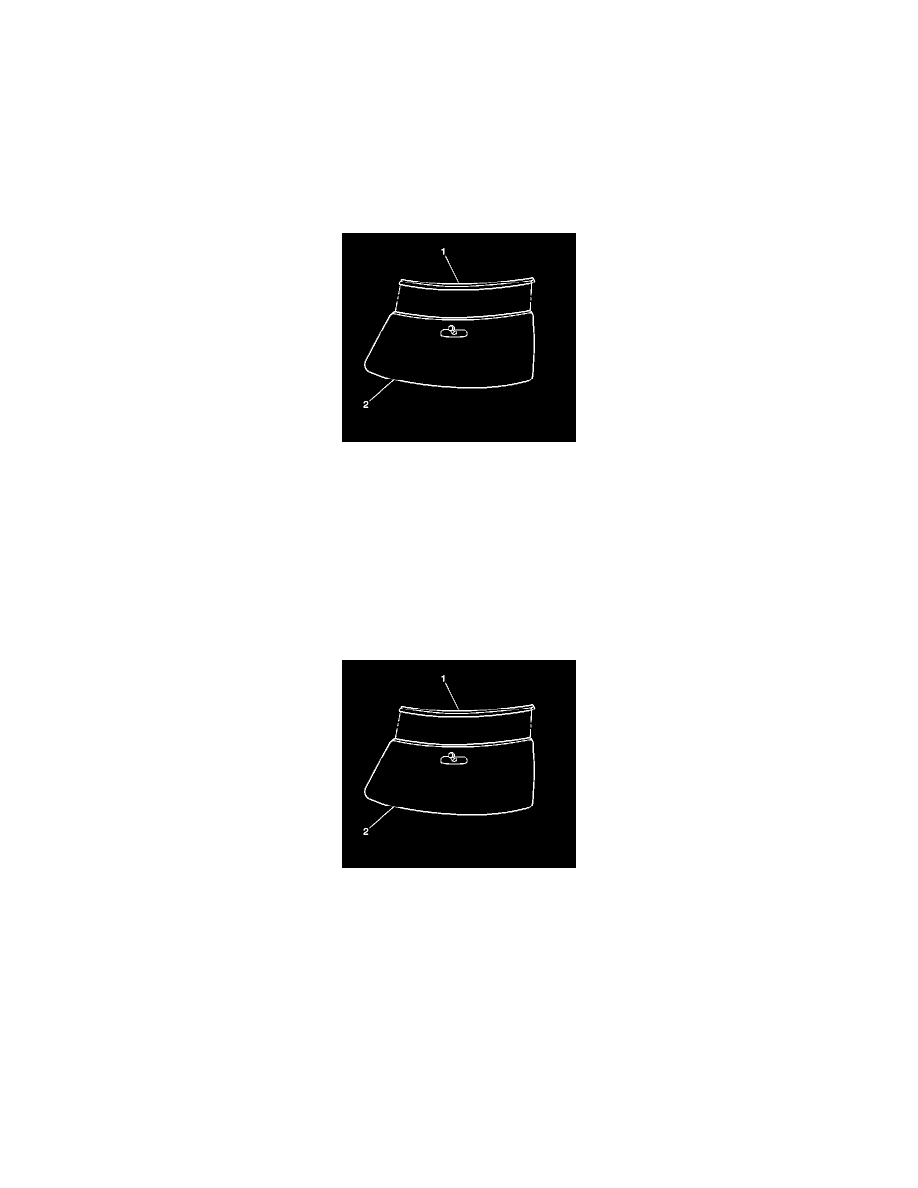
Important: Do NOT reuse the original windshield upper reveal molding (1).
Discard the molding and replace with a new service windshield upper reveal molding.
1. Remove the windshield side reveal molding. Refer to Windshield Side Reveal Molding Replacement (See: Windshield Side Reveal Molding
Replacement) .
2. Use a flat-bladed tool in order to carefully pry the end of the windshield upper reveal molding outward approximately 75 mm (3 in).
Slowly pull the windshield upper reveal molding away from the body.
3. Remove the windshield upper molding from the windshield.
Installation Procedure
1. Wipe the windshield upper reveal molding area with a clean, dampened cloth using GM Window Cleaner GM P/N 1050427 or isopropyl alcohol
in order to clean the surface for the installation of the new windshield upper reveal molding.
Allow to air dry.
2. Prefit the new service windshield upper reveal molding by locating on the body prior to actual installation.
3. Thoroughly shake the primers that are provided in urethane adhesive kit GM P/N 12346284, or equivalent.
4. Use a new dauber to apply the pinchweld primer (Black #3) to the primed surface on the pinchweld flange and to any exposed painted surfaces or
any scratches in the metal in the bonding area.
5. Apply the urethane adhesive in the cavity between the body and the window.
6. Start from the center and press the windshield upper reveal molding into place. Apply tape in order to keep the reveal molding flush with the body.
Important: Do not direct a hard stream of high pressure water at the fresh urethane adhesive.
7. Flood the windshield upper reveal molding with warm or hot water in order to speed the set-up of the urethane adhesive.
8. Inspect the windshield for leaks. If you found any leaks, use a plastic paddle in order to apply extra urethane at the leak point.
9. Wipe the windshield area with a clean, dampened cloth using GM Window Cleaner GM P/N 1050427 or isopropyl alcohol in order to clean the
surface of the windshield of the excess urethane adhesive.
Allow to air dry.
10. Install the windshield side reveal molding. Refer to Windshield Side Reveal Molding Replacement (See: Windshield Side Reveal Molding