
Lumina V6-3.1L VIN J (2000)
2. Place the reclining seat back in the forward position.
3. Remove the finish trim panel. Refer to Front Seat Trim Panel Replacement (See: Service and Repair/Front Seat Trim Panel Replacement) .
4. Remove the recliner tilt handle screws.
Remove the retainers (driver's side AM6).
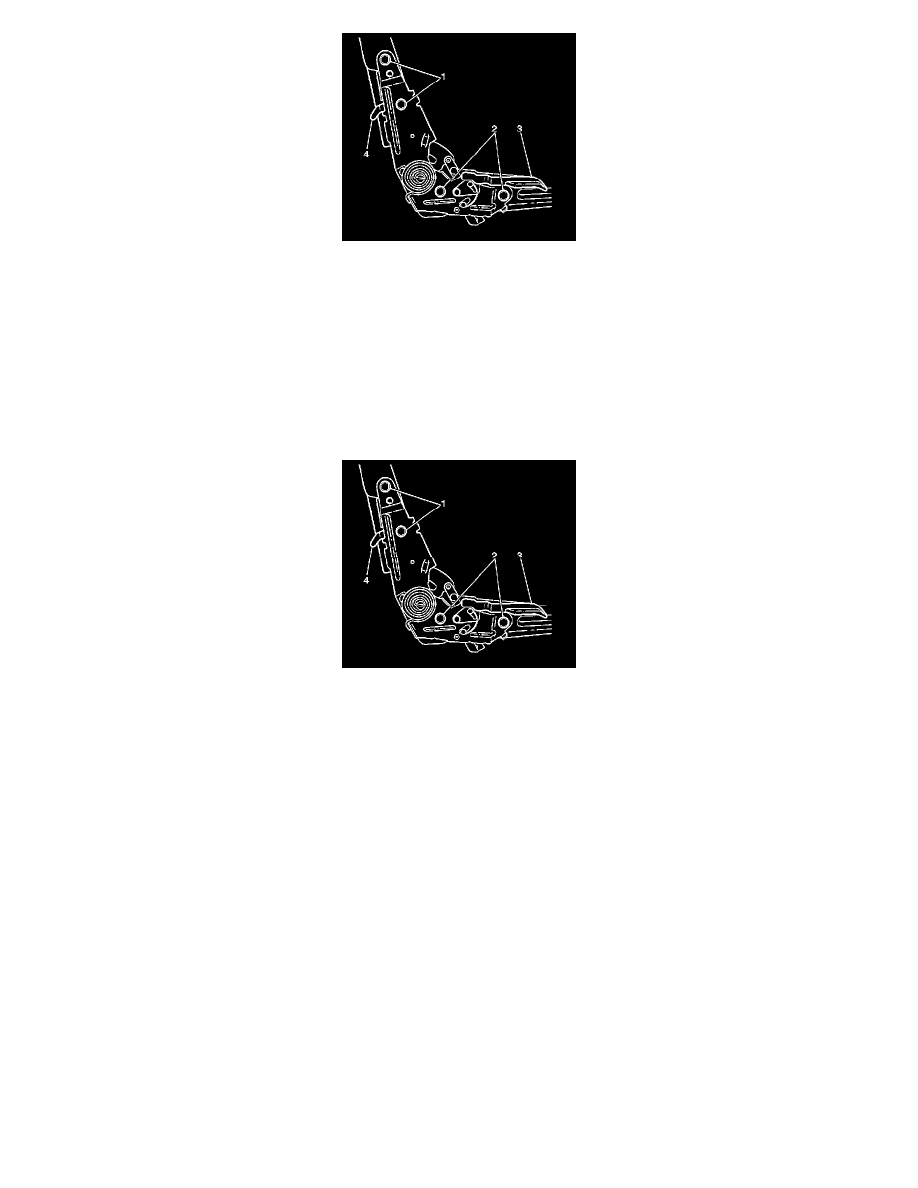
5. Remove the recliner lever (3) from the seat.
6. Move the seat back cover in order to expose the recliner bolts.
7. Remove the upper recliner bolts (1).
8. Remove the lower recliner bolts (2).
9. Remove the recliner mechanism from the seat.
Installation Procedure
1. Install the recliner mechanism to the seat.
Notice: Refer to Fastener Notice in Cautions and Notices.
2. Install the lower recliner bolts (2).
Tighten the lower recliner bolts to 25 N.m (18 lb ft).
3. Install the upper recliner bolts (1).
Tighten the upper recliner bolts to 25 N.m (18 lb ft).
4. Position the seat back cover over the recliner bolts.
5. Install the recliner lever (3) to the seat.
6. Install the recliner tilt handle screws.
Tighten the recliner tilt handle screws to 3 N.m (27 lb in).
7. Install the retainers (driver's side AM6).
8. Install the finish panel. Refer to Front Seat Trim Panel Replacement (See: Service and Repair/Front Seat Trim Panel Replacement) .
9. Place the reclining seat back in the forward position.
10. Install the front seat. Refer to Seat Replacement (See: Service and Repair/Seat Replacement) .
Rear Seat Back Replacement
Rear Seat Back Replacement