
Lumina V6-3.1L VIN J (2000)
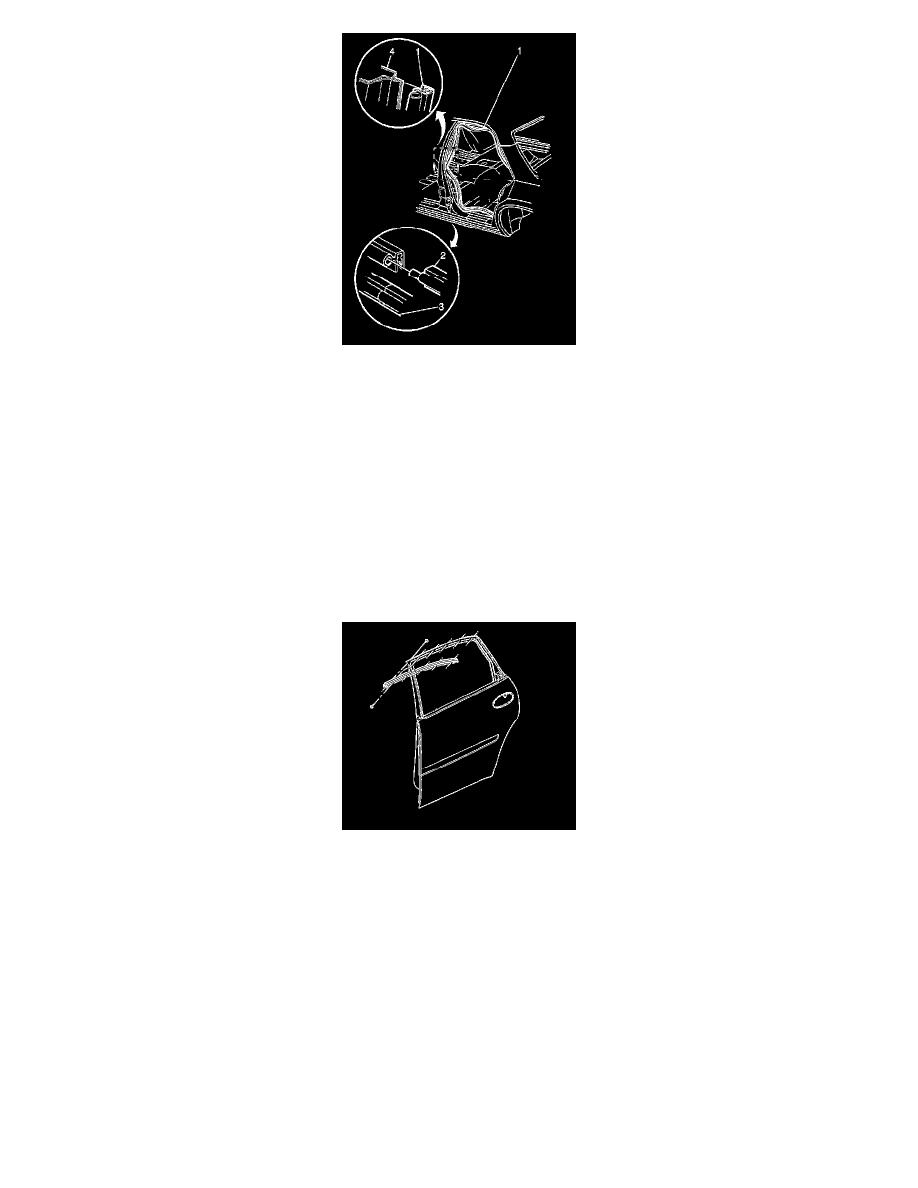
1. Position the weatherstrip (1) to the flange on the body (4) with the ends joined at the middle of the door sill.
2. Starting at the top, push the weatherstrip onto the pinch-weld flange.
3. Install the carpet retainer. Refer to Center Pillar Lower Trim Panel Replacement (See: Interior Moulding / Trim/Trim Panel/Service and
Repair/Center Pillar Lower Trim Panel Replacement) in Interior Trim.
4. Install the center pillar upper trim panel. Refer to Center Pillar Upper Trim Panel Replacement (See: Interior Moulding / Trim/Trim Panel/Service
and Repair/Center Pillar Upper Trim Panel Replacement) in Interior Trim.
5. Install the quarter trim panels. Refer to Rear Quarter Upper Trim Panel Replacement (See: Interior Moulding / Trim/Trim Panel/Service and
Repair/Rear Quarter Upper Trim Panel Replacement) in Interior Trim.
Rear Side Door Weatherstrip Retainer Replacement
Rear Side Door Weatherstrip Retainer Replacement
Removal Procedure
1. Partially remove the upper portion of the rear door frame appliques. Refer to Applique Trim Panel Replacement (See: Interior Moulding /
Trim/Trim Panel/Service and Repair/Applique Trim Panel Replacement) .
2. Pull downwards on the rear door window channel to gain access to the rivets.
3. Drill out the rivets.
4. Remove the forward screw to the rear window channel retainer.
5. Remove the rear window channel retainer from the rear door.
Installation Procedure