
Lumina V6-3.1L VIN J (2000)
Crankshaft Position Sensor: Service and Repair
Crankshaft Position (CKP) Sensor Replacement (24X)
REMOVAL PROCEDURE
1. Turn OFF the ignition.
2. Remove the serpentine drive belt from crankshaft pulley.
3. Raise the vehicle on hoist. Refer to Lifting and Jacking the Vehicle in General Information.
4. Remove the crankshaft harmonic balancer retaining bolt.
5. Remove the crankshaft harmonic balancer.
6. Note the routing of sensor harness before removal.
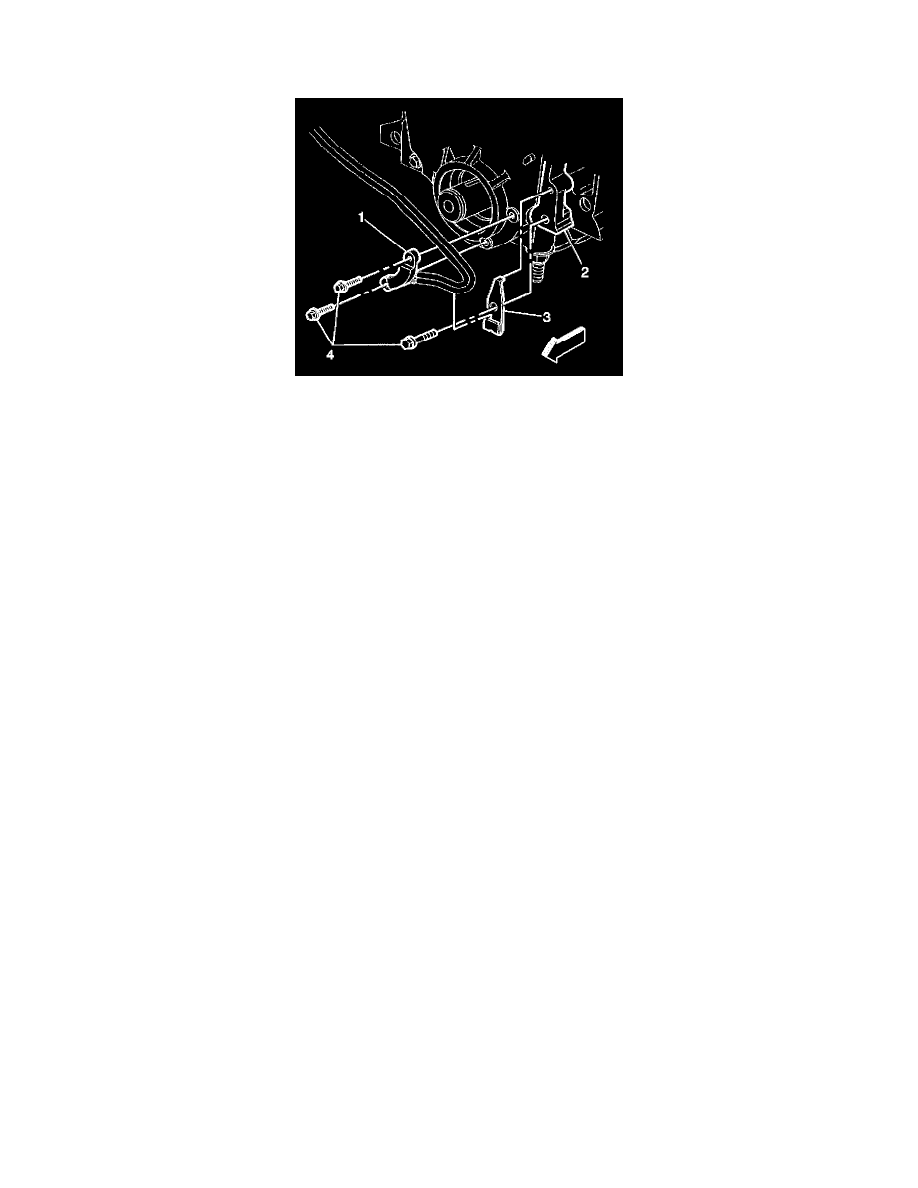
7. Remove the harness retaining clip with bolt (3).
8. Disconnect the sensor electrical connector.
9. Remove the sensor bolts (4).
10. Remove the sensor (1).
INSTALLATION PROCEDURE
1. Install the 24X Crankshaft Position Sensor (1) with bolts (4) and route harness as noted during removal.
NOTE: Refer to Fastener Notice in Cautions and Notices.
2. Install the harness retaining clip (3) with bolt (4).
Tighten
Tighten the bolts to 10 Nm (8 lb ft).
3. Connect the sensor electrical connector.
4. Reinstall the balancer on the crankshaft.
5. Apply thread sealer GM #1052080 or equivalent to threads of the crankshaft harmonic balancer bolt.
Tighten
Tighten the bolt to 150 Nm (110 lb ft).
6. Lower vehicle.
7. Reinstall the serpentine drive belt.
8. Perform the CKP System Variation Learn Procedure. See: Testing and Inspection/Programming and Relearning