
Lumina V6-3.1L VIN J (2000)
Air Injection Check Valve: Service and Repair
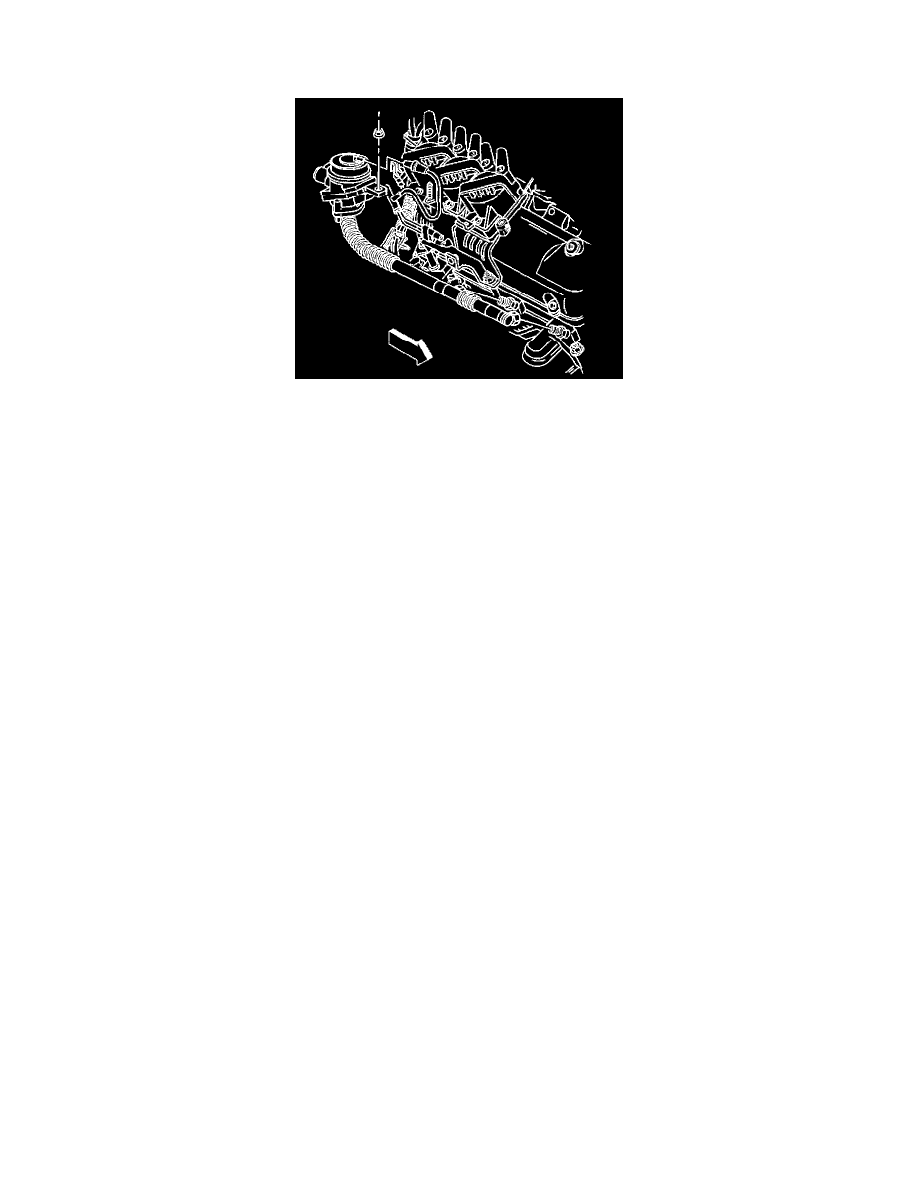
Air Check Valve/Pipe Replacement - Bank 1
REMOVAL PROCEDURE
1. Loosen the Air Hose Clamp.
2. Disconnect the Clamp and AIR hose From the check valve.
3. Disconnect the vacuum hose from the check valve.
4. Remove the nut from the AIR bracket stud.
5. Disconnect the AIR pipe from the Exhaust manifold adaptors.
6. Remove the Check Valve/Pipe from the manifold and bracket stud.
7. Remove the two bolts from the bottom of the check valve and seperate the two pieces.
INSTALLATION PROCEDURE
NOTE: Refer to Fastener Notice in Cautions and Notices.
1. Reinstall the two attaching screws through the pipe and into the check valve.
Connect the reactor pipe and check valve by installing the spring clamp and tightening the pipe locknut.
Tighten
Tighten the bolts to 10 Nm (89 lb in).
2. Place the Check Valve/Pipe Assembly onto the bracket stud and manifold adaptors.
3. Tighten the pipe to the adaptors.
4. Reinstall the locknut on the bracket stud.
Tighten
Tighten the locknut to 10 Nm (89 lb in).
5. Connect the vacuum hose to the check valve.
6. Connect the AIR hose and clamp to the check valve.
7. Tighten the clamp.