
Lumina V6-3.1L VIN J (2000)
Power Seat Switch: Service and Repair
Power Seat Switch Replacement
Removal Procedure
Important: If one of the switches requires replacement, make sure that the power feed circuit is not shorted to any other wire in the
circuit before installing a new switch. If a short exists, the short will cause the replacement switch to become damaged. In addition, when
disconnecting the seat switch from the wire harness, extra care must be taken not to short across the switch hot feed terminal and switch
ground terminal. If this condition occurs the seat switch can be damaged.
1. Turn the ignition key to the off position and remove the key.
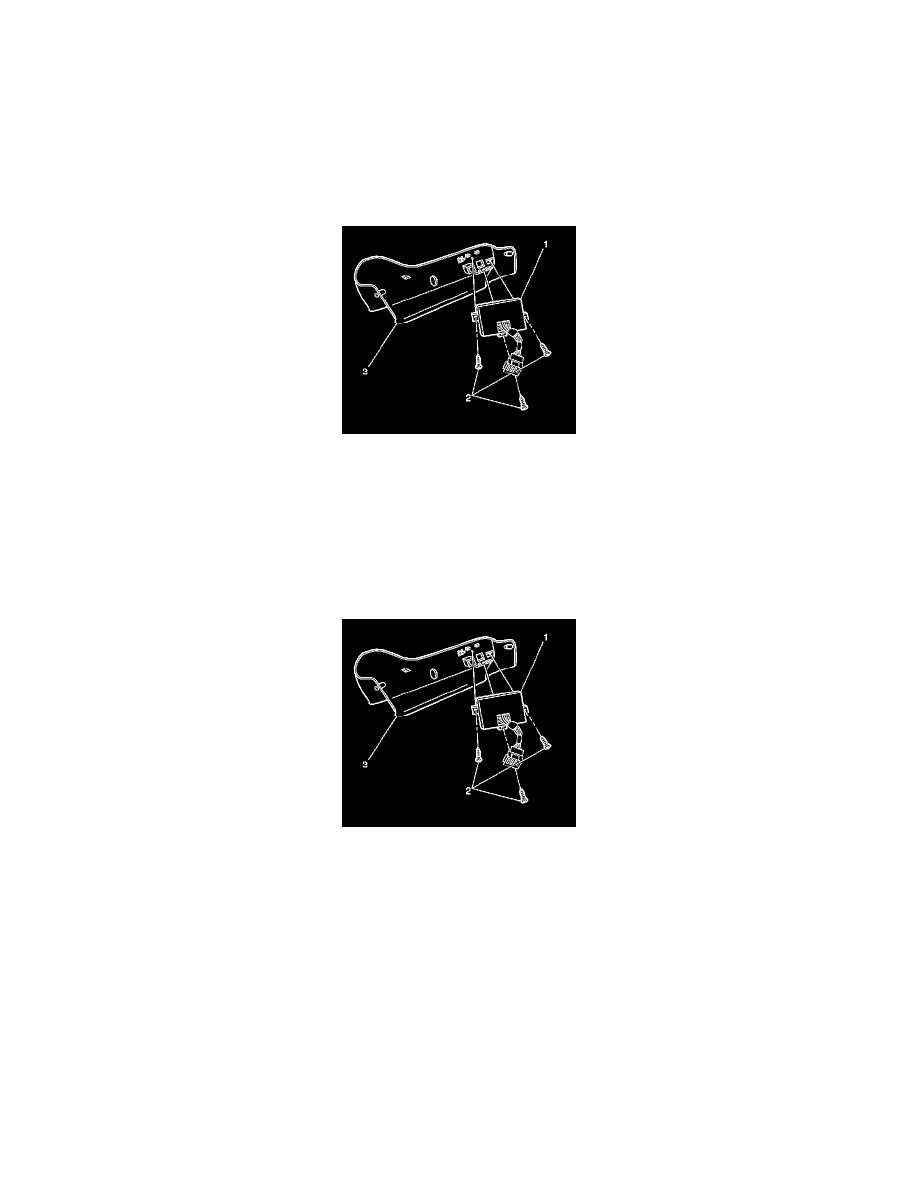
2. Remove the finish trim panel (3). Refer to Front Seat Trim Panel Replacement (See: Body and Frame/Seats/Service and Repair/Front Seat Trim
Panel Replacement) .
3. Remove the power seat switch screws (2).
4. Pull the switch away from the finish panel.
5. Disconnect the electrical connector from the harness.
6. Remove the power seat switch from the seat.
Installation Procedure
1. Install the power seat switch to the finish trim panel.
Notice: Refer to Fastener Notice in Cautions and Notices.
2. Install the power seat switch screws (2).
Tighten the power seat switch screws to 3 N.m (27 lb in).
3. Connect the electrical connector to the harness.
4. Install the finish trim panel (3). Refer to Front Seat Trim Panel Replacement (See: Body and Frame/Seats/Service and Repair/Front Seat Trim
Panel Replacement) .