
Lumina V6-3.1L VIN J (2000)
Axle Shaft Assembly: Service and Repair
Inner Joint and Boot Replacement
Disassembly Procedure
^
Tools Required
-
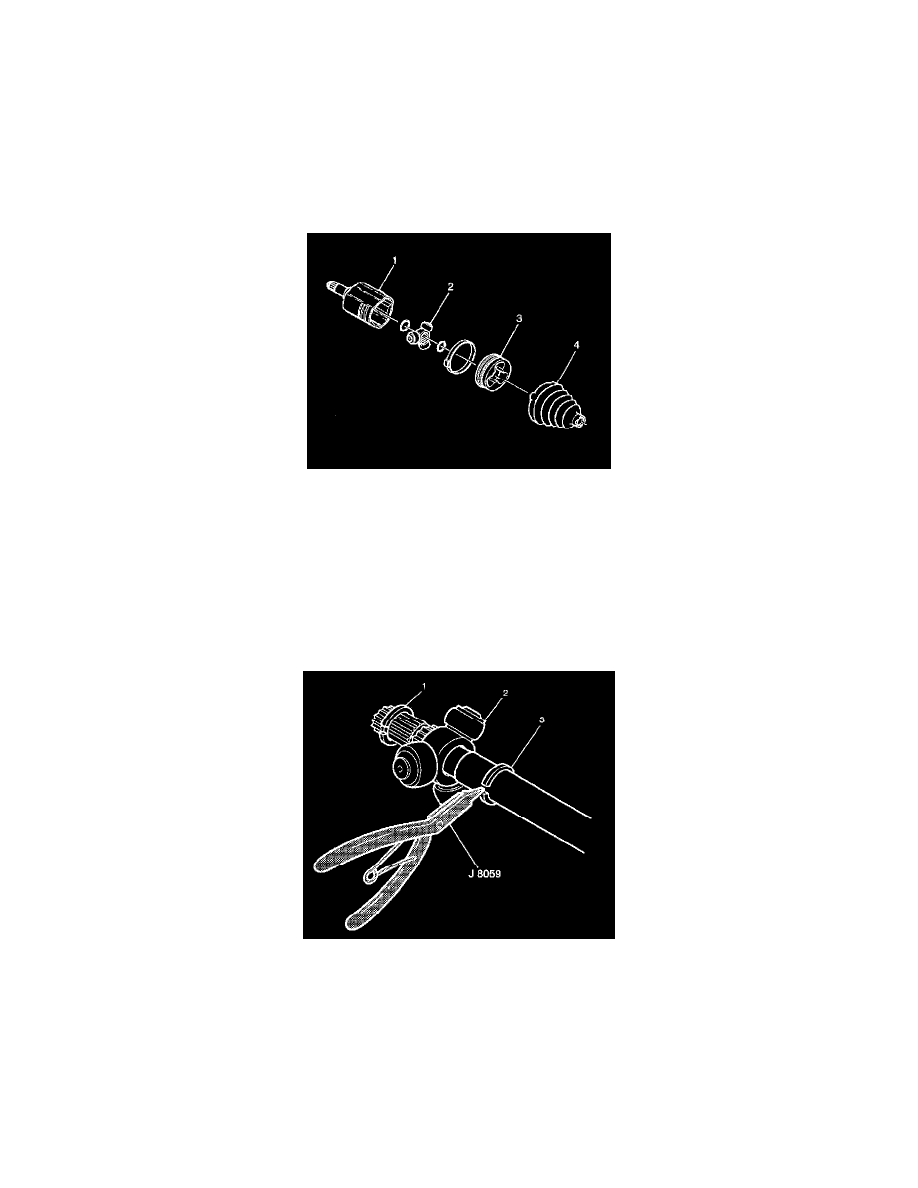
J8059 Snap Ring Pliers
Notice: With removal of the halfshaft for any reason, the transmission sealing surface (the tripot male/female shank of the halfshaft) should be
inspected for corrosion. If corrosion is evident, the surface should be cleaned with 320 grit cloth or equivalent. Transmission fluid may be used to
clean off any remaining debris. The surface should be wiped dry and the halfshaft reinstalled free of any buildup.
1. Use a hand grinder in order to cut through the swage ring. Do not damage the tripot housing (1).
2. Remove the large boot retaining clamp from the tripot joint with side cutter.
3. Dispose of the large boot retaining clamp.
Notice: Do not cut through the halfshaft inboard boot and damage sealing surface of the outer housing and the trilobal tripot bushing.
4. Separate the inboard boot (4) from the trilobal tripot bushing (3) at the large diameter.
5. Slide the boot (4) away from the joint along the halfshaft bar.
6. Remove the housing (1) from the tripot joint spider (2) and the halfshaft bar.
7. Remove the trilobal tripot bushing (3) from the housing (1).
8. Spread the spacer rings (1) and (3) using J8059 (or equivalent) to remove the spider assembly (2).