
Lumina V6-3.1L VIN J (2000)
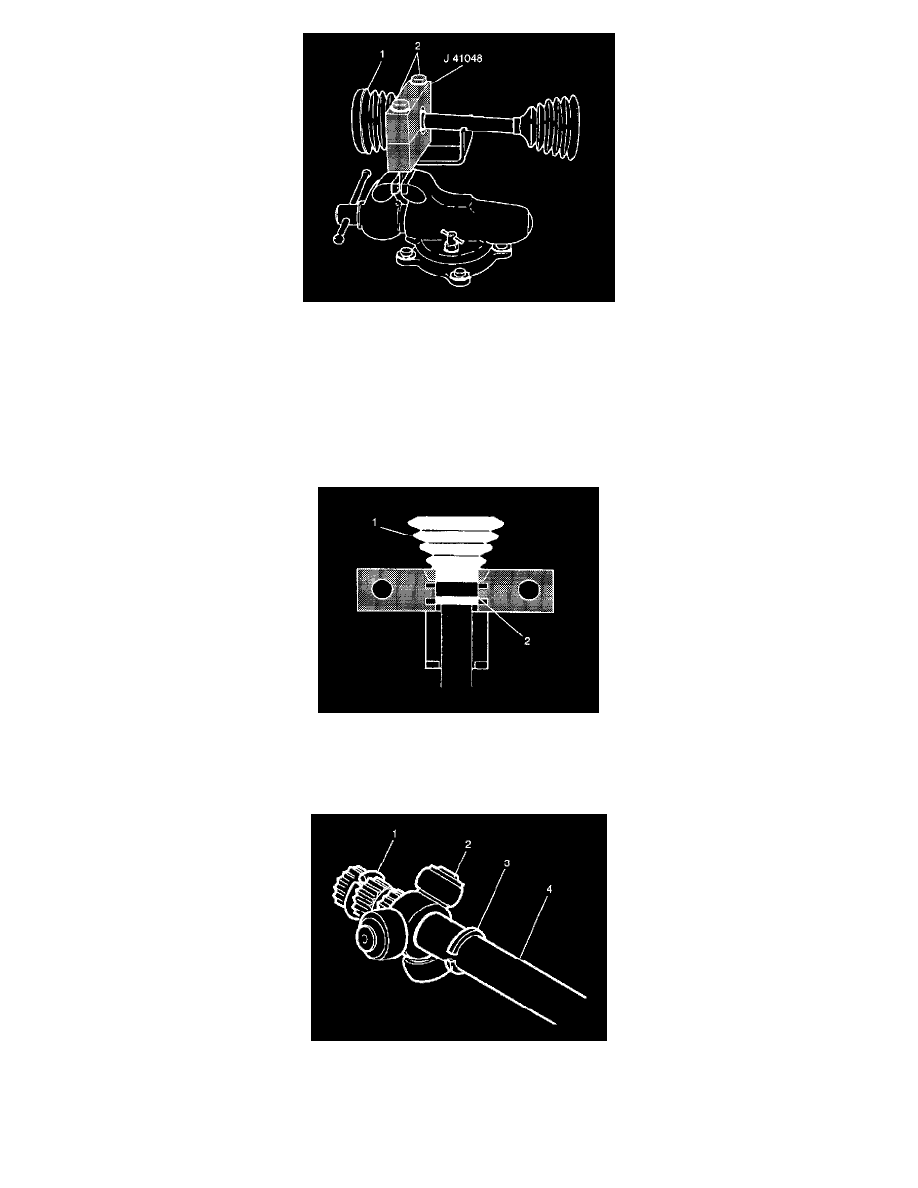
3. Mount J41048 in a vise and proceed as follows:
3.1.
Position the outboard end (1) of the halfshaft assembly in tool J41048.
3.2.
Align the top of boot neck on the bottom die using the indicator.
3.3.
Place the top half of the J41048 on the lower half of the J41048.
3.4.
Before proceeding, ensure there are no pinch points on the boot. This could cause damage to the boot.
3.5.
Insert the bolts (2).
3.6.
Tighten the bolts by hand until snug.
Notice: Refer to Fastener Notice in Service Precautions.
4. Align the following items:
^
The inboard boot (1)
^
The swage ring (2)
Tighten each bolt of J41048 180 degrees at a time using a ratchet wrench. Alternate between each bolt until both sides are bottomed.
5. Install the spacer ring (3) and spider assembly (2) onto the halfshaft bar (4) using J8059.
6. Install the other spacer ring (1) using J8059 in the groove at the end of the halfshaft bar. Ensure both rings are fully seated.
Important: Ensure the trilobal tripot bushing (3) is flush with the face of the housing (1).