
Lumina V6-3.8L VIN K (1998)
^
Lift up on the end of the cable spring clip (8).
^
Work the end of the parking brake cable into the notch on the parking brake lever.
NOTICE: Replace copper gaskets.
5. Install the brake hose caliper bolt (7).
^
Tighten the inlet fitting bolt to 44 Nm (32 ft lb).
6. Remove the wheel nuts securing the rotor to the hub and bearing.
7. Install the tire and wheel.
Align the marks made previously on the wheel and the hub and bearing.
8. Lower the vehicle.
9. Fill the master cylinder to the proper level with clean brake fluid.
10. Bleed the caliper.
11. Apply approximately 778 N (175 lbs) of force to the brake pedal three times in order to seat the pads against the rotor.
Brake Caliper Overhaul (Front)
DISASSEMBLY PROCEDURE
CAUTION: Do not place fingers in front of the caliper piston(s) in an attempt to catch or protect it when applying compressed air. The
piston(s) can fly out with force and could result in serious bodily injury.
NOTICE: Do not use a metal tool for seal removal. Damage to the caliper bore or the seal grooves can result.
NOTICE: Use clean cloths to pad interior of caliper housing during piston removal. Use just enough air to ease the pistons out of the bores. If the
pistons are blown out, even with the padding provided, it may be damaged.
1. Remove the caliper.
2. Remove the pistons. Blow compressed air into the caliper inlet hole. The piston will come out through the piston boots.
3. Inspect the pistons for the following conditions. Replace the pistons as necessary:
^
Scoring
^
Nicks
^
Corrosion
^
Worn or damaged chrome plating
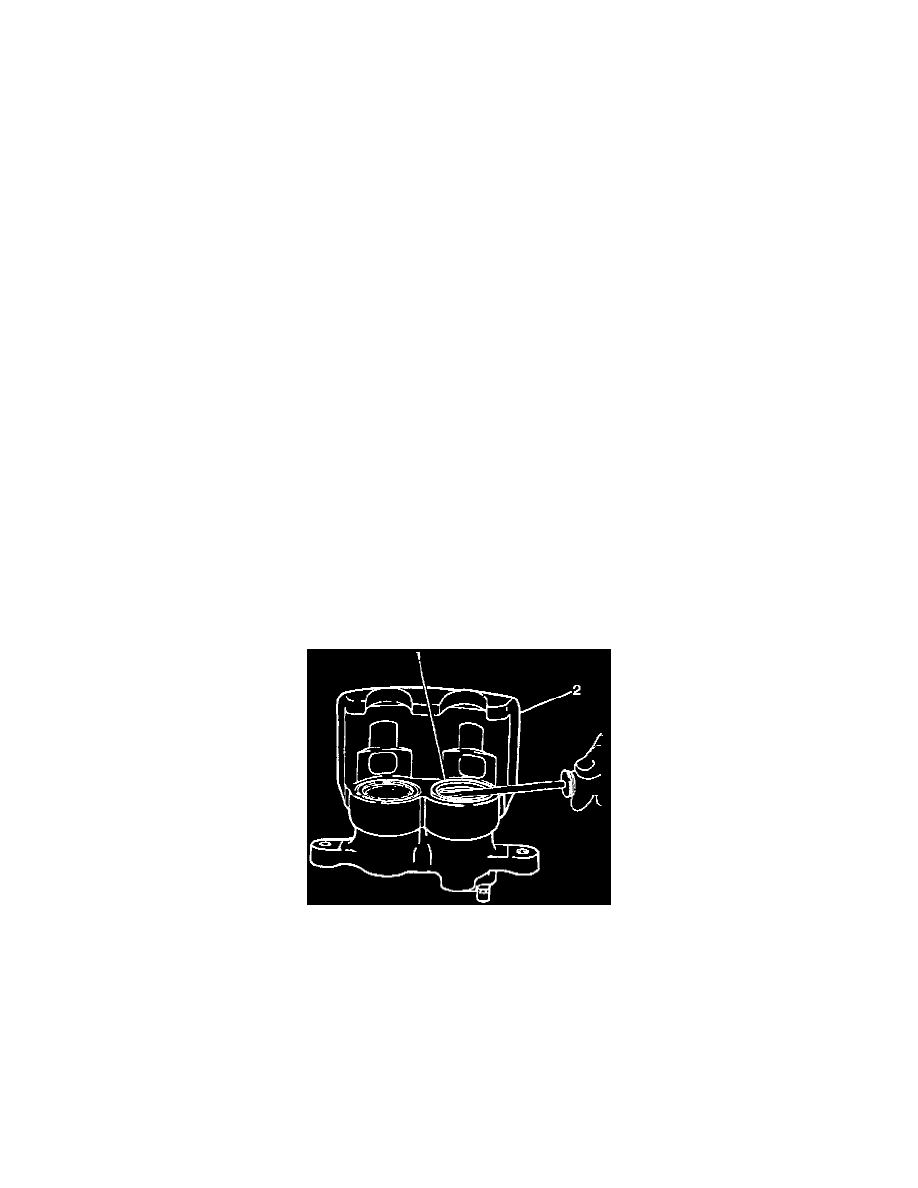
4. Remove the piston boots (1). Do not scratch the housing (2) bores.