
Lumina V6-3.8L VIN K (1998)
Wheel Cylinder: Service and Repair
Wheel Cylinder Replacement
REMOVAL PROCEDURE
1. Raise and suitably support the vehicle.
2. Remove the tires and the wheels.
CAUTION: Keep fingers away from rear brake shoe springs to prevent fingers from being pinched between spring and shoe web or
spring and backing plate.
NOTICE: Do not pry against the splash shield or backing plate in attempt to free the drum. This will bend the splash shield or backing plate. A
bent backing plate may cause brake chatter and/or pulsation.
NOTICE: Do not over stretch the Adjuster spring. Damage can occur if the spring is over stretched.
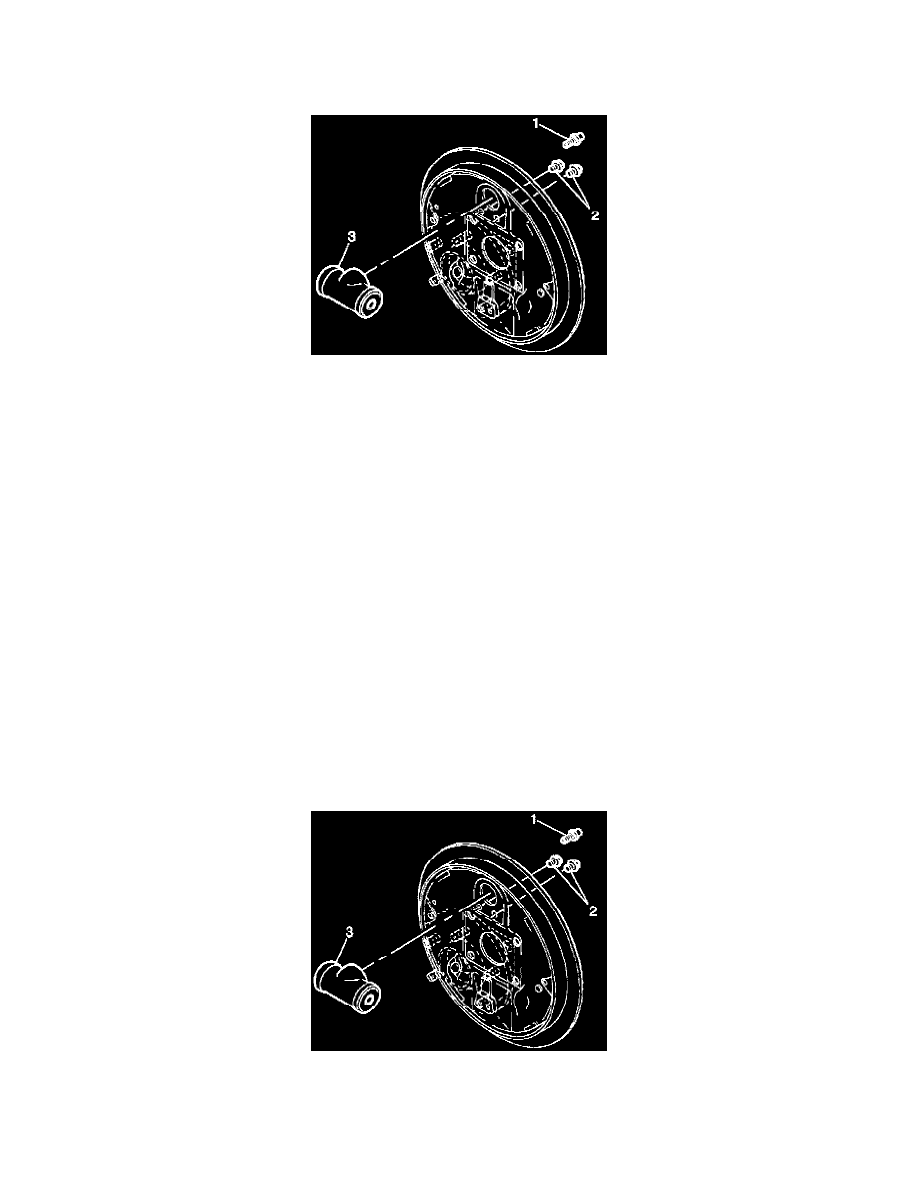
3. Clean the dirt and foreign material around the following components:
^
The wheel cylinder inlet (3)
^
The pilot
^
The bleeder valve (1)
4. Remove the brake shoes and linings.
5. Remove the bleeder valve.
6. Remove the brake pipe inlet tube nut and the brake line. Plug the opening in the line in order to prevent brake fluid loss and contamination.
7. Remove the wheel cylinder mounting bolts.
8. Remove the wheel cylinder.
9. Clean the old sealant from the backing plate where the wheel cylinder was installed.
10. Clean the sealant from the wheel cylinder if the sealant is to be reused.
INSTALLATION PROCEDURE
1. Apply Loctite~ GM P/N 12345382 or equivalent to the wheel cylinder shoulder face that contacts the backing plate.
2. Position the wheel cylinder (3) and hold the wheel cylinder in place.
NOTICE: Refer to Fastener Notice in Cautions and Notices.