
Lumina V6-3.8L VIN K (1998)
7. Remove the valve locks.
8. Remove the valve spring and cap.
9. Remove the valve stem oil seal.
10. Inspect the valve spring for bent, cracked or broken parts. Replace it if damaged. Refer to Cylinder Head Clean and Inspect in Engine/Unit Repair.
INSTALLATION PROCEDURE
^
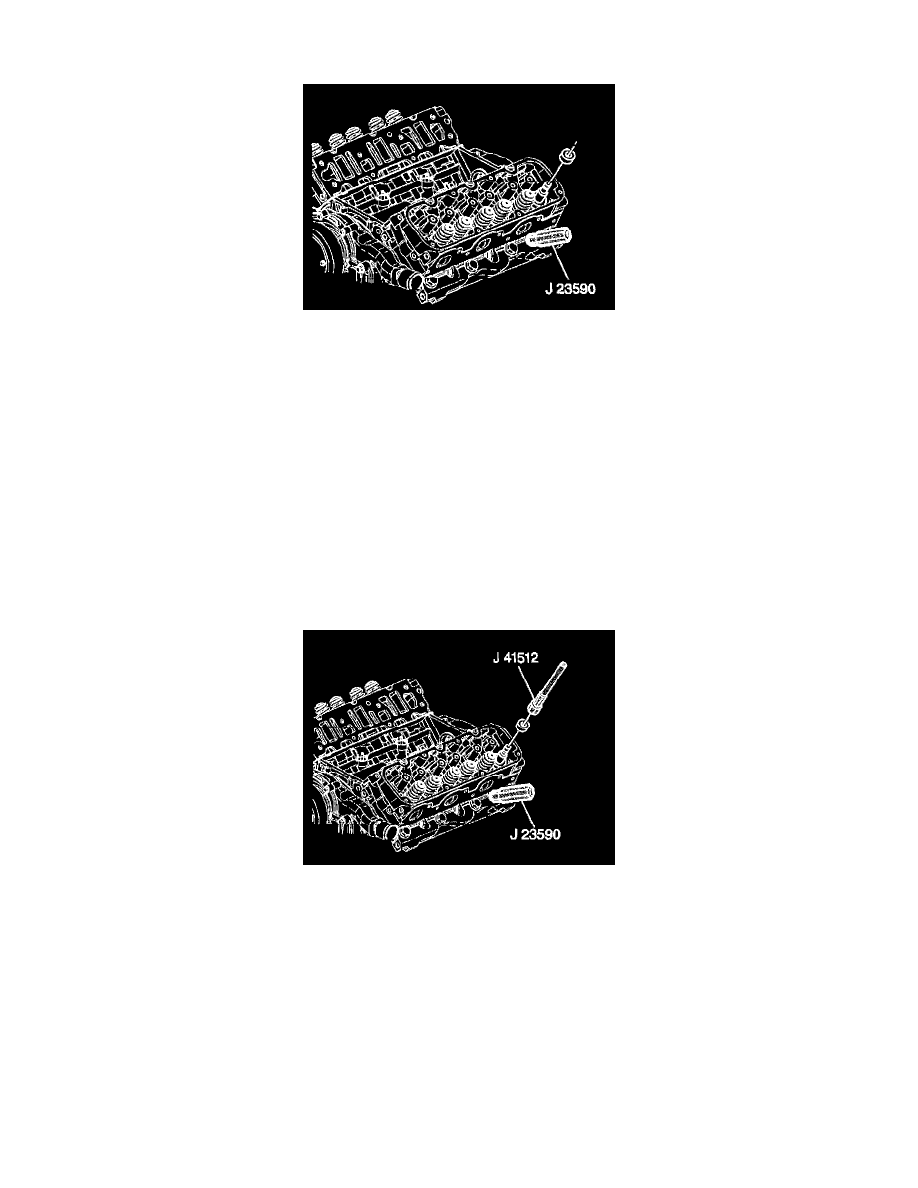
Tools Required
-
J41512 Valve Guide Installation Tool
-
J38606 Valve Spring Compressor
-
J23590 Spark Plug Port Adapter
1. Place the oil seal over the stem until the seal begins to contact the valve guide.
NOTICE: Use hand pressure only when installing the valve stem oil seal using the J41512. Using too much force may cause damage to the oil
seal and possibly lead to excessive oil consumption.
IMPORTANT: The color of the replacement seal may not be the same color as the original seal. Install the seals in their correct location based
on GM part and package description. Ensure that the seal is fully seated on the valve guide.
2. Push the valve stem oil seal over the valve guide using the J41512 until the tool bottoms on the valve spring seat.