
Lumina V6-3.8L VIN K (1998)
Cross-Member: Service and Repair
Support Replacement
Removal
1. Raise and support the vehicle.
2. Remove the exhaust pipe.
3. Disconnect the brake lines from the rear suspension support.
4. Disconnect the parking brake cables from the suspension support.
5. Disconnect the stabilizer shaft from the rear stabilizer shaft links.
Note: Support the rear suspension support with jack stands before removing the mounting bolts.
6. Disconnect the stabilizer shaft from the rear suspension support.
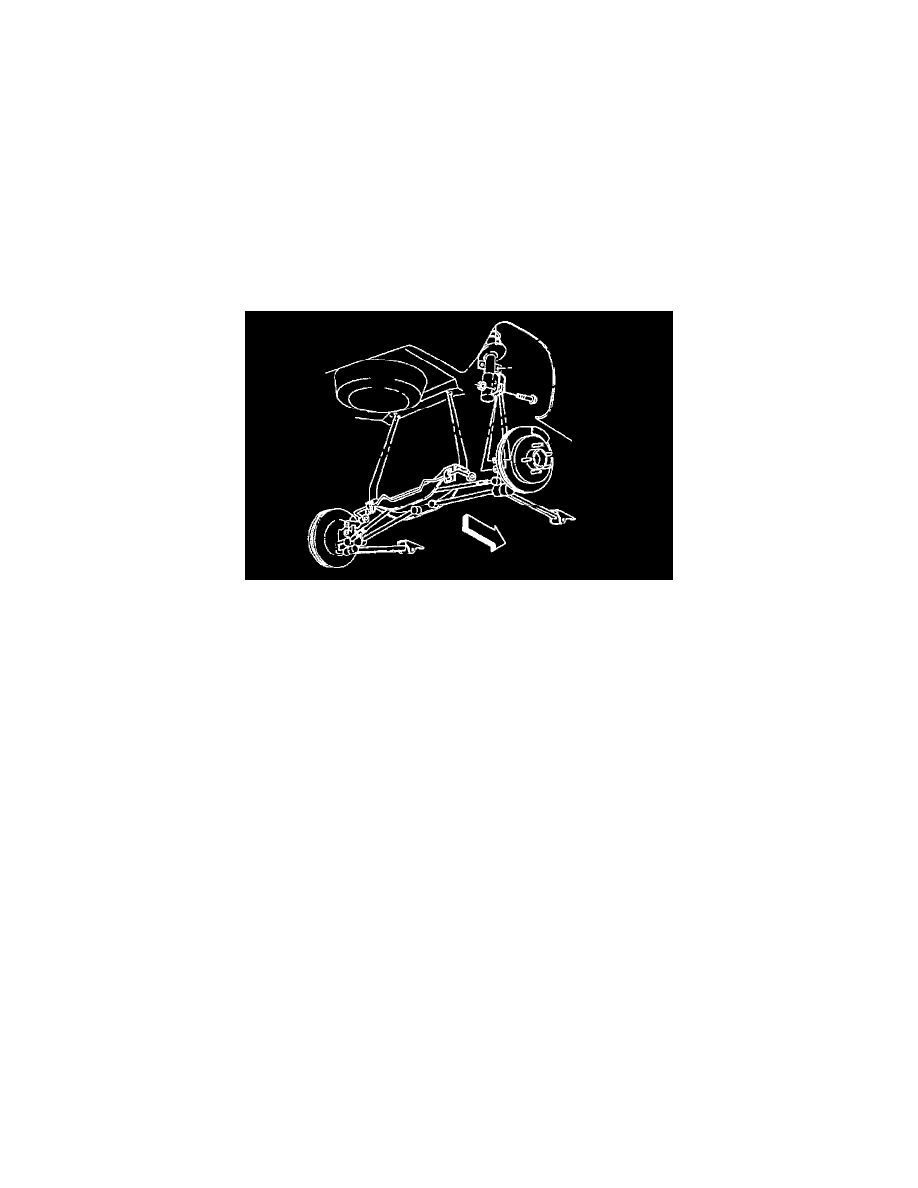
7. Remove the rear suspension support mounting bolts.
8. Disconnect the rear wheel spindle rods from the knuckle.
9. Lower the rear suspension support in order to gain access to the rear wheel spindle rod bolts'.
10. Disconnect the rear wheel spindle rods from the rear suspension support.
11. Remove the rear suspension support.
Installation
1. Position the rear suspension support in place.
2. Install the rear wheel spindle rod-to-rear suspension support bolts and nuts.
-
Tighten
Tighten the rear wheel spindle rod-to-rear suspension support nuts to 140 Nm (103 lb ft).
3. Install 2 locating pins in the suspension support alignment holes, one on each side of the suspension support.
4. Install the rear suspension support mounting bolts.
-
Tighten
Tighten the rear suspension support mounting bolts to 105 Nm (77 lb ft).
5. Remove the locating pins from the suspension support alignment holes.
6. Position the rear wheel spindle rod to the knuckle. Install the retaining bolts and nuts to the knuckle.
-
Tighten
Tighten the spindle rod-to-knuckle retaining nut to 150 Nm (110 lb ft).
7. Connect the brake lines to the rear suspension support.
8. Install the parking brake cables and the tensioner.