
Lumina V6-3.8L VIN K (1998)
Automatic Transmission Dipstick - Dipstick Tube: Service and Repair
4T60-E Automatic Transaxle
REMOVAL PROCEDURE
1. Remove the indicator.
2. Raise and support the vehicle. Refer to Vehicle Lift Points.
3. Remove the three-way catalytic converter pipe. Refer to Catalytic Converter Replacement (3100 L82 (VIN M)) in Powertrain Management.
4. Remove the power steering gear heat shield. Refer to Power Steering Gear and Pump.
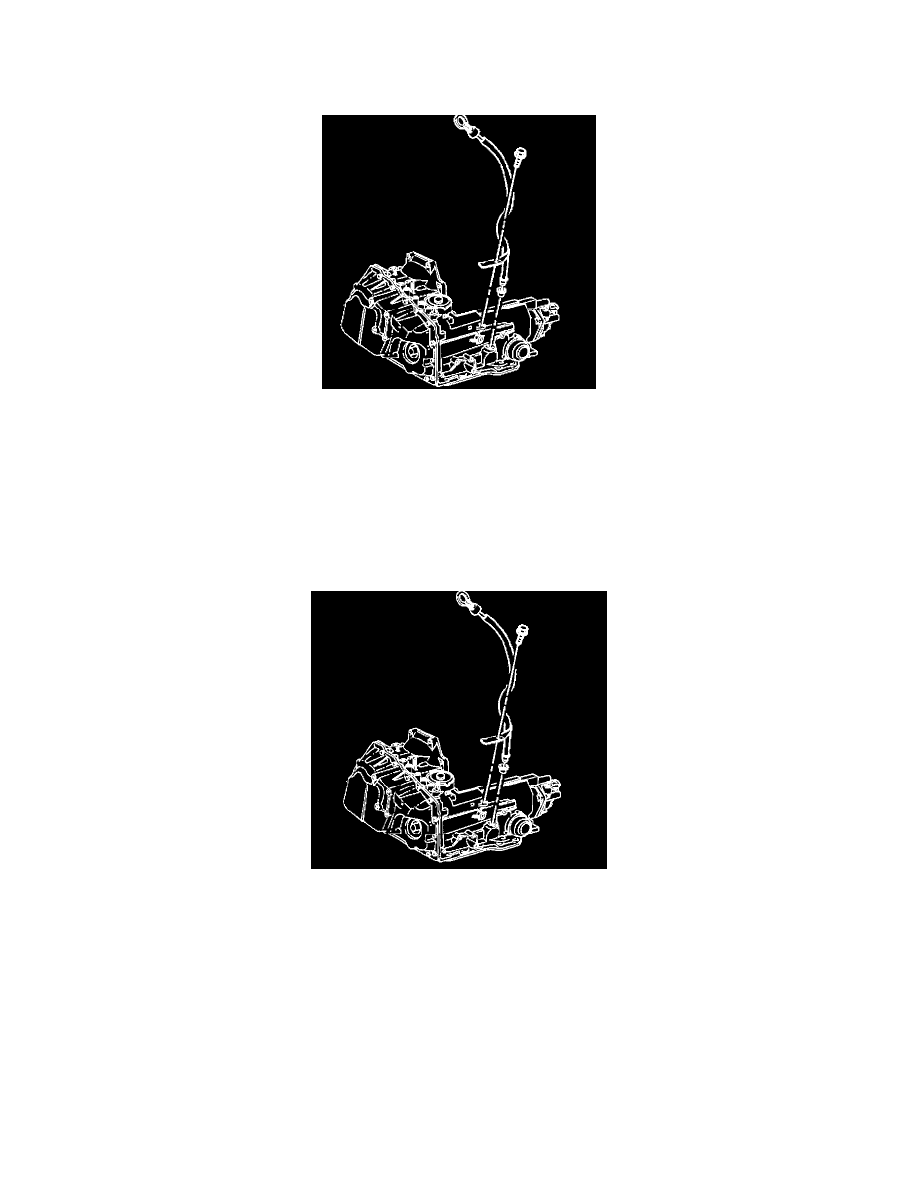
5. Remove the fluid filler tube bracket bolt from the fluid filler tube bracket.
6. Remove the fluid filler tube.
INSTALLATION PROCEDURE
IMPORTANT: Do NOT place the fluid filler tube seal on the fluid filler tube when installing the tube or damage to the seal will result.
1. Install the fluid filler tube seal in the transaxle.
2. Position the fluid filler tube.
3. Install the fluid filler tube bracket bolt through the fluid filler tube bracket.
^
Tighten the fluid filler tube bracket bolt to 13 Nm (115 inch lbs.).
NOTICE: Refer to Fastener Notice in Service Precautions.
4. Install the power steering gear heat shield. Refer to Power Steering Gear and Pump.
5. Install the three-way catalytic converter pipe. Refer to Catalytic Converter Replacement (3100 L82 (VIN M)) in Powertrain Management.
6. Lower the vehicle.
7. Install the indicator.
8. Adjust the fluid level.
9. Inspect for proper completion of the repairs.
10. Inspect for proper fluid level.
11. Inspect for fluid leaks.