
Lumina V6-3.8L VIN K (1998)
1. Install the J 28467-A.
2. Install the J 28467-90.
3. Install the J 36462.
4. Raise and support the vehicle. Refer to Vehicle Lift Points.
5. Remove the power steering gear heat shield. Refer to Power Steering Gear and Pump.
6. Remove the power steering rack and pinion and hang the power steering rack and pinion from the exhaust pipe. Refer to Power Steering Gear and
Pump.
7. Remove the transaxle mount lower bolts. Refer to AT Mount Replacement in Automatic Transmission/Transaxle.
8. Remove the engine mount lower bolts. Refer to Engine Mount Replacement.
9. Remove the power steering lines from the right side of the frame. Refer to Power Steering Gear and Pump.
10. Support the rear of the frame with a jackstand.
11. Loosen the front frame bolts.
12. Adjust the jackstand to lower the rear of the frame.
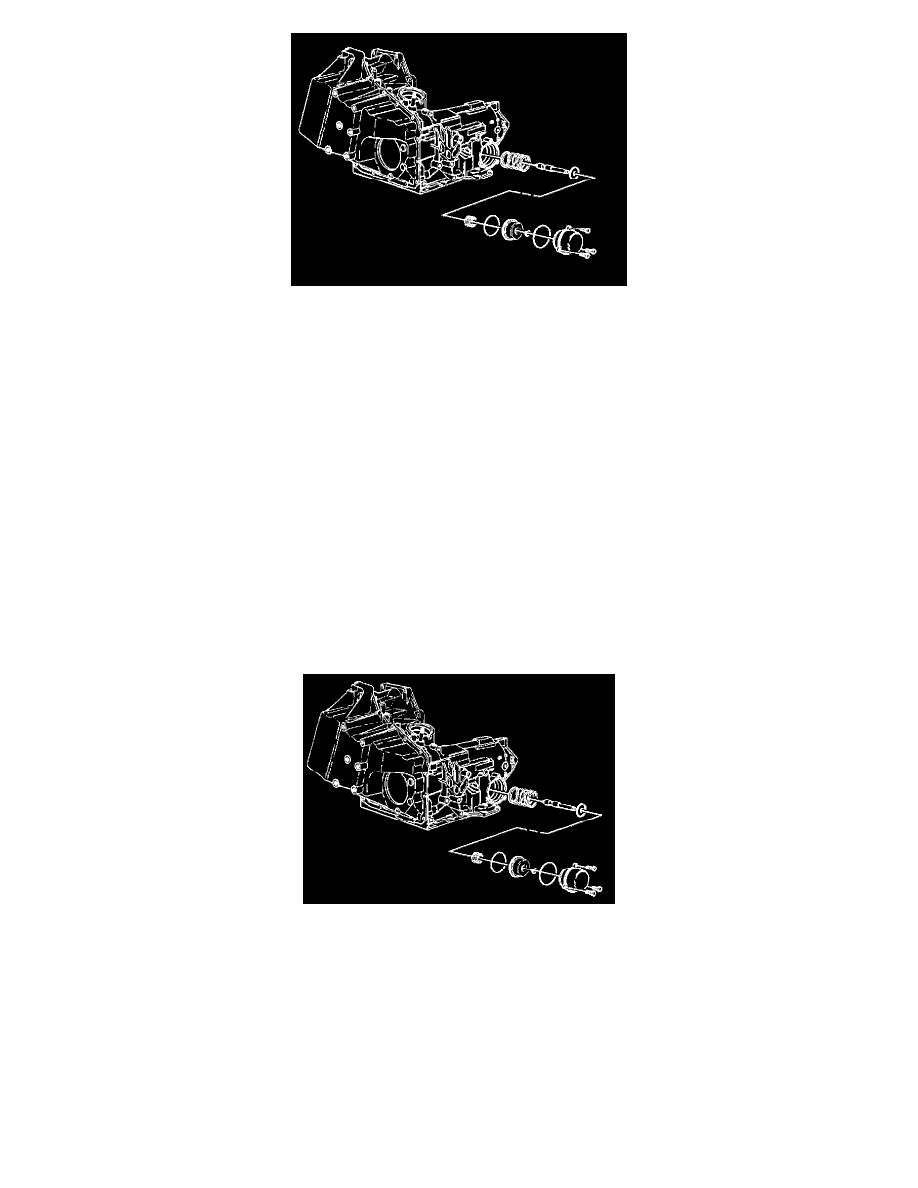
13. Position a drain pan under the forward servo cover.
14. Remove the bolts and/or screws attaching the servo cover to the transaxle case.
15. Remove the forward servo cover.
16. Remove the forward servo cover O-ring.
17. Remove the servo piston assembly.
18. Remove the servo spring.
INSTALLATION PROCEDURE
1. Install the servo spring.
2. Install the servo piston assembly.
3. Install the forward servo cover 0-ring.
4. Install the forward servo cover.
5. Install the forward servo cover attaching bolts.
^
Tighten the forward servo cover attaching bolts to 11 Nm (97 inch lbs.).
NOTICE: Refer to Fastener Notice in Service Precautions.
6. Remove the drain pan from under the forward servo cover.
7. Adjust the jackstand to raise the rear of the frame.
8. Install the frame bolts.
9. Remove the support from the rear of the frame.