
Lumina V6-3.8L VIN K (1998)
1. Install the transaxle oil cooler hoses.
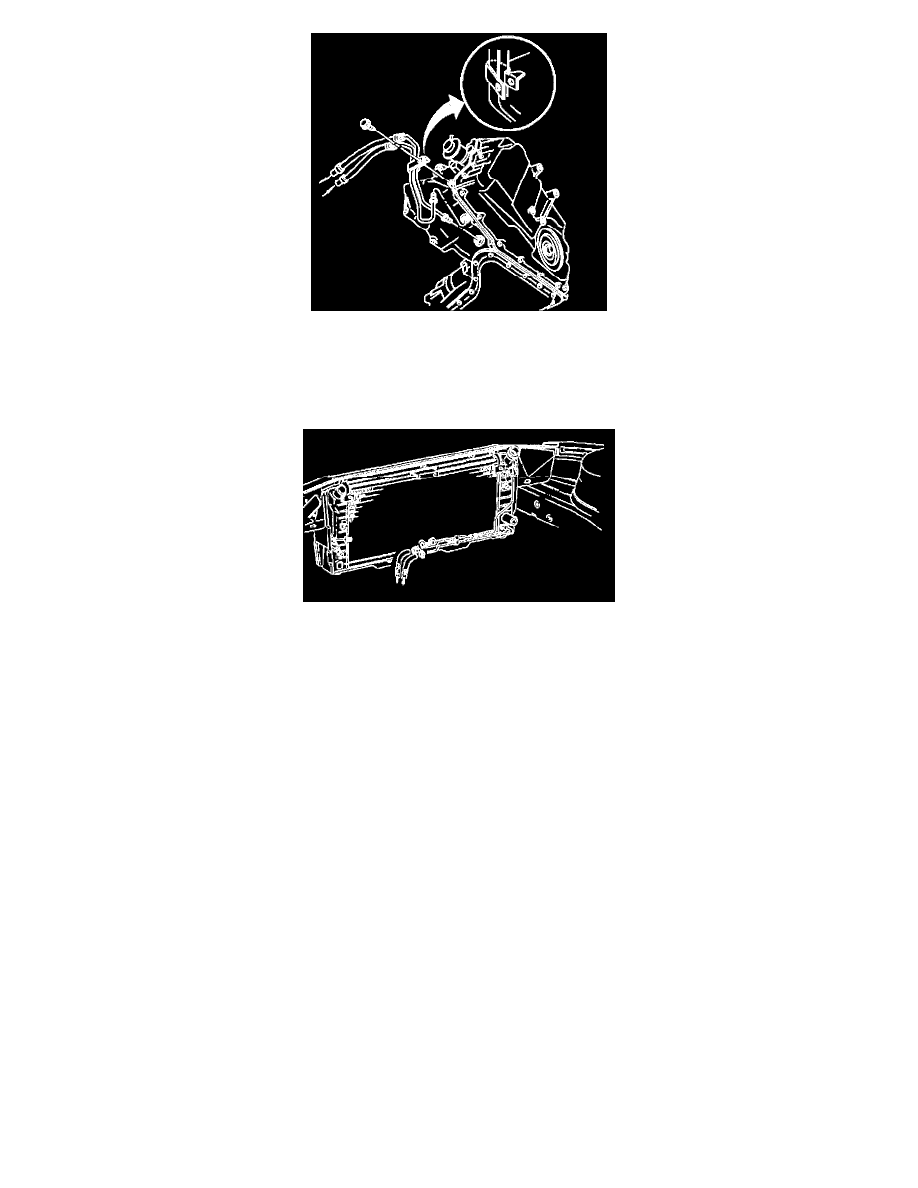
2. Install the transaxle oil cooler hose clip bolt.
^
Tighten the transaxle, oil cooler hose clip bolt to 25 Nm (18 ft. lbs.).
NOTICE: Refer to Fastener Notice in Service Precautions.
3. Install the transaxle oil cooler hoses to the transaxle oil cooler and/or auxiliary transaxle oil cooler pipes at the radiator.
4. Install the transaxle oil cooler clamps to the transaxle oil cooler hoses at the transaxle oil cooler and/or auxiliary transaxle oil cooler pipes at the
radiator.
5. Install the transaxle oil cooler hoses to the transaxle oil cooler fittings in the transaxle.
^
Tighten the transaxle oil cooler hose fittings to 23 Nm (17 ft. lbs.).
6. Lower the vehicle.
NOTICE: Do NOT overfill the transaxle. The overfilling of the transaxle causes foaming, loss of fluid, shift complaints, and possible damage to
the transaxle.
7. Adjust the fluid level.
8. Inspect for proper completion of the repairs.
9. Inspect for fluid leaks.
A/T Oil Cooler Pipes Replacement (With Threaded Fittings)
Use only double-wrapped and use only brazed steel pipe meeting the GM specification 123M or equivalent if replacement of the transaxle oil cooler
pipes are required. Ensure the pipe is double-flared.
REMOVAL PROCEDURE
NOTICE: Allow sufficient clearance around the transaxle oil cooler pipes and around the hoses to prevent damage or wear which may cause fluid
loss.