
Lumina V6-3.8L VIN K (1998)
5. Remove the auxiliary transaxle oil cooler hose and pipe fittings from the auxiliary transaxle oil cooler hose and pipe.
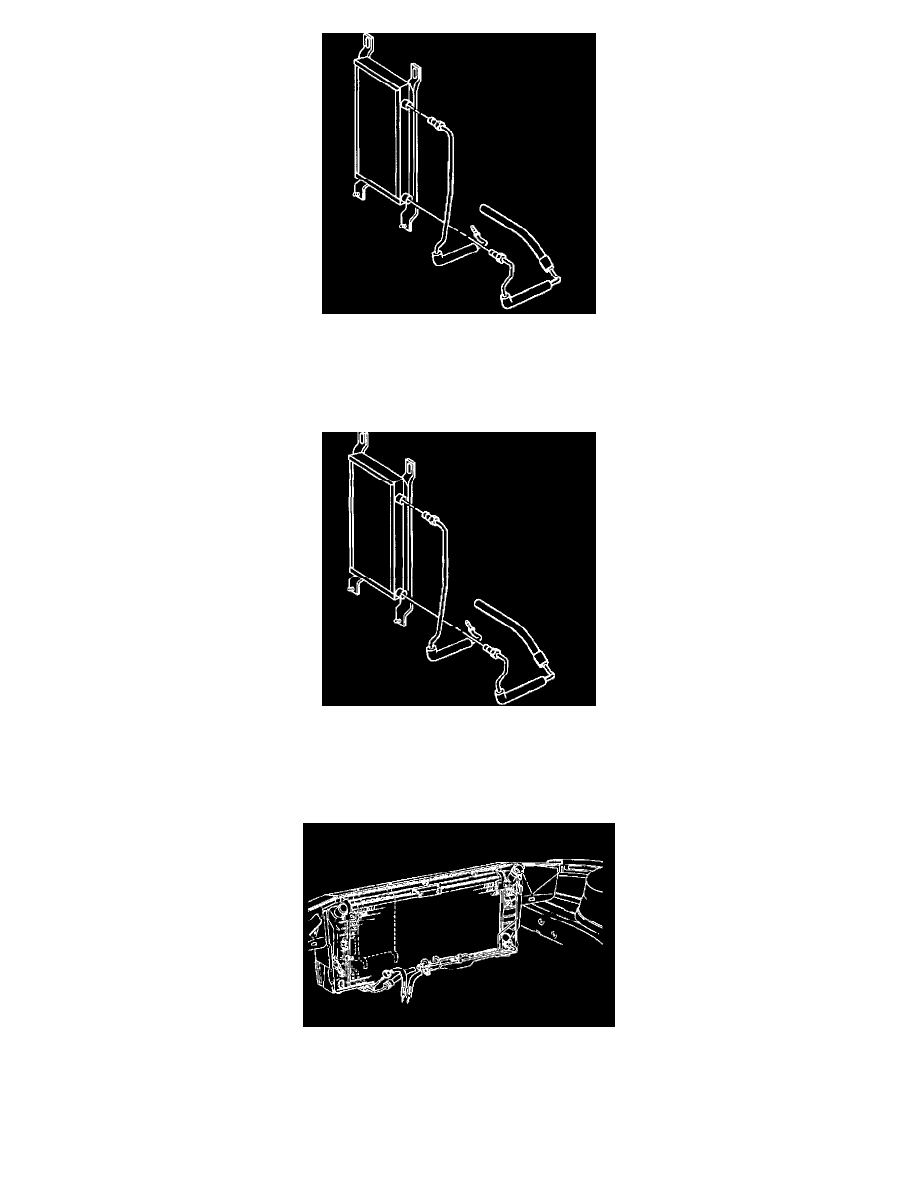
INSTALLATION PROCEDURE
IMPORTANT: The correct thread engagement is critical. Crossthreaded fittings can achieve proper tightness and still leak.
1. Install the auxiliary transaxle oil cooler hose and pipe.
2. Install the auxiliary transaxle oil cooler hose and pipe fittings to the auxiliary transaxle oil cooler.
^
Tighten the auxiliary transaxle oil cooler hose and pipe fittings to 23 Nm (17 ft. lbs.).
NOTICE: Refer to Fastener Notice in Service Precautions.
3. Install the auxiliary transaxle oil cooler hose and pipe to the transaxle oil cooler hose and pipe.
4. Install the auxiliary transaxle oil cooler hose clamps.
5. Lower the vehicle.
NOTICE: Do NOT overfill the transaxle. The overfilling of the transaxle causes foaming, loss of fluid, shift complaints, and possible damage to
the transaxle.