
Lumina V6-3.8L VIN K (1998)
4. Loosen the bolts and separate the dies.
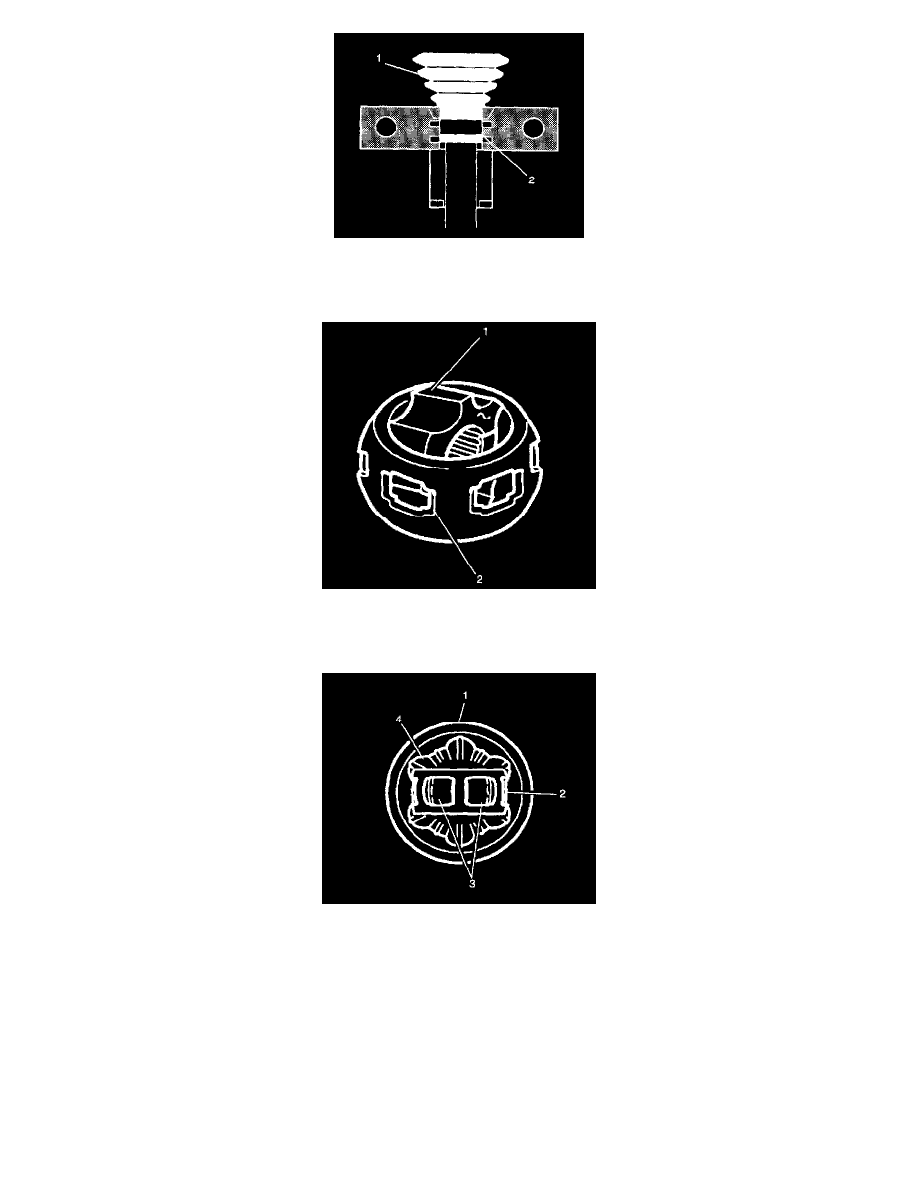
Check swaged ring (2) for any "lip" deformities. If present, place the ring (2) back into the J 41048 making sure the ring covers the whole swaging
area. Then re-swage the ring.
5. Put a light coat of grease from the service kit on the ball grooves of the inner race and the outer race.
6. Hold inner race 90 degrees to centerline of cage with the lands of the inner race (1) aligned with the windows of the cage (2) and insert the inner
race into the cage.
7. Hold the cage and the inner race 90 degrees to centerline of the outer race (1) and align the cage windows (3) with the lands of the outer race.
IMPORTANT: Be sure that the retaining ring side of the inner race faces the axle shaft.
8. Place the cage and the inner race into the outer race.
9. Insert the first chrome ball then tilt the cage in the opposite direction to insert the opposing ball.
10. Repeat this process until all six balls are in place.
11. Place approximately half the grease from the service kit inside the drive axle outboard seal and pack the CV joint with the remaining grease.