
Lumina APV V6-191 3.1L (1990)
4.
Remove rear pillar trim.
5.
Support lift gate in full open position with a padded jack stand to prevent damage.
6.
Remove struts from the door and body.
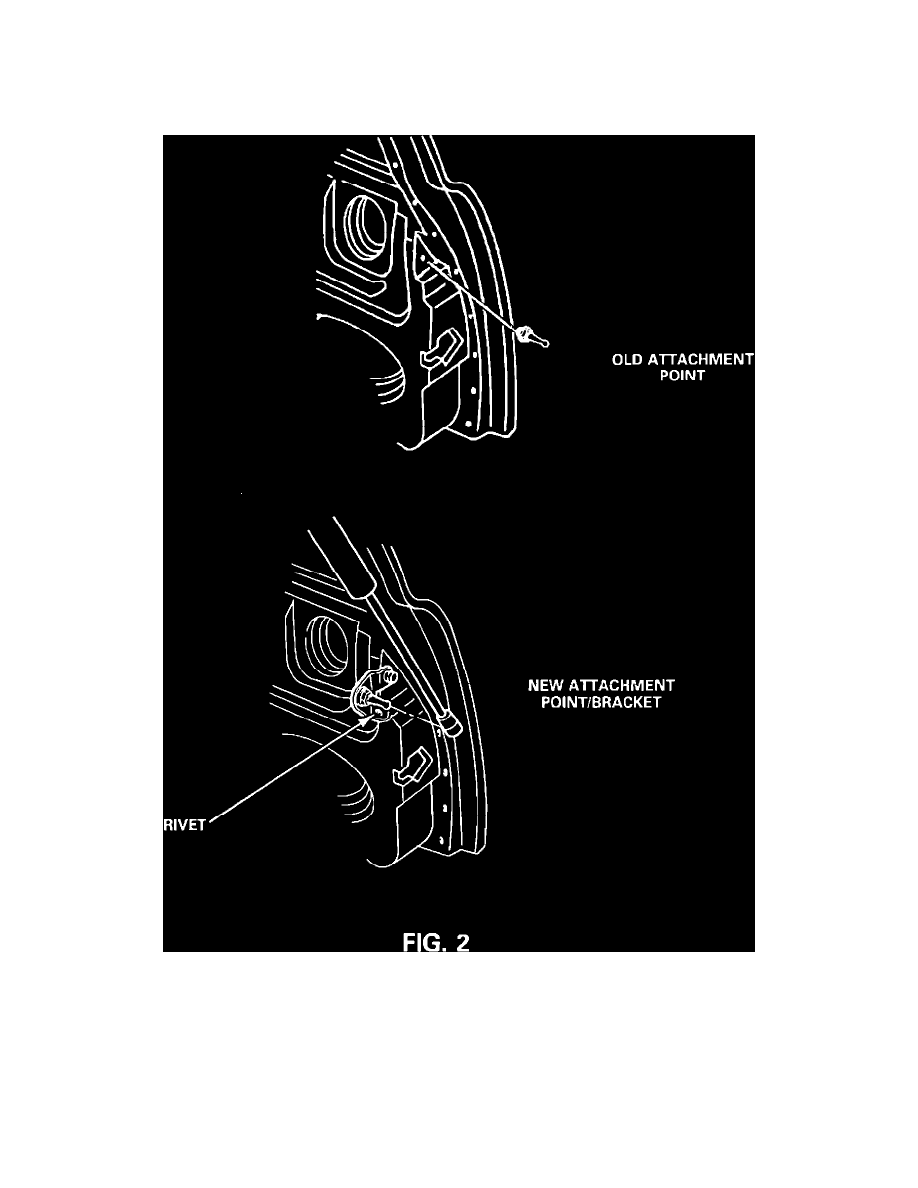
7.
Remove the stud from the lift gate. With the stud removed, place it upside down in a one inch deep well socket and drive the washer off the stud.
Discard washer and save stud for later use.
8.
Using bolts supplied in kit, attach brackets to the door, finger tight or snug.
9.
Drill a 13/64" rivet hole in the door as shown in Figure 2. Install rivets supplied from kit.
10.
Install the modified studs from Step 7 to the brackets.
11.
Torque the bolts and the studs to 40-45 N-m (29-33 lbs.ft.).
12.
Install new struts, (Piston end attached to the lift gate.) Remove jack stand.