
Lumina APV V6-191 3.1L (1990)
3.
Install inboard pad in steering knuckle.
4.
Install outboard pad in caliper. Ensure pad is seated fully into outboard arms of caliper. It may be necessary to tap the ears and bottom tab with a
hammer to seat the pad being careful not to hit the friction material.
5.
Place caliper assembly over rotor and position in steering knuckle. Ensure dust boot is not torn or improperly positioned by inboard pad during
caliper installation.
6.
Align caliper with steering knuckle abutment surfaces, then insert support key and spring between abutment surfaces at the trailing end of caliper
and steering knuckle. With a hammer and brass drift, drive caliper support key and spring into position, then install and torque support key
retaining screw to 12-18 ft. lbs.
7.
Refill master cylinder to within one inch of rim. Press brake pedal several times to seat pads.
8.
Install front wheels and lower vehicle.
Disassembly/Assembly
DISASSEMBLY
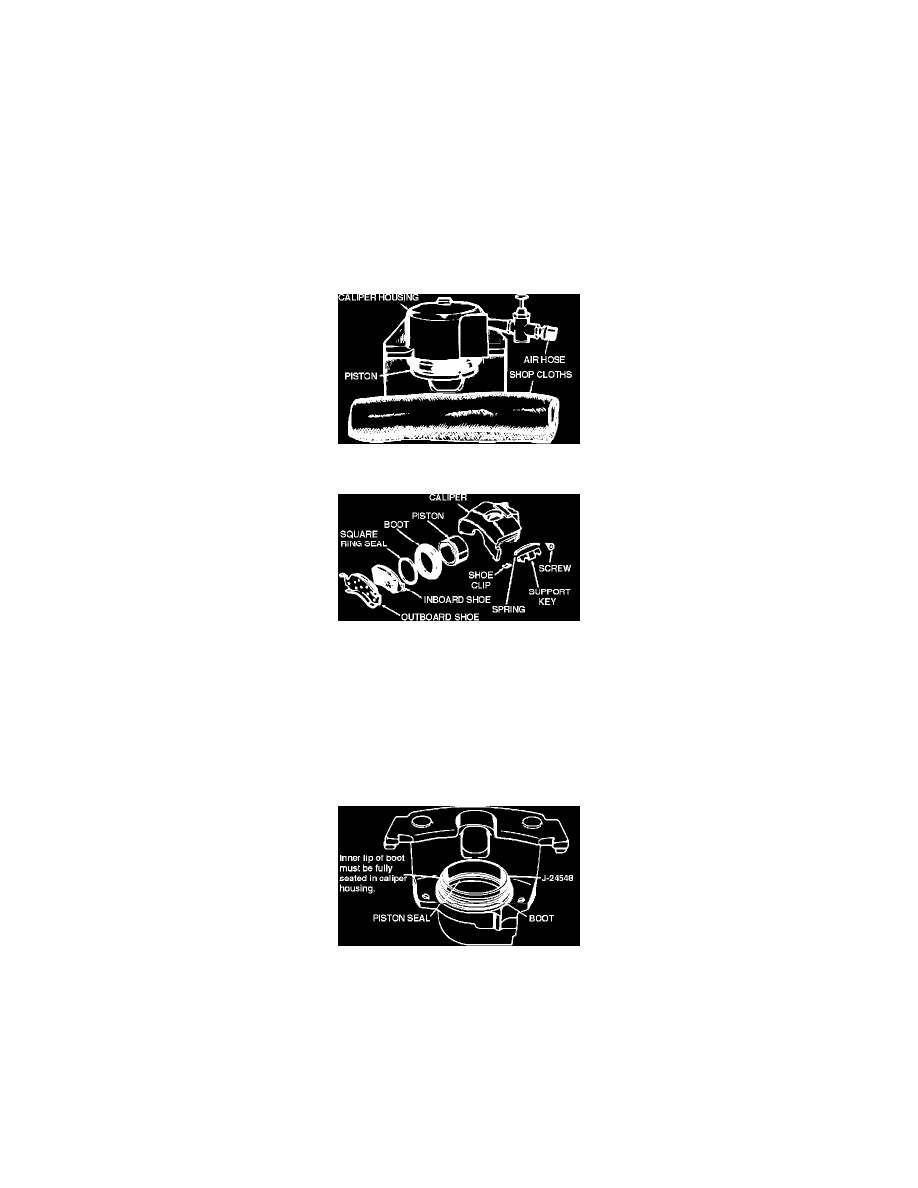
Fig. 5 Removing Caliper Piston
Fig. 6 Exploded View Of Disc Brake Caliper Assembly
1.
Drain brake fluid from caliper.
2.
Position caliper with shop cloths, Fig. 5, and apply compressed air to fluid inlet port to ease piston from bore. Do not attempt to catch piston or
to protect it when applying compressed air, since personal injury is possible.
3.
Remove dust boot, then the piston seal from bore, Fig. 6. Use wooden or plastic tool to remove piston seal since metal tools may damage piston.
4.
Remove bleeder screw.
ASSEMBLY
Fig. 7 Installing Caliper Piston Boot