
Malibu L4-144 2.4L DOHC VIN T SFI (1998)
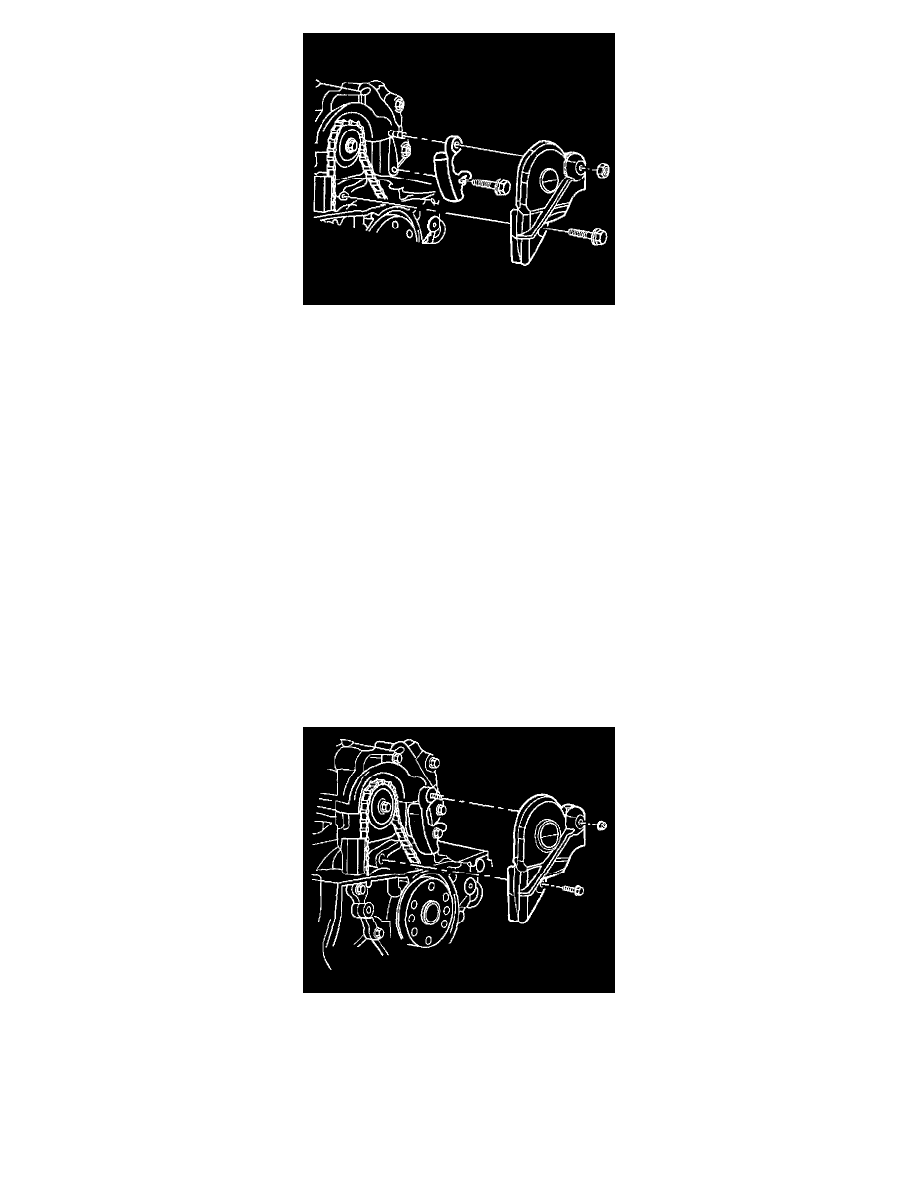
10. Install the balance shaft chain guide.
11. Press the chain guide tightly against the chain.
12. Tighten the chain tensioner bolt.
^
Tighten the bolt to 13 Nm (115 inch lbs.).
13. Tighten the balance shaft driven sprocket bolt.
^
Tighten the bolt to 40 Nm (30 ft. lbs.) and rotate the bolt 45°.
14. Remove the J 41088 from the balance shaft housing assembly.
15. Loosen the balance shaft chain guide bolt.
IMPORTANT: A brass feeler gauge needs to be used to ensure correct measurements are obtained. If a steel gauge is used, it will not bend to conform
to the guide and will cause incorrect measurements.
16. Use the following procedure to adjust the balance shaft drive chain tension:
16.1.
Inserting a 1 mm ( 0.040 inch ) brass feeler gauge between the chain guide and the chain.
16.2.
Press the guide against the chain. Use about three pounds of force.
16.3.
Tighten the chain fastener bolt.
^
Tighten the bolt to 13 Nm (115 inch lbs.).
17. Install the balance shaft chain cover.
18. Install the balance shaft chain cover nut and bolt.
^
Tighten the nut and bolt to 13 Nm (115 inch lbs.).
Balance Shaft Housing Removal
Removal