
Malibu L4-144 2.4L DOHC VIN T SFI (1998)
Transmission Mount: Service and Repair
A/T Mount Replacement (Front or Rear)
REMOVAL PROCEDURE
^
Tool Required:
-
J 28467-360 Engine Support Fixture
IMPORTANT: When replacing any transmission mount, the remaining mount-through bolts and mount bracket-to-cradle nuts need to be loosened,
then tightened in the following sequence:
1. Rear mount through-bolt.
2. Rear mount bracket-to-cradle.
3. Front mount bracket-to-cradle.
4. Front mount through-bolt.
5. Left mount through-bolt.
This procedure will eliminate engine/transmission mount preload, which could cause driveability concerns. Tighten fasteners to manufacturer's
specifications.
1. Disconnect the negative battery cable.
2. Install the J 28467-360.
3. Raise the vehicle. Refer to Vehicle Lifting.
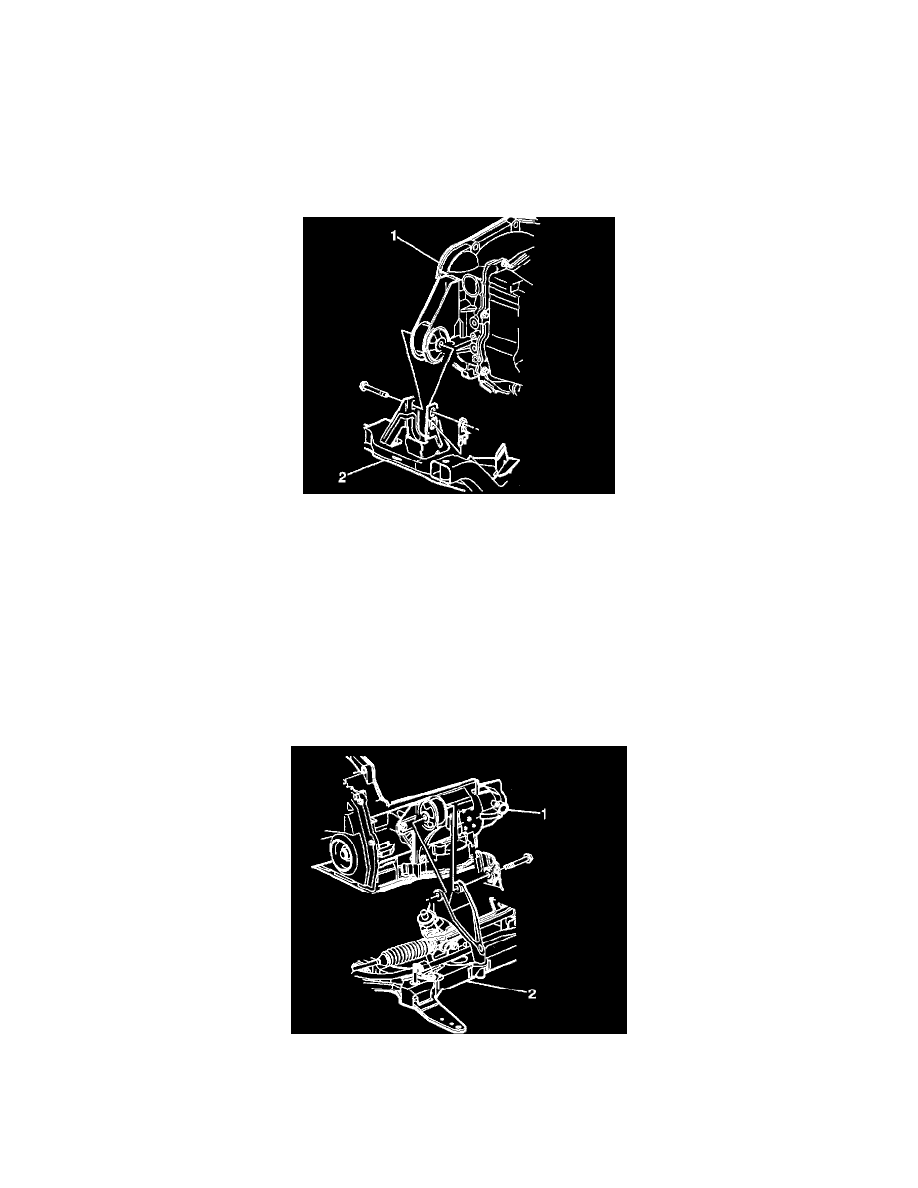
4. Remove the transmission (1) mount (2) assembly bolts.
5. Remove the transmission (1) mount.
INSTALLATION PROCEDURE