
Malibu L4-2.2L VIN F (2005)
Trunk / Liftgate Weatherstrip: Service and Repair
Weatherstrip Replacement - Rear Compartment Opening
Weatherstrip Replacement - Rear Compartment Opening
Removal Procedure
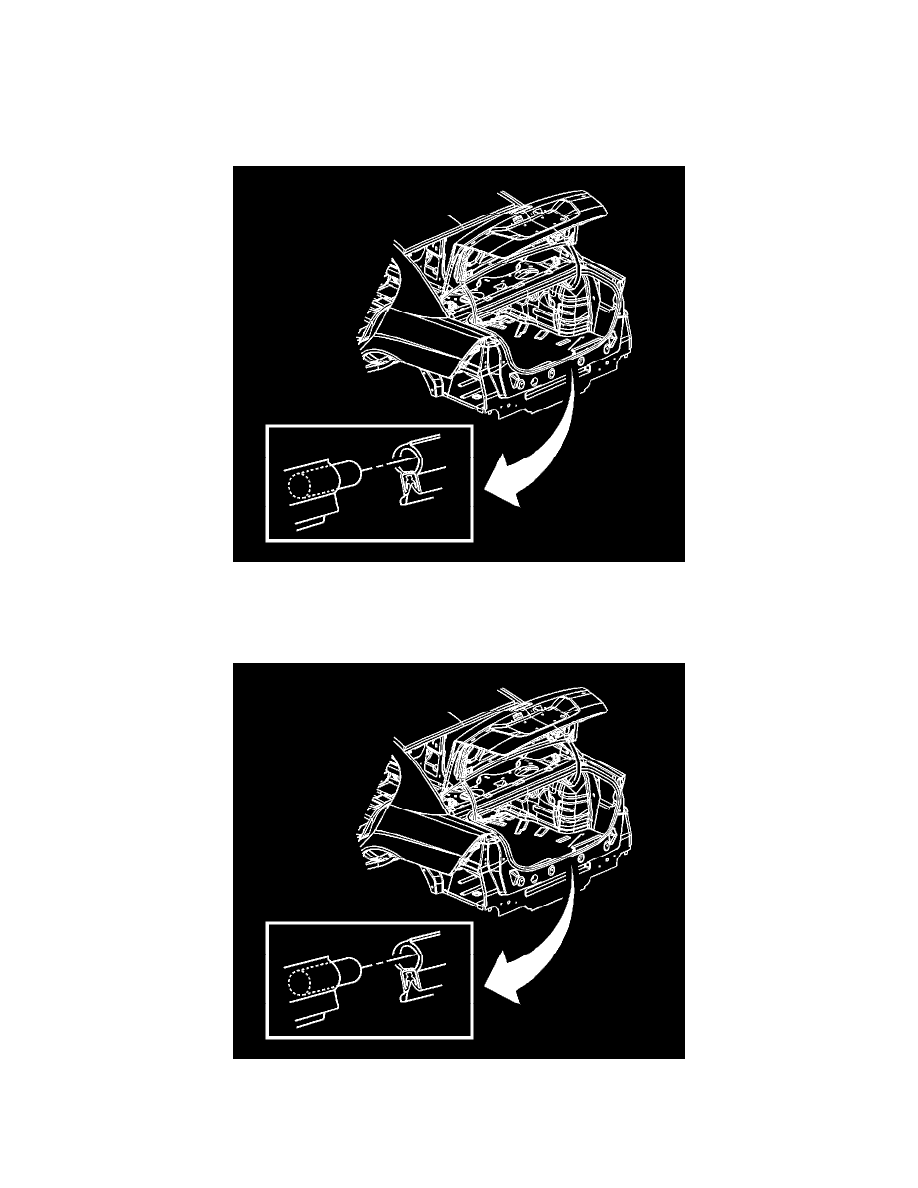
1. Pull the weatherstrip (1) from the pinch-weld flange. Move the weatherstrip toward the lower corners and around the complete opening.
2. Clean all of the adhesive from the pinch-weld flange.
Installation Procedure
1. Apply a bead of weatherstrip adhesive GM P/N 12345096 (Canadian P/N 993365) or equivalent to the edge of the pinch-weld flange and around
the entire perimeter of the rear compartment opening.
2. Install the center of the weatherstrip (1) onto the gutter flange. Begin at the forward center of the opening between the hinge arms.
3. Push down on the weatherstrip over the entire area until fully seated.