
Malibu L4-2.2L VIN F (2005)
Canister Vent Valve: Service and Repair
EVAPORATIVE EMISSION (EVAP) CANISTER VENT SOLENOID VALVE REPLACEMENT (SEDAN)
REMOVAL PROCEDURE
1. Raise the vehicle. Refer to Vehicle Lifting.
2. Lower and support the vehicle exhaust system.
3. Loosen the fastener on the left-hand fuel tank strap - do not remove the fastener.
4. Support the fuel tank with a suitable jackstand.
5. Loosen and remove the front bolt in the right-hand fuel tank strap
6. Disconnect the fuel fill pipe at the fuel tank and disconnect the vapor line on the fuel fill pipe.
7. Lower the right side of the fuel tank far enough to access the EVAP canister vent valve.
8. Disconnect the EVAP canister vent valve hose.
9. Disconnect the EVAP canister electrical connector.
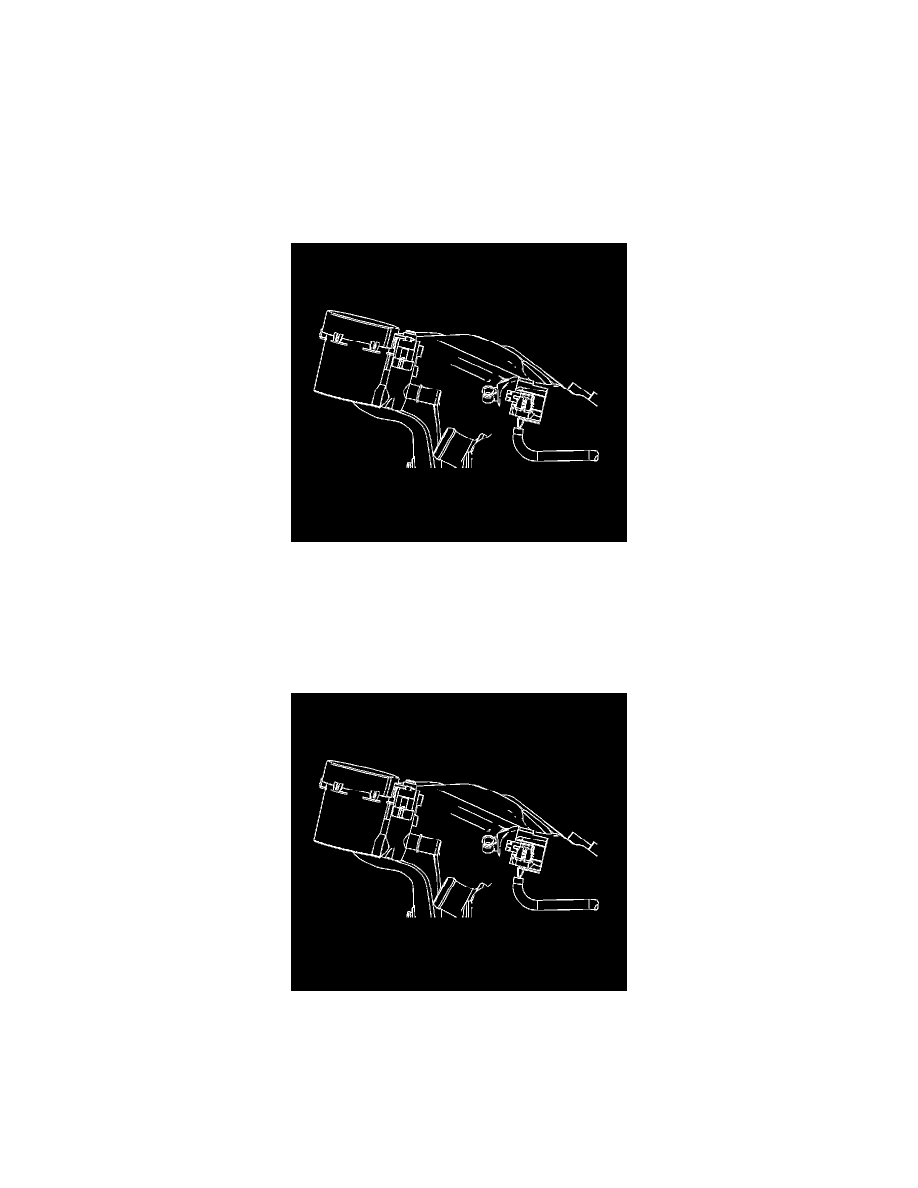
10. Using a small flat-blade screwdriver, push back the release tab on the EVAP canister vent valve mounting foot.
11. Slide the EVAP canister vent valve toward the rear of the vehicle and off of the mounting foot.
INSTALLATION PROCEDURE
1. Slide the new EVAP canister vent valve onto the mounting foot on the fuel tank.
2. Slide the valve forward until it snaps into place on the mounting foot.
3. Connect the hose to the EVAP canister vent valve.
4. Connect the EVAP vent valve harness connector.
5. Raise the fuel tank back into position and install the fasteners.
6. Reconnect the fuel fill pipe at the fuel tank and connect the vapor line on the fuel fill pipe.