
Malibu L4-2.2L VIN F (2005)
Fuel Tank Unit: Service and Repair
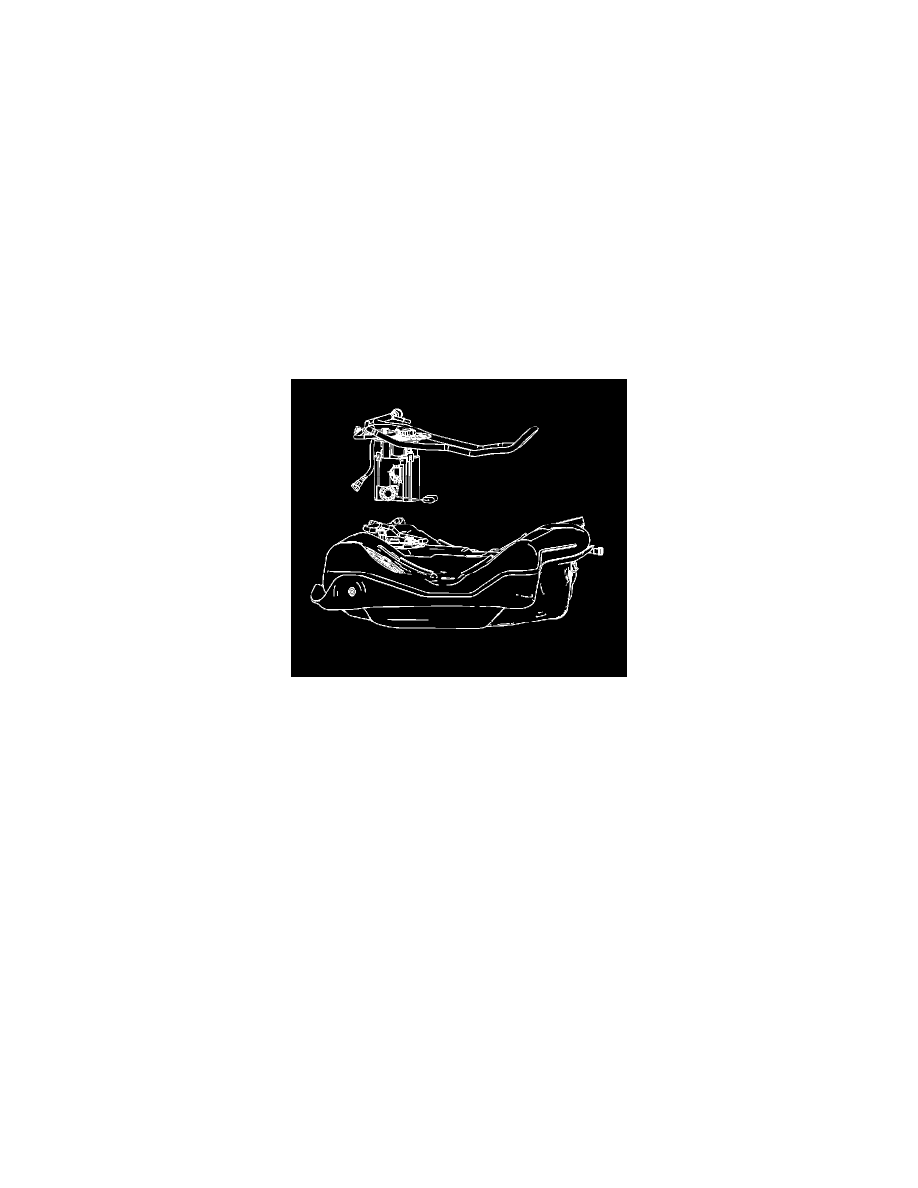
FUEL SENDER ASSEMBLY REPLACEMENT (SEDAN)
TOOLS REQUIRED
J 45722 Fuel Sender Lock Ring Wrench
REMOVAL PROCEDURE
CAUTION: In order to reduce the risk of fire and personal injury that may result from a fuel leak, always replace the fuel sender gasket
when reinstalling the fuel sender assembly.
1. Disconnect the negative battery cable.
2. Relieve the system fuel pressure. Refer to Fuel Pressure Relief Procedure.
3. Drain the fuel tank. Refer to Fuel Tank Draining Procedure.
4. Raise the vehicle. Refer to Vehicle Lifting.
5. Remove the fuel tank.
6. Disconnect the electrical and ventilation connections on the modular fuel sender assembly cover.
7. While having an assistant hold the fuel tank, use J 45722 to turn the modular fuel sender assembly lock ring counter-clockwise until the ring is
released from the fuel tank.
IMPORTANT:
-
The modular fuel sender assembly may spring up from its position.
-
When removing the modular fuel sender assembly from the fuel tank, be aware that the reservoir bucket is full of fuel. It must be tipped slightly
during removal to avoid damage to the float. Discard fuel sender O-ring and replace with a new one.
-
Carefully discard the fuel in the reservoir bucket into an approved container.
8. Raise the fuel sender assembly out of the tank far enough to access the ventilation harness connection on the underside of the module cover.
9. Disconnect the ventilation harness quick connect before attempting to fully remove the modular fuel sender assembly.
INSTALLATION PROCEDURE