
Malibu L4-2.4L (2010)
Hood Latch Release Cable: Service and Repair
Hood Primary Latch Release Cable Replacement
Hood Primary Latch Release Cable Replacement
Removal Procedure
1. Open the hood.
2. Remove the upper fascia support.
3. Mark the position of the latch to the body.
4. Remove the hood latch bolts.
5. Disconnect the hood release cable from the hood latch by squeezing the hood release cable retainer.
6. Remove the side trim panel retainers.
7. Remove the hush panel from the instrument panel.
8. Remove the knee bolster from the instrument panel.
9. Remove the hood latch release cable handle bolts.
Note: Ensure the end of the wire or string remains in the passenger compartment.
10. Tie the wire or string to the end of the hood release cable in order to aid in the installation of the new hood release cable.
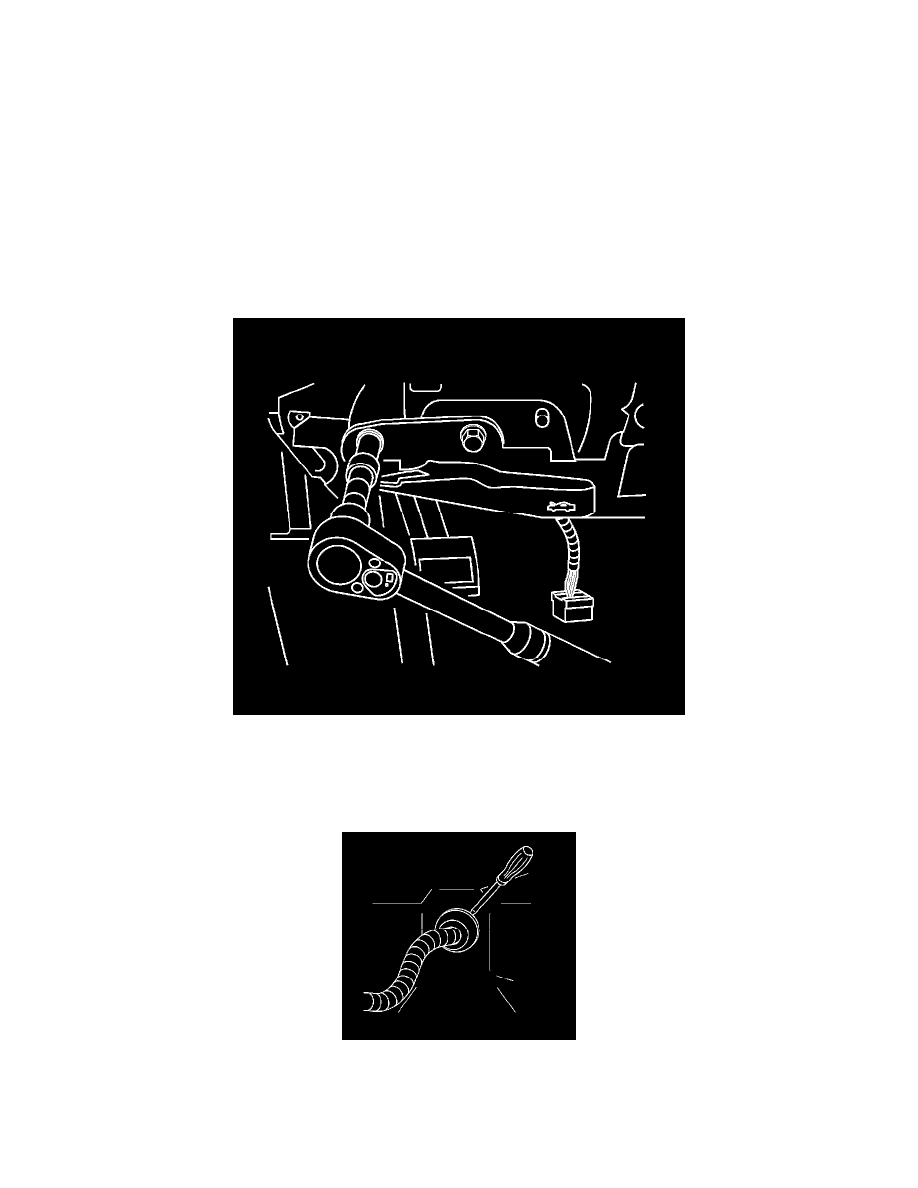
11. Remove the grommet from the engine compartment into the passenger compartment using a small flat-bladed tool.
12. Remove the hood release cable from the instrument panel.