
Malibu L4-2.4L (2010)
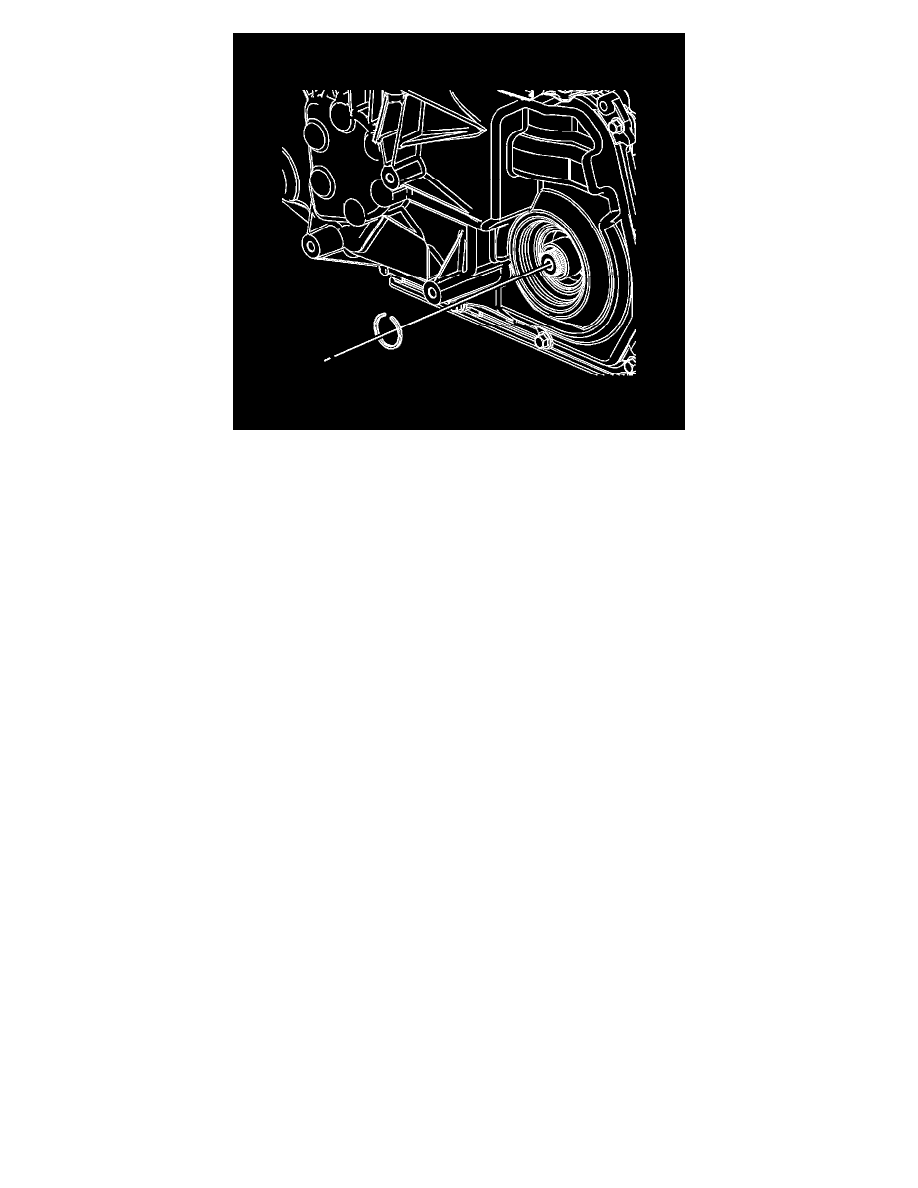
9. Install a NEW snap ring on the output shaft.
10. Install the drive axle assembly. Refer to Wheel Drive Shaft Replacement (See: Drive Axles, Bearings and Joints/Axle Shaft Assembly/Service
and Repair/Wheel Drive Shaft Replacement).
11. Lower the vehicle.
12. Inspect the output axle shaft sleeve for leaks.
13. Inspect the oil level. Refer to Transmission Fluid Level and Condition Check (See: Testing and Inspection/Symptom Related Diagnostic
Procedures/4T45-E - Automatic Transmission/Transmission Fluid Level and Condition Check).
Front Wheel Drive Shaft Seal and Output Shaft Sleeve Replacement - Right Side
Front Wheel Drive Shaft Seal and Output Shaft Sleeve Replacement - Right Side
Special Tools
*
J 6125-1B Slide Hammer
*
J 8092 Driver Handle
*
J 23129 Universal Seal Remover
*
J 38868 Shaft Removal Tool
*
J 41102-1A Axle Seal Installer
*
J 41227 Output Shaft Sleeve Remover
*
J 41228 Output Shaft Sleeve Installer
Removal Procedure
Note:
*
The stub axle shaft sleeve and seal must be replaced together. DO NOT replace the sleeve or seal separately.
*
Do not damage the seal bore or the sleeve assembly. Fluid leaks may result.
1. Raise and support the vehicle. Refer to Lifting and Jacking the Vehicle (See: Maintenance/Vehicle Lifting/Service and Repair).
2. Remove the right drive axle assembly. Refer to Wheel Drive Shaft Replacement (See: Drive Axles, Bearings and Joints/Axle Shaft
Assembly/Service and Repair/Wheel Drive Shaft Replacement).