
Malibu L4-2.4L (2010)
Note: Use care when removing the window not to cut off the locator pins on the left and right sides. If the locating pins are cut off it will be
necessary to use masking tape to tape the window in place until the auto-adhesive cures.
Note: Keep the cutting edge of the tool against the window.
9. Remove the window from the urethane adhesive.
*
Leave a base of urethane approximately 2 mm (0.078 in) on the pinch-weld flange.
*
The only suitable lubrication is clear water.
*
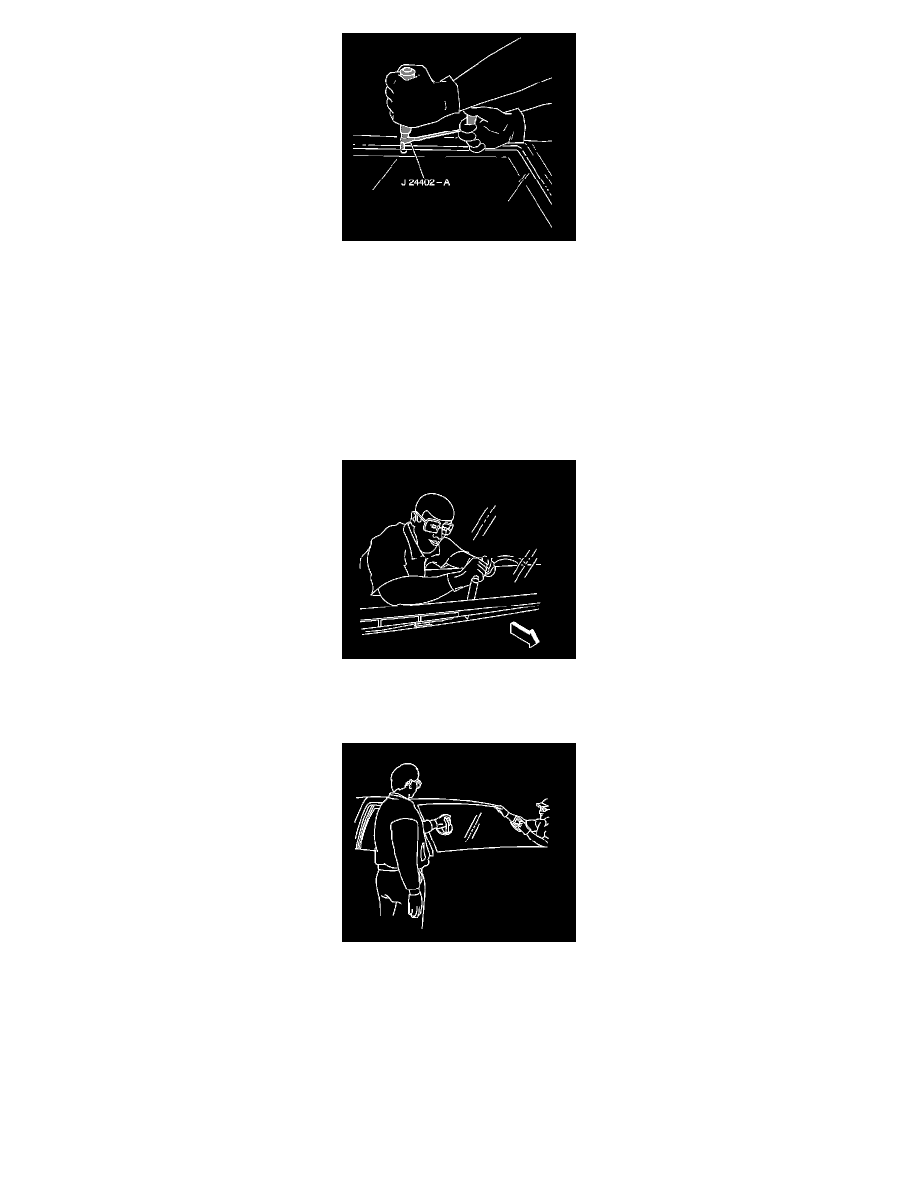
BO-24402-A - Glass Sealant Remover (Cold Knife).
*
BO-39032 - Stationary Glass Removal Tool, or equivalent in order to remove the window.
Note: Keep the cutting edge of the appropriate tool against the window. Do this from inside the vehicle.
10. If necessary, use the appropriate tool to remove the bottom corners of the windshield from the urethane adhesive.
11. Remove the windshield from the vehicle with an assistant.
Installation Procedure
1. Install the windshield into the opening with an assistant. Refer to Adhesive Installation of Stationary Windows (See: Windows/Service and
Repair/Removal and Replacement/Adhesive Installation of Stationary Windows).
2. Install the rearview mirror. Refer to Inside Rearview Mirror Replacement (See: Body and Frame/Mirrors/Service and Repair/Inside Rearview
Mirror Replacement).
3. Install the remote control door lock receiver. Refer to Remote Control Door Lock Receiver Replacement (See: Accessories and Optional
Equipment/Antitheft and Alarm Systems/Keyless Entry/Keyless Entry Module/Service and Repair).
4. Install the interior windshield pillar garnish moldings. Refer to Windshield Pillar Garnish Molding Replacement (See: Body and Frame/Interior