
Malibu V6-191 3.1L VIN M SFI (1997)
Rear Door Panel: Service and Repair
DOOR TRIM PANEL REPLACEMENT
REMOVAL PROCEDURE
1. Remove the door handle bezel.
2. Remove the window regulator handle, if equipped.
3. Remove the power window switch, if equipped.
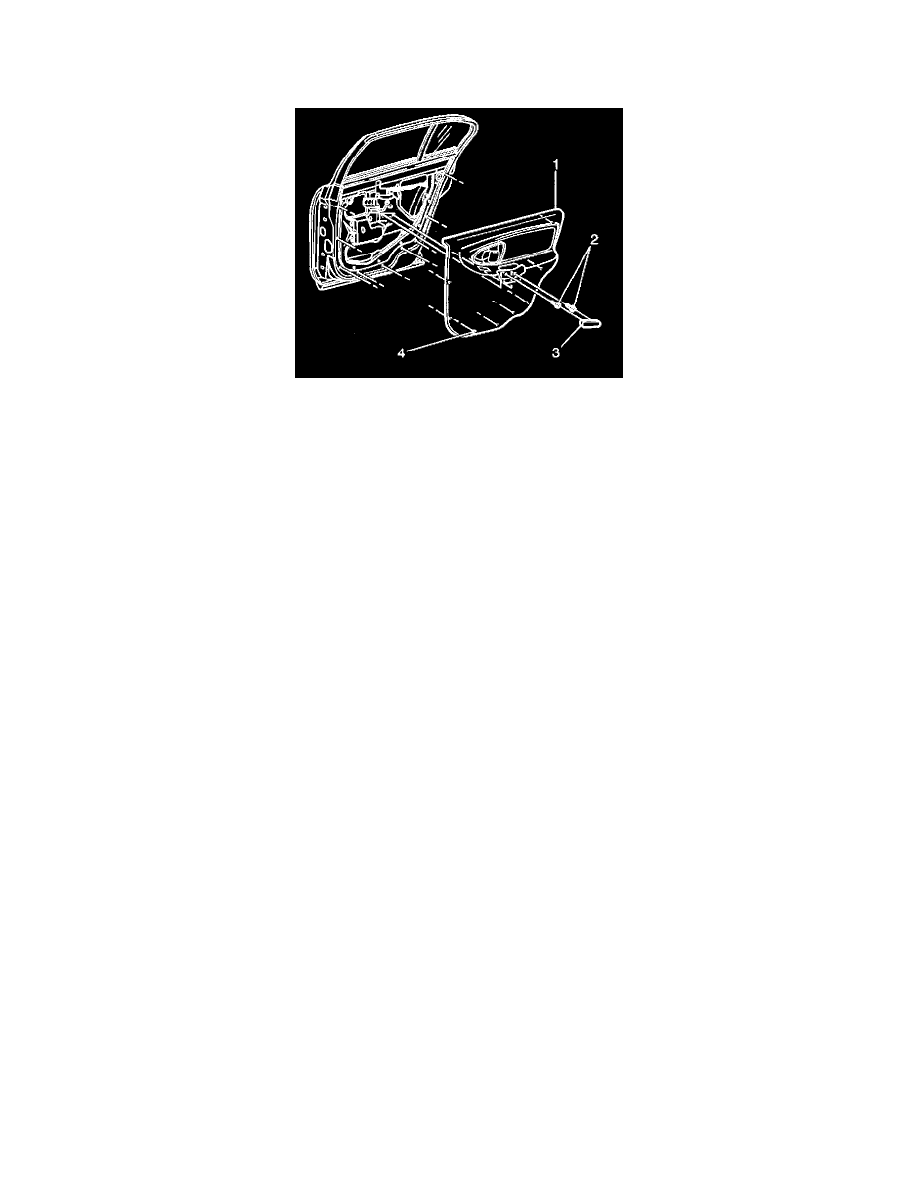
4. Remove the door handle plug (3), pry off with a flat bladed tool.
5. Remove the door trim handle screws (2).
6. Remove the door trim panel (1) from the retainers (4). Start at the bottom rear corner and gently pry outward.
7. Remove the door trim panel (1) from the vehicle.
INSTALLATION PROCEDURE
1. Install the door trim panel (1) to the vehicle.
NOTE: Refer to Fastener Notice in Cautions and Notices.
2. Install the door trim handle screws (2).
Tighten
Tighten the screws to 10 Nm (89 lb in).
3. Install the door handle plug (3). Ensure that the unit is retained.
4. Install the power window regulator handle, it equipped.
5. Install the power window switch, if equipped.
6. Install the door handle bezel.