
Malibu V6-191 3.1L VIN M SFI (1997)
2. Bracket mounting bolts.
3. Bracket.
INSTALL OR CONNECT
1. Bracket onto subframe.
2. Bracket mounting bolts. Tighten Bolts to 25 Nm (18 ft. lbs.).
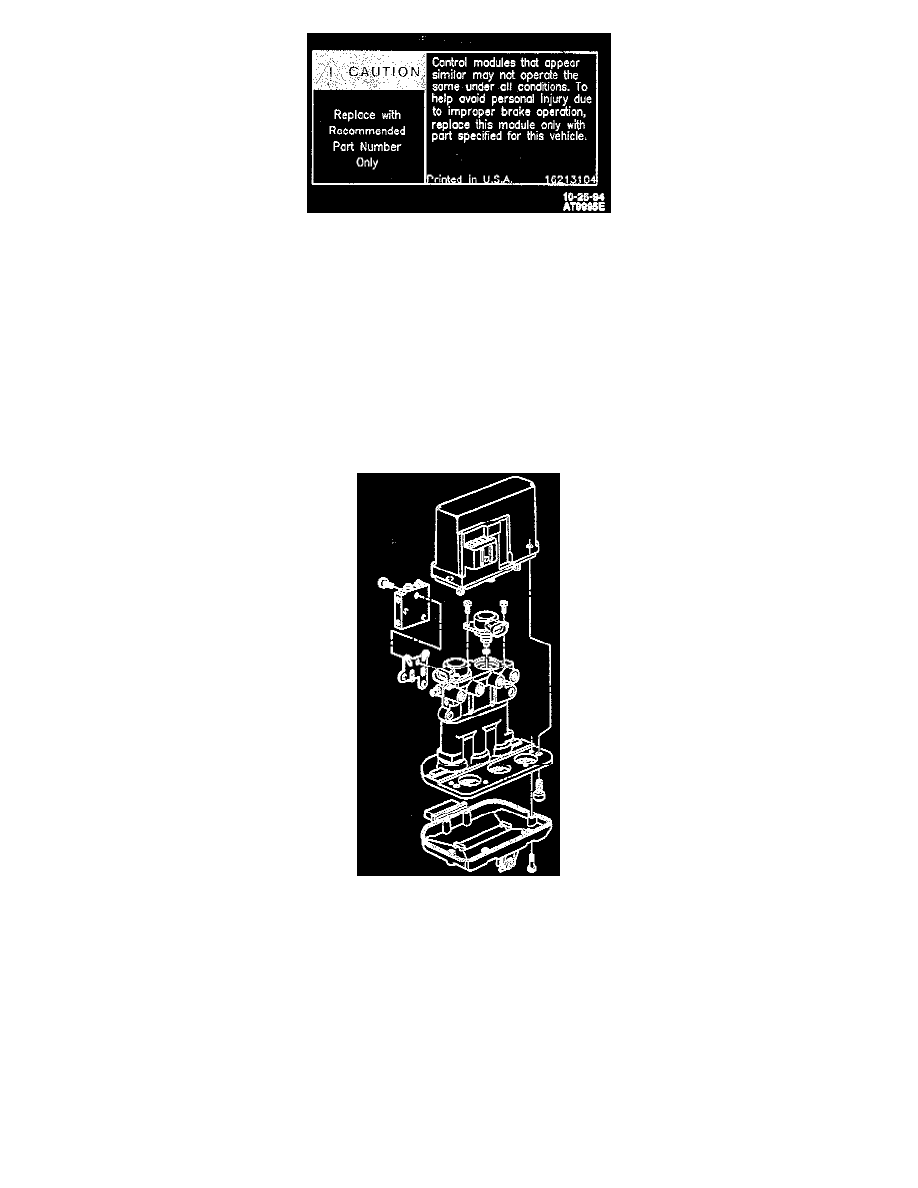
3. Hydraulic modulator assembly.
Hydraulic Modulator Solenoid
REMOVE OR DISCONNECT
1. Battery.
2. Battery tray.
3. Solenoid electrical connector.
4. Solenoid screws.
5. Solenoid.
NOTE: Be sure the seal is still attached to the solenoid when it is removed. If not, check solenoid bore in modulator. Do not attempt to
disassemble solenoid, it is serviceable only as an assembly. Lubricate seal on new solenoid with clean brake fluid.
INSTALL OR CONNECT
1. New solenoid. Verify that the solenoid lip seal is properly positioned before solenoid is installed in hydraulic modulator. Position solenoid so that
its electrical connector will face the same direction as the solenoid that was removed. By hand, press down finely on solenoid until its flange seats
on ABS hydraulic modulator.
2. Solenoid screws. Tighten Screws to 5 Nm (44 inch lbs.).
3. Solenoid electrical connector to solenoid.
NOTE: Make sure the solenoid connectors are installed on correct solenoids. It is necessary to bleed hydraulic modulator.