
Malibu V6-191 3.1L VIN M SFI (1997)
Rocker Arm Assembly: Service and Repair
TOOL REQUIRED
^
J 36660 Torque Angle Meter
REMOVAL
1. Disconnect the negative battery cable.
2. Remove the valve rocker covers.
CAUTION: Keep the components separated so they may be installed in the same location.
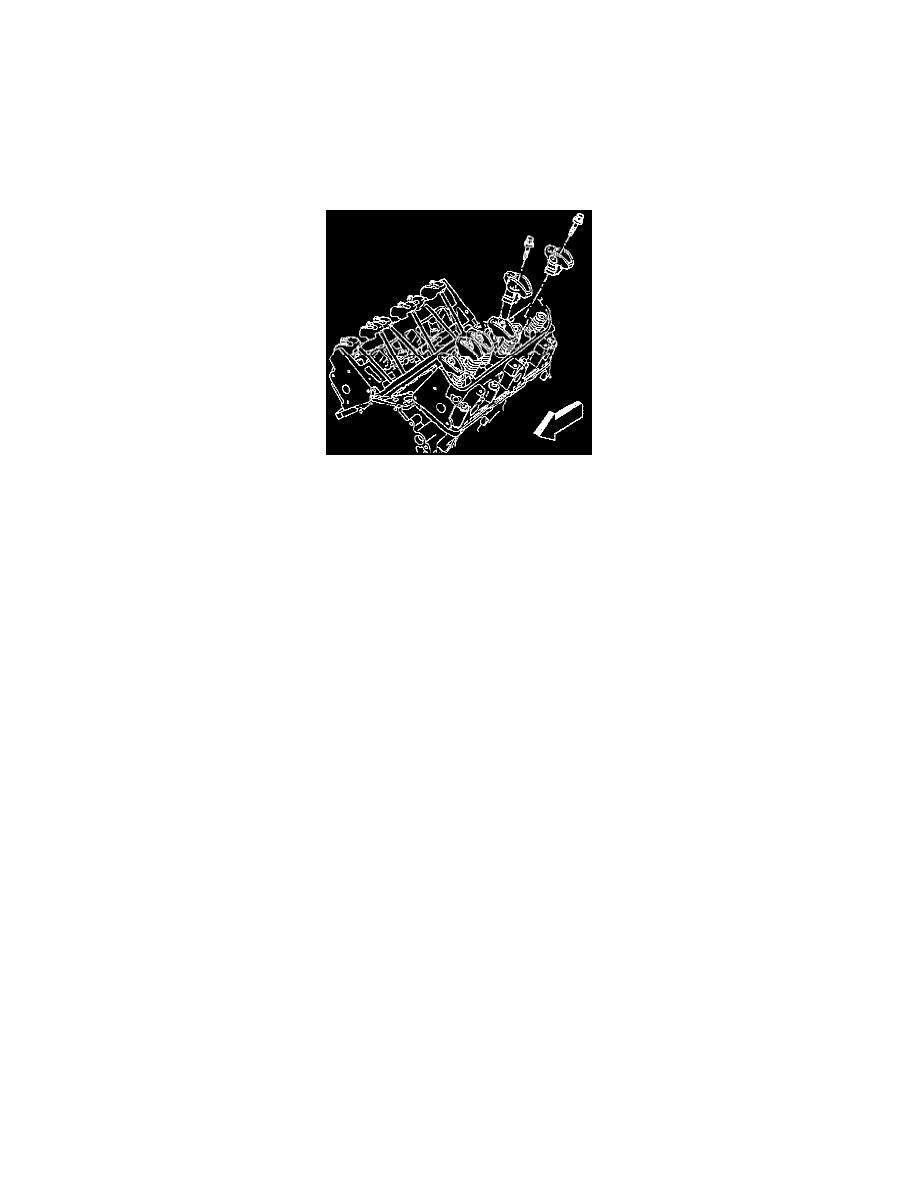
3. Remove the rocker arm bolts.
4. Remove the rocker arm pivot balls.
5. Remove the rocker arms.
CAUTION: Keep the pushrods in order so that they can be installed in the original position.
6. Remove the pushrods.
INSTALLATION
1. Install the pushrods in their original location.
^
Coat the ends of the pushrods with prelude. Use GM P/N 1052356 or its equivalent.
^
The intake pushrods are marked with yellow stripes and are 5 3/4 inches long.
^
Exhaust pushrods are marked with green stripes and are 6 inches long.
^
Ensure that the pushrods seat in the liner.
2. Install the rocker arms.
3. Install the rocker arm pivot balls.
Coat the bearing surfaces of the rocker arms and the pivot balls with prelude. Use GM P/N 1052356 or its equivalent.
4. Install the rocker arm bolts.
Tighten the bolts to 14 Nm (124 in. lbs.).
Use the Torque Angle Meter in order to tighten the bolts an additional 30 degrees.
5. Install the valve rocker covers.
6. Connect the negative battery cable.