
Malibu V6-191 3.1L VIN M SFI (1997)
Valve Cover: Service and Repair
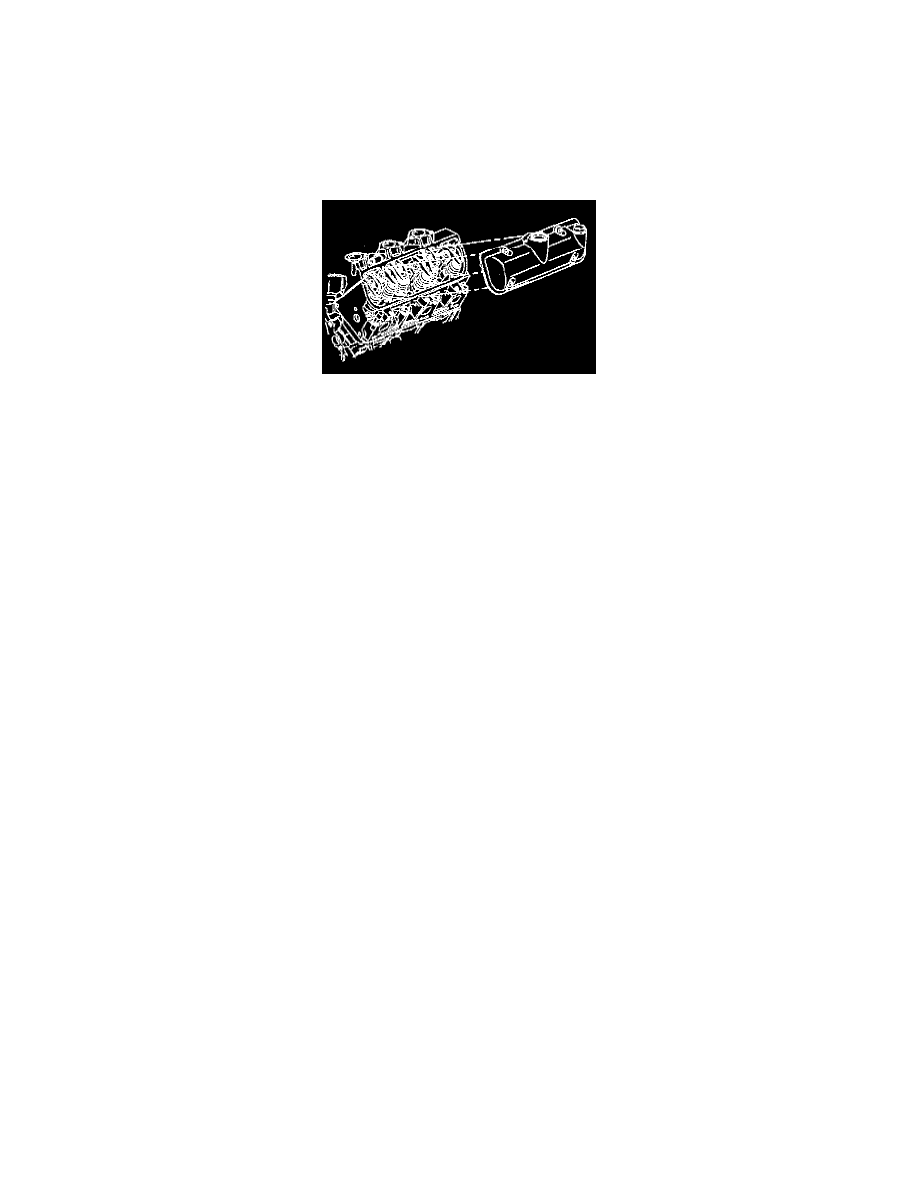
Cylinder Head Cover - Left
REMOVAL
1. Disconnect the negative battery cable.
2. Partially drain the cooling system. See Cooling System.
3. Remove the coolant by pass pipe from the coolant pump and the exhaust manifold. See Cooling System.
4. Remove the PCV valve from the valve rocker cover.
5. Remove the valve rocker cover bolts.
6. Remove the valve rocker cover. Bump the end of the valve rocker cover with the palm of your hand or a soft rubber mallet if the cover adheres to
the cylinder head.
7. Clean the sealing surface on the cylinder head and the valve rocker cover with degreaser.
INSTALLATION
1. Install a new gasket and new bolt grommets to the valve rocker cover. Ensure that the gasket is seated properly in the valve groove.
2. Apply sealer in the notch on the cover. Use GM P/N 1052917 or its equivalent.
3. Install the valve rocker cover.
4. Install the valve rocker cover bolts. Tighten the bolts to 10 Nm (89 inch lbs.) + 30 degrees.
5. Install the PCV valve to the valve rocker cover.
6. Install the coolant by pass pipe to the coolant pump and the manifold. See Cooling System.
7. Fill the cooling system. See Cooling System.
8. Connect the negative battery cable.