Malibu V6-191 3.1L VIN M SFI (1997)

Valve Cover: Service and Repair
Cylinder Head Cover - Right
REMOVAL
1. Disconnect the negative battery cable.
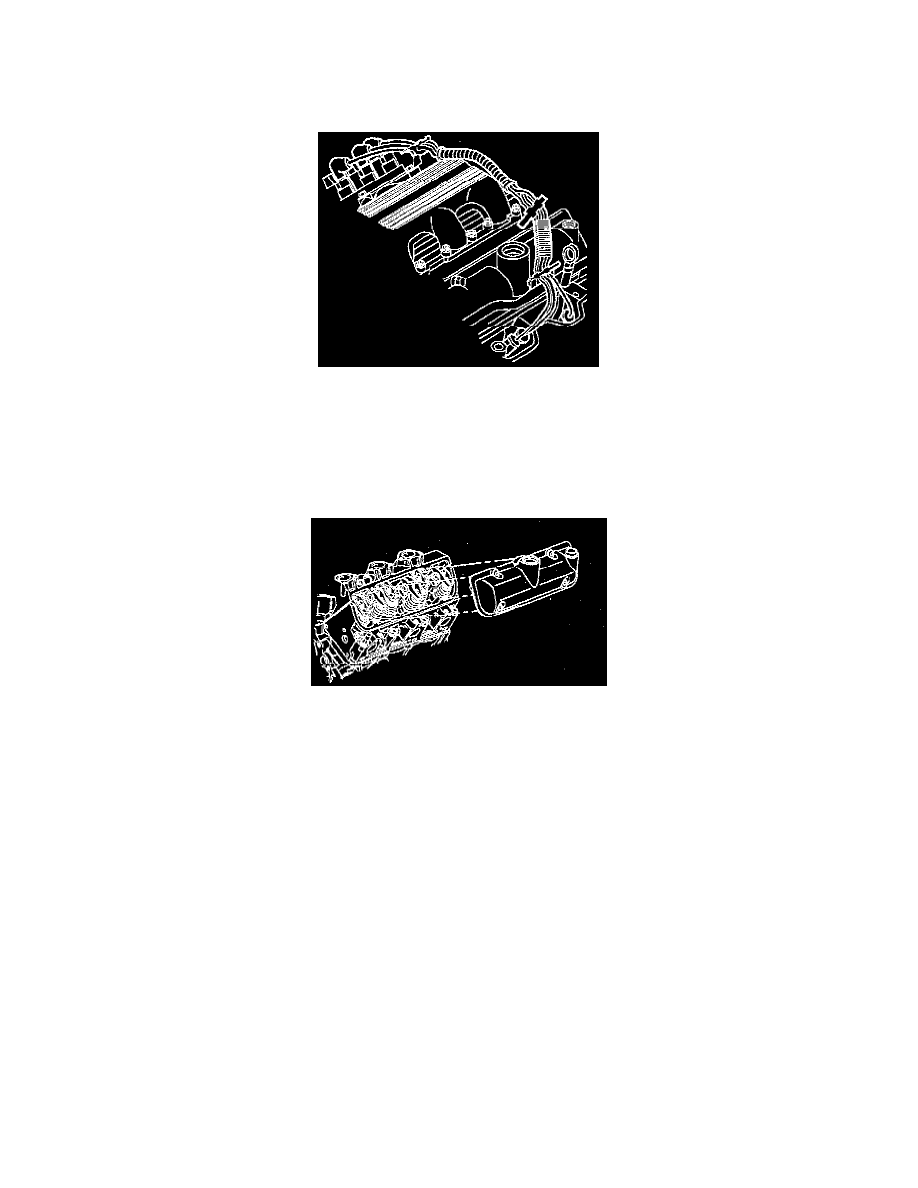
2. Remove the rear ignition wire harness at the upper intake manifold and at the spark plugs.
3. Remove the brake booster vacuum supply at the upper intake manifold.
4. Remove the drive belt.
5. Remove the generator. Support the generator. See Starting and Charging.
6. Remove the following components:
^
Electronic ignition coil and module assembly
^
EVAP canister purge solenoid
7. Remove the valve rocker cover bolts.
8. Remove the valve rocker cover. Bump the end of the valve rocker cover with the palm of your hand or a soft rubber mallet if the cover adheres to
the cylinder head.
9. Clean the sealing surface on the cylinder head and the valve rocker cover with degreaser.
INSTALLATION
1. Install a new gasket and new bolt grommets to the valve rocker cover. Ensure that the gasket is seated properly in the valve groove.
2. Apply sealer in the notch on the cover. Use GM P/N 1052917 or its equivalent.
3. Install the valve rocker cover.
4. Install the valve rocker cover bolts. Tighten the bolts to 10 Nm (89 inch lbs.).
5. Install the generator. See Starting and Charging.
6. Install the drive belt.
7. Install the brake booster vacuum supply line.
8. Install the following components:
^
EVAP canister purge solenoid
^
Electronic ignition coil and module assembly
9. Install the rear ignition wire harness.
10. Connect the negative battery cable.
