
Malibu V6-191 3.1L VIN M SFI (1997)
^
PCV
15. Remove the MAP sensor from the upper intake manifold.
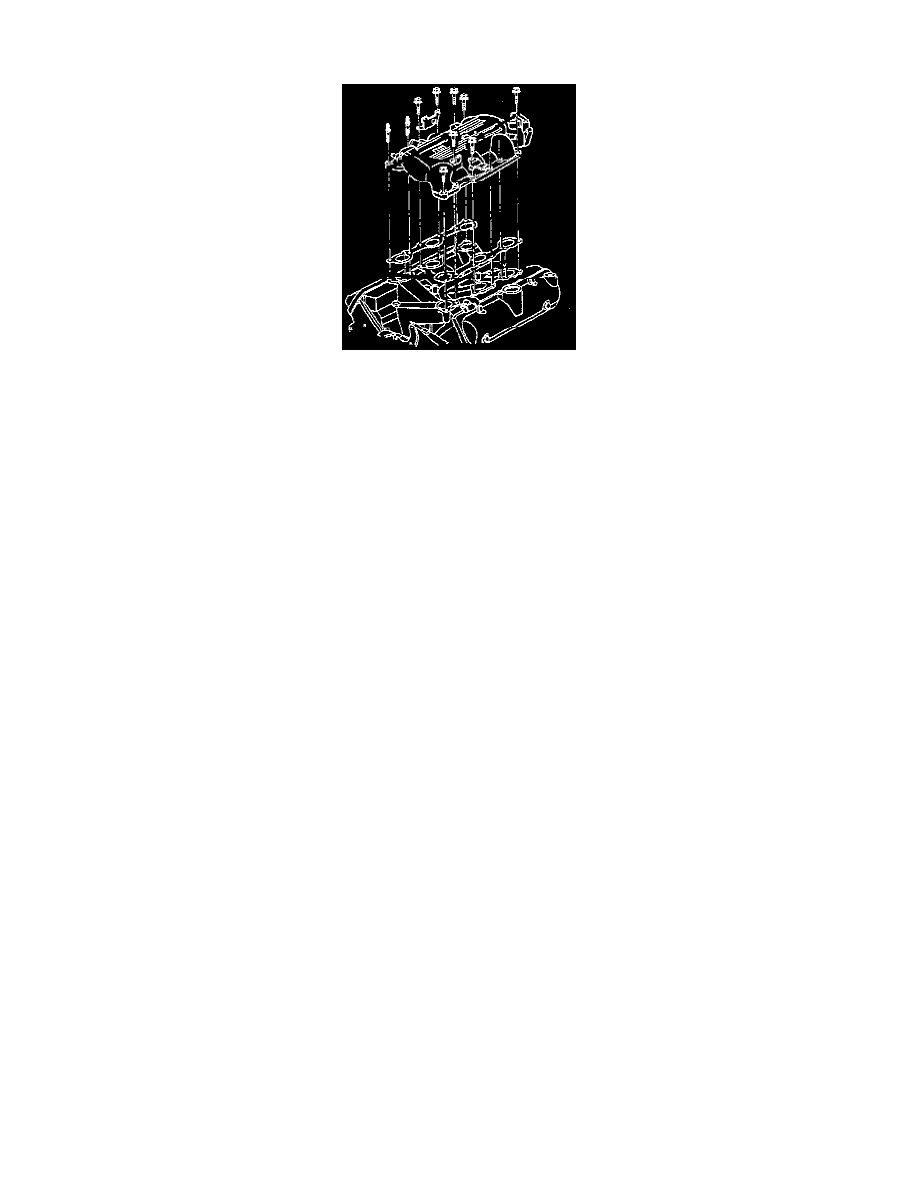
16. Remove the upper intake manifold bolts.
17. Remove the upper intake manifold.
INSTALLATION
1. Install the upper intake manifold.
Notice: The OEM service manual does not provide a torque sequence for the upper intake manifold.
2. Install the upper intake manifold bolts. Tighten the bolts to 25 Nm (18 ft. lbs.).
3. Install the MAP sensor.
4. Connect the following vacuum lines:
^
Vacuum Modulator
^
Fuel Pressure Regulator
^
PCV
5. Install the following upper engine wiring connectors:
^
TP sensor
^
IAC
^
Injector harness
^
ECT sensor
^
MAP sensor
^
CMP sensor
6. Install the following components:
^
EVAP canister purge solenoid
^
Electronic ignition coil and module assembly
7. Install the generator. See Starting and Charging.
8. Install the power steering line at the generator bracket.
9. Install the drive belt.
10. Install the secondary ignition wires to the spark plugs.
11. Install the secondary ignition wires to the harness at the plenum.
12. Install the EGR pipe to the exhaust manifold.
13. Install the following items to the throttle body:
^
Throttle body cable
^
Cruise control cable
14. Install the top half of the air cleaner assembly.
15. Install the brake vacuum pipe.
16. Install the cables to the throttle body.
17. Fill the cooling system. See Cooling System.
18. Connect the negative battery cable.
19. Inspect for proper fluid levels.
20. Check for leaks.