
Malibu V6-191 3.1L VIN M SFI (1997)
9. Remove the exhaust pipe from the exhaust manifold.
10. Remove the exhaust pipe from the converter flange.
11. Support the converter aside.
12. Remove the converter heat shield from the vehicle body.
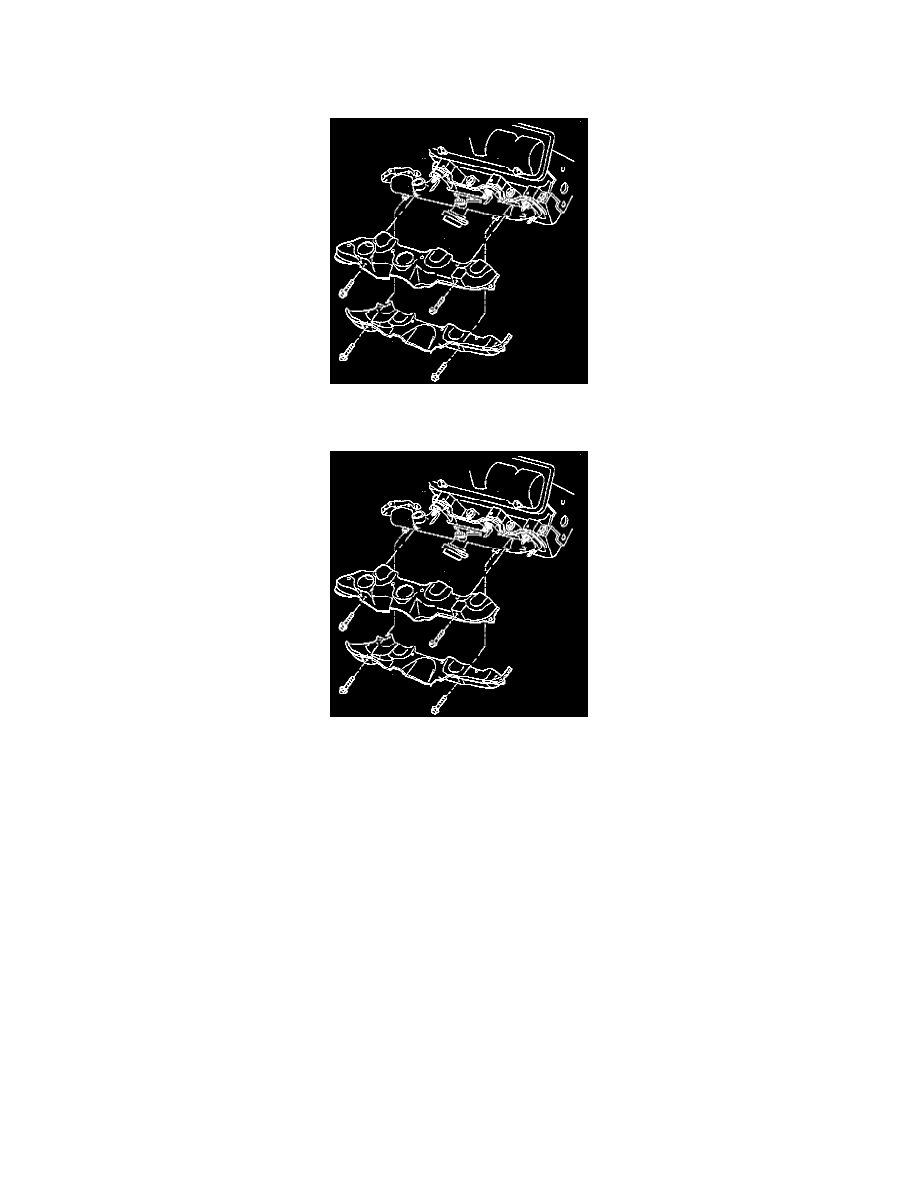
13. Remove the exhaust manifold heat shield fasteners.
14. Remove the exhaust manifold heat shield.
15. Remove the exhaust manifold nuts.
16. Remove the exhaust manifold from the bottom of the vehicle.
17. Clean the mating surfaces at the cylinder head and at the exhaust manifold.
INSTALLATION
1. Install the exhaust manifold gasket.
2. Install the exhaust manifold. Loosely, install the heat shield at this time.
3. Install the exhaust manifold nuts. Tighten the exhaust manifold nuts to 16 Nm (12 ft. lbs.).
4. Install the exhaust manifold heat shield.
5. Install the exhaust manifold heat shield nuts. Tighten the exhaust manifold heat shield nuts to 10 Nm (89 inch lbs.).
6. Install the converter heat shield to the body.
7. Install the exhaust pipe to the converter flange.
8. Install the exhaust pipe to the exhaust manifold.
9. Install the transmission oil level indicator and fill tube assembly. See Transmission and Drivetrain.
10. Lower the vehicle.
11. Install the heated oxygen sensor.
12. Install the crossover pipe to the exhaust manifolds.
13. Install the crossover heat shield.
14. Install the EGR pipe to the exhaust manifold.
15. Install the top half of the air cleaner assembly. Install the throttle body duct.
16. Connect the negative battery cable.
17. Check for exhaust leaks.