
Malibu V6-191 3.1L VIN M SFI (1997)
4. Boot clamp (11) on boot (10) with tool J 22610 and crimp as shown.
5. Tie rod end clamp (8) with pliers on boot (10).
6. Hex jam nut (7) to inner tie rod assembly (12).
7. Do all steps under "INSTALL OR CONNECT," refer to OUTER TIE ROD.
Inner Tie Rod
REMOVE OR DISCONNECT
1. Rack and pinion assembly from vehicle.
2. Do all steps under "REMOVE OR DISCONNECT," refer to RACK & PINION BOOT.
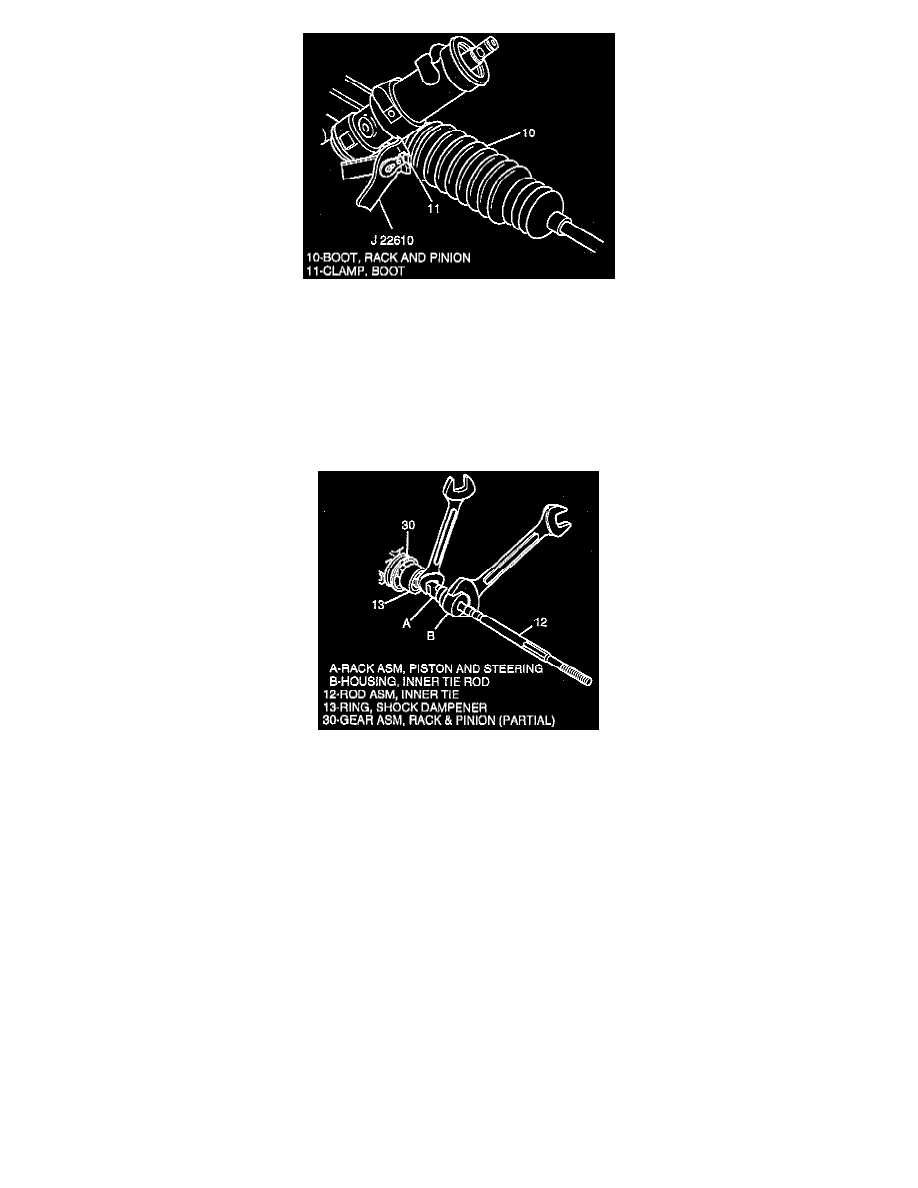
3. Shock dampener (13) from inner tie rod assembly (12) and slide back on rack.
NOTICE: Rack must be held during removal of inner tie rod (12) to prevent rack damage.
4. Inner tie rod assembly (12) from rack assembly as follows:
^
Place a wrench on flat of rack assembly.
^
Place another wrench on flats of inner tie rod housing.
^
Rotate inner tie rod housing counterclockwise until inner tie rod (12) separates from rack.