
Malibu V6-191 3.1L VIN M SFI (1997)
REMOVE OR DISCONNECT
1. Loosen cylinder line fittings (25) or (26) on cylinder end of gear assembly (30).
2. Loosen fittings on cylinder line assemblies (25) or (26) at valve end of gear assembly (30).
3. Cylinder line assemblies (25) or (26) from rack and pinion gear assembly (30).
4. O-ring seals (23) from valve end of lines (25) or (26) and discard.
INSTALL OR CONNECT
Inspect lines for:
^
Cracks.
^
Dents.
^
Damage to threads.
^
Replace as needed.
1. New O-ring seals (23) to valve end of lines (25) or (26).
2. Cylinder line assemblies (25) or (26) to gear assembly (30).
NOTICE: Carefully align threads on all fittings and finger tighten to avoid stripping and cross threading.
^
Tighten:
-
Valve end fittings to 16.9 Nm (12.6 ft. lbs.).
-
Cylinder end fittings to 27 Nm (20 ft. lbs.).
Pinion Seal, Dust Seal and Bearing/Annulus Assembly
^
Tools Required:
-
J 29810 Stub Shaft Seal Protector, Or Equivalent
-
14 mm Crowfoot Wrench
REMOVE OR DISCONNECT
1. Rack and pinion steering assembly from vehicle.
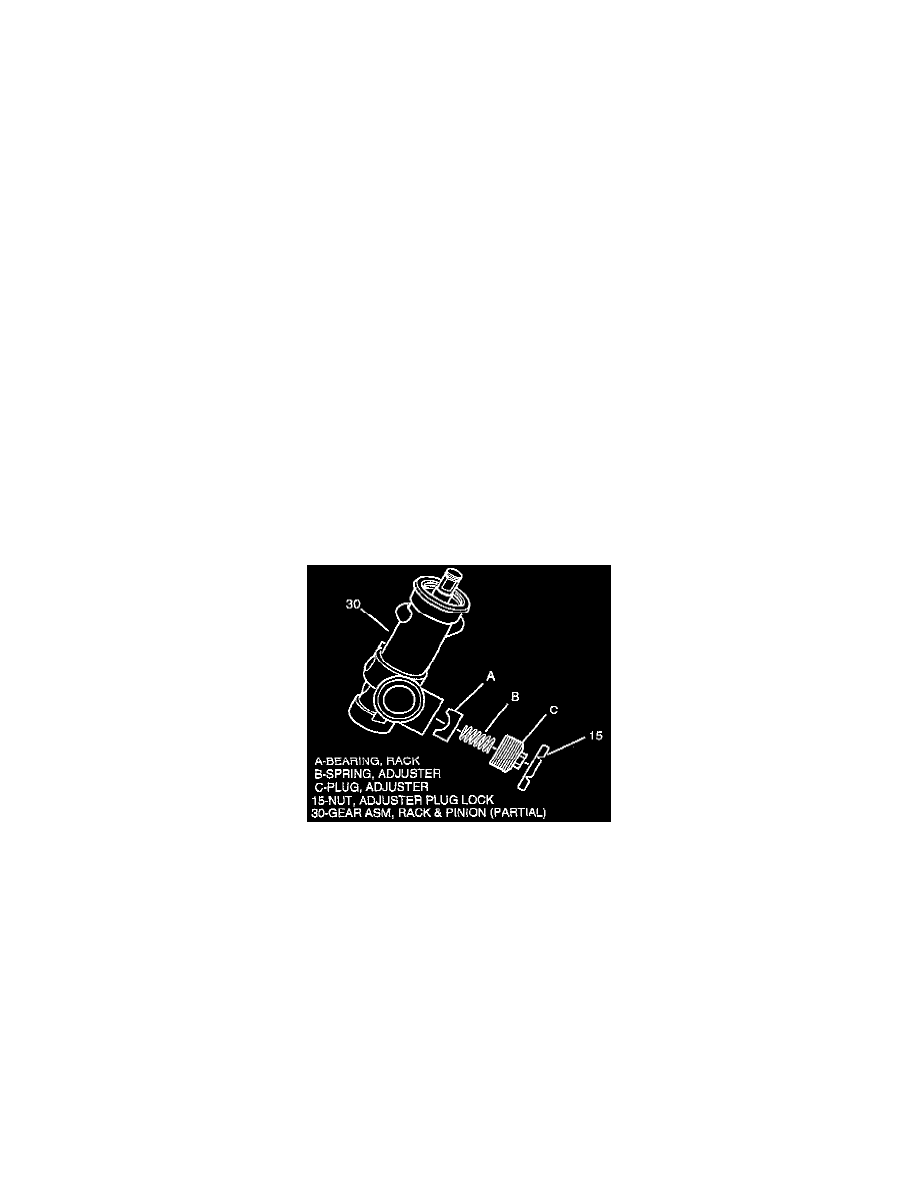
2. Adjuster plug lock nut (15) from adjuster plug.
3. Adjuster plug from gear assembly (30).
4. Adjuster spring and rack bearing.
5. Retaining ring (17) from valve bore of gear assembly (30).