
Malibu V6-3.1L VIN J (2002)
Hood Latch Release Cable: Service and Repair
Hood Latch Release Cable Replacement
Removal Procedure
1. Remove the grille.
2. Disconnect the hood release cable from the hood latch by squeezing the hood release cable retainer.
3. Remove the hood latch release cable from the retainer at the radiator support panel.
4. Remove the left sound insulator panel.
5. Remove the left front carpet retainer.
6. Fold the carpet down to access the hood latch cable grommet.
7. Remove the hood latch release cable screw from the handle.
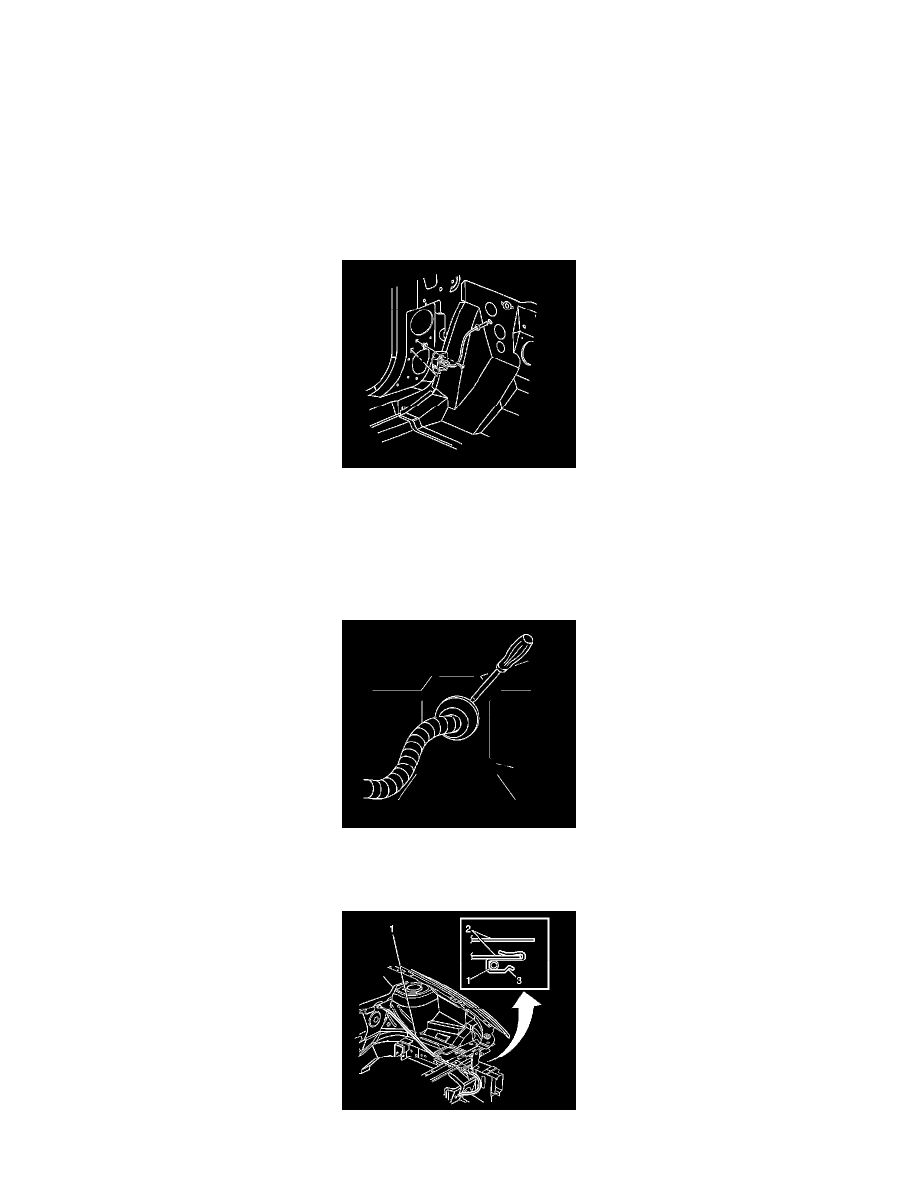
8. Remove the hood latch release cable handle from the front hinge pillar.
9. Remove the hood latch release cable from the handle by pressing the tabs together.
Important: Ensure the end of the wire or string remains in the passenger compartment.
10. Tie a wire or string to the end of the hood release cable in order to aid in the installation of the new hood release cable.
11. Pull the grommet from the engine compartment into the passenger compartment.
Clean the old sealant from instrument panel hole.
12. Remove the hood latch release cable from the instrument panel.
13. Remove the wire or string from the hood release cable (1).