
Malibu V6-3.1L VIN J (2002)
Install the body hinge pillar garnish molding (1). Ensure that the retainers are locked into position.
Garnish Molding Replacement - Upper Pillar
Garnish Molding Replacement - Upper Pillar
Removal Procedure
1. Remove the IP end cap cover from the IP carrier.
2. Remove the screw for the upper garnish molding in the bussed electrical center.
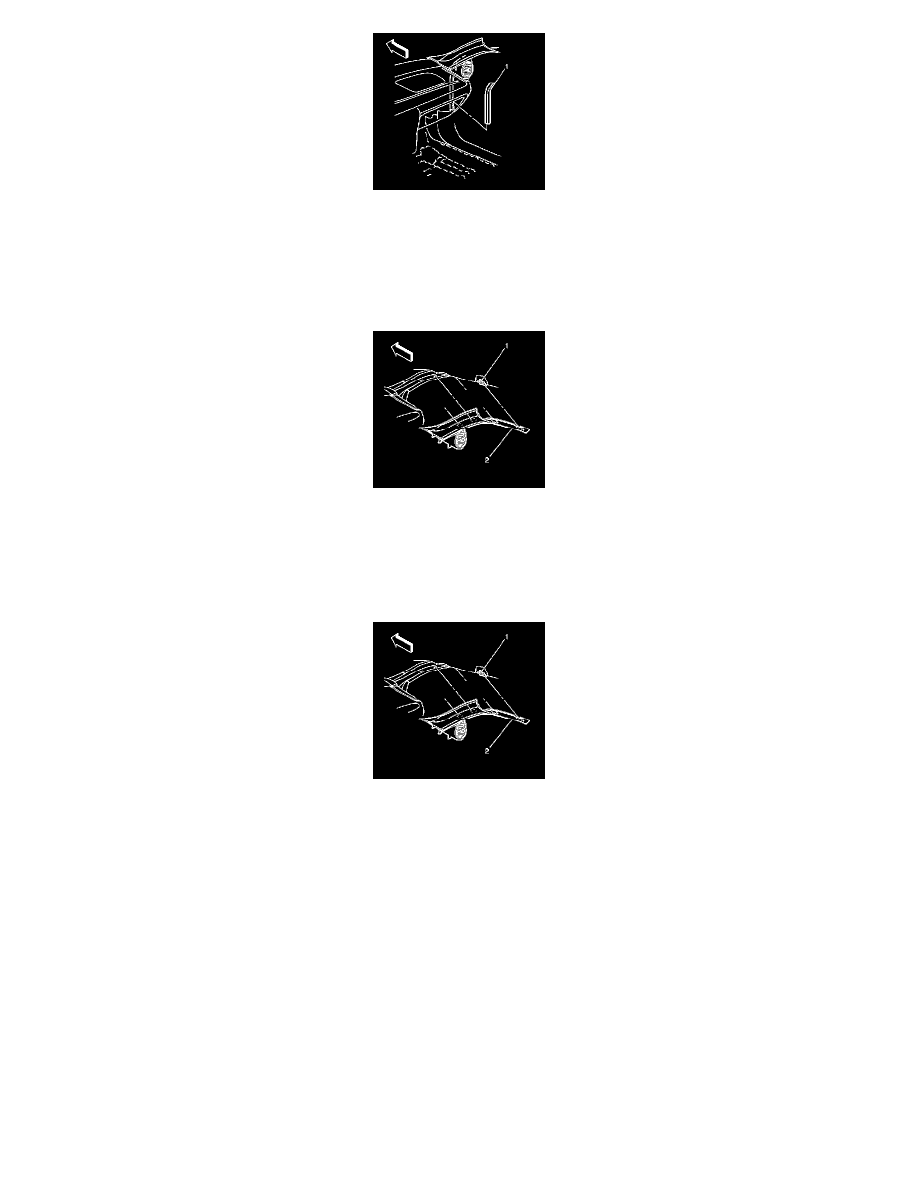
3. Pull outward on the windshield side upper garnish molding (2) to disengage the clips (1).
4. Remove the windshield side upper garnish molding (2).
Installation Procedure
1. Install the windshield side upper garnish molding (2).
2. Apply inward pressure to the windshield side of the upper garnish molding (2) to engage the clips (1).
Notice: Refer to Fastener Notice in Service Precautions.
3. Install the upper garnish molding screw.
Tighten the screw to 1 N.m (9 lb in).
4. Install the IP end cap cover to the IP carrier.
Trim Panel Replacement - Lower Center Pillar
Trim Panel Replacement - Lower Center Pillar
Removal Procedure