
Malibu V6-3.1L VIN J (2002)
Front Door Weatherstrip: Service and Repair
Weatherstrip Replacement - Front Door Opening
Weatherstrip Replacement - Front Door Opening
Removal Procedure
1. Remove the carpet retainer.
2. Remove the center pillar upper trim panel.
3. Remove the center pillar lower trim panel.
4. Remove the lower pillar garnish molding.
5. Remove the upper pillar garnish molding.
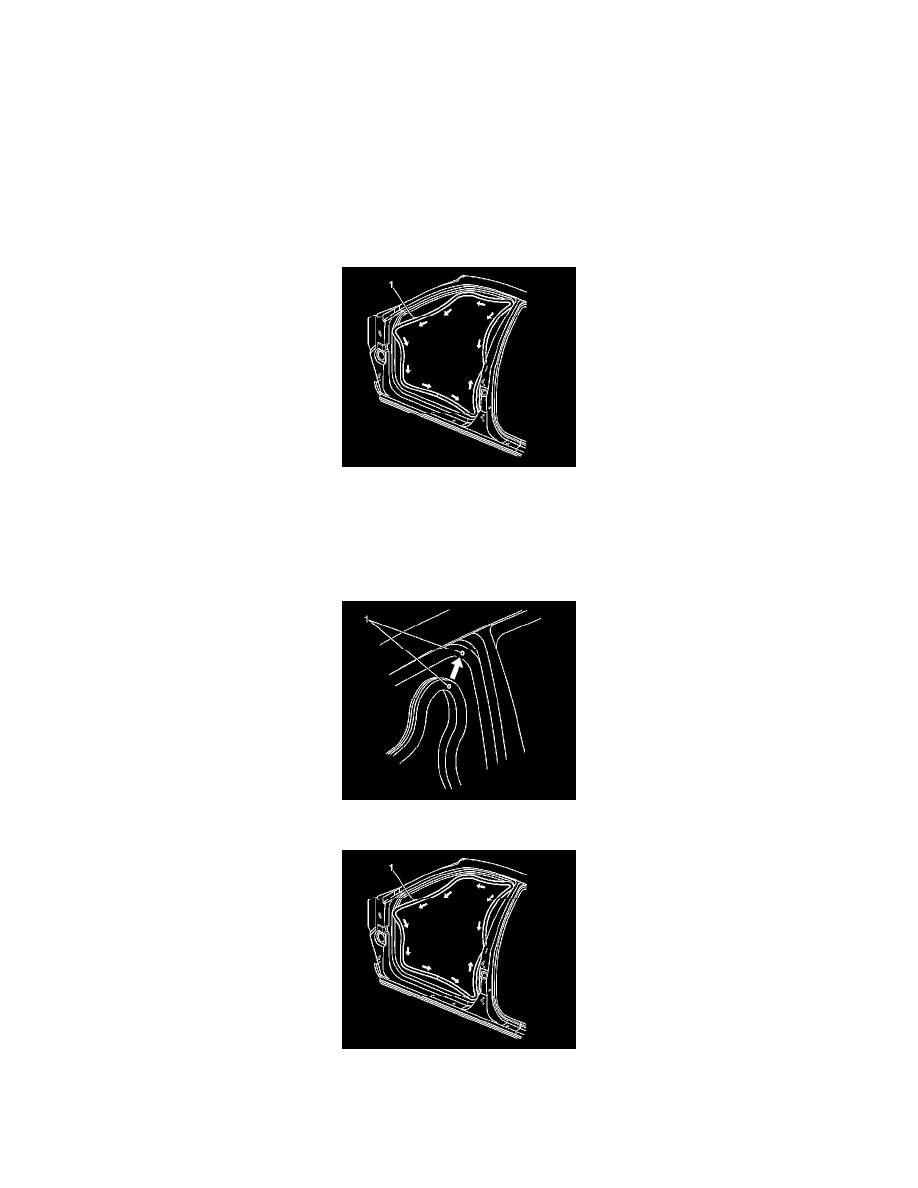
6. Remove the door opening weatherstrip by grasping the weatherstrip (1) and pulling it off of the body flange.
7. Remove any adhesive from the body flange using 3M(TM) adhesive remover P/N 8984, or equivalent.
Installation Procedure
1. Apply weatherstrip adhesive GM P/N 12345096 or equivalent to the weatherstrip.
2. Install the door opening weatherstrip by aligning the appropriate color dot (1) with the top rear of the door opening and pressing until fully seated.
3. Finish installing the door opening weatherstrip by pressing the weatherstrip into place in a counterclockwise direction around the door opening.
4. Install the upper pillar garnish molding.
5. Install the lower pillar garnish molding.
6. Install the center pillar lower trim panel.
7. Install the center pillar upper trim panel.