
Malibu V6-3.1L VIN J (2002)
2.
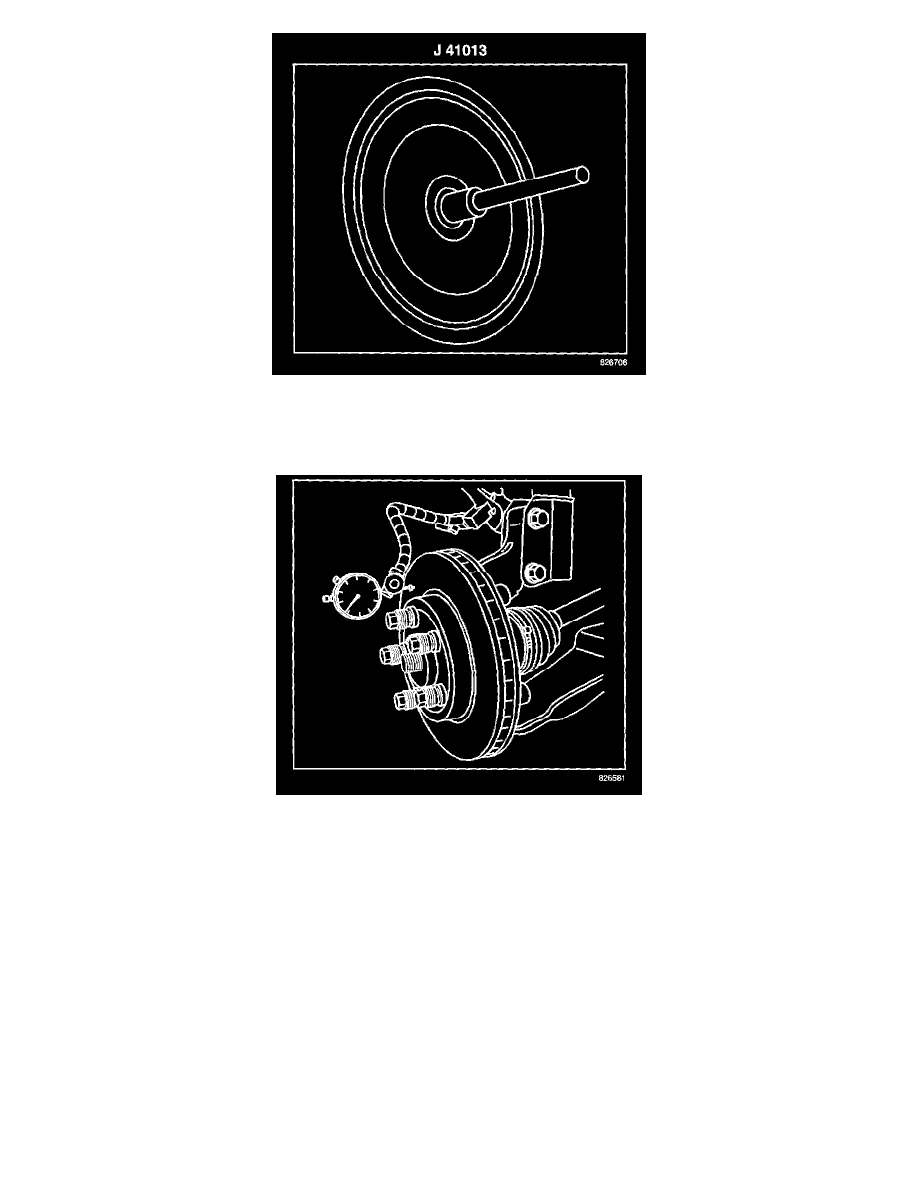
Ensure that all the mating surfaces of the rotor and the hub are clean using the J 42450-A, Wheel Hub Cleaning Kit, to clean around the wheel
studs. Use the J 41013, Wheel Hub Resurfacing Kit, to clean the mating surface of the rotor and bearing hub. Mount the new or refinished rotor
onto the vehicle hub and secure using Conical Retaining Washers, J 45101-100 and the existing wheel nuts. Do not install the calipers and the
wheels at this time.
Tighten
Tighten the wheel nuts in a star pattern to 140 N.m (100 lb ft) using J 39544, Torque Socket or equivalent.
3.
Fasten a dial indicator to the steering knuckle so that the indicator needle contacts the rotor outboard friction surface approximately 12.7 mm (0.5
in) from the rotor's outer edge.
4.
Rotate the rotor and measure the total lateral run-out.
5.
Based on the measurement taken in the previous step, proceed as indicated below:
^
Lateral run-out LESS than or equal to .040 mm (.0015 in), remove wheel nuts and conical washers and then proceed to Step 11.
^
Lateral run-out GREATER than .040 mm (.0015 in), proceed to the next step.
6.
Following procedure below, determine the correct "Brake Align(R)" Correction Plate" that will be required to bring lateral run-out within the
specification:
6.1.
Rotate the rotor and locate the point on the rotor where the lowest dial indicator reading is indicated and set the dial indicator to zero.