
Malibu V6-3.1L VIN J (2002)
Brake Drum: Service and Repair
Brake Drum Replacement
Brake Drum Replacement
^
Tools Required
^
J 41013 Rotor/Drum Flange Resurfacing Kit
^
J 42450-A Hub Cleaning Kit
Removal Procedure
1. Raise and support the vehicle. Refer to Vehicle Lifting.
2. Mark/index the relationship of the wheel to the axle flange.
3. Remove the tire and wheel assembly.
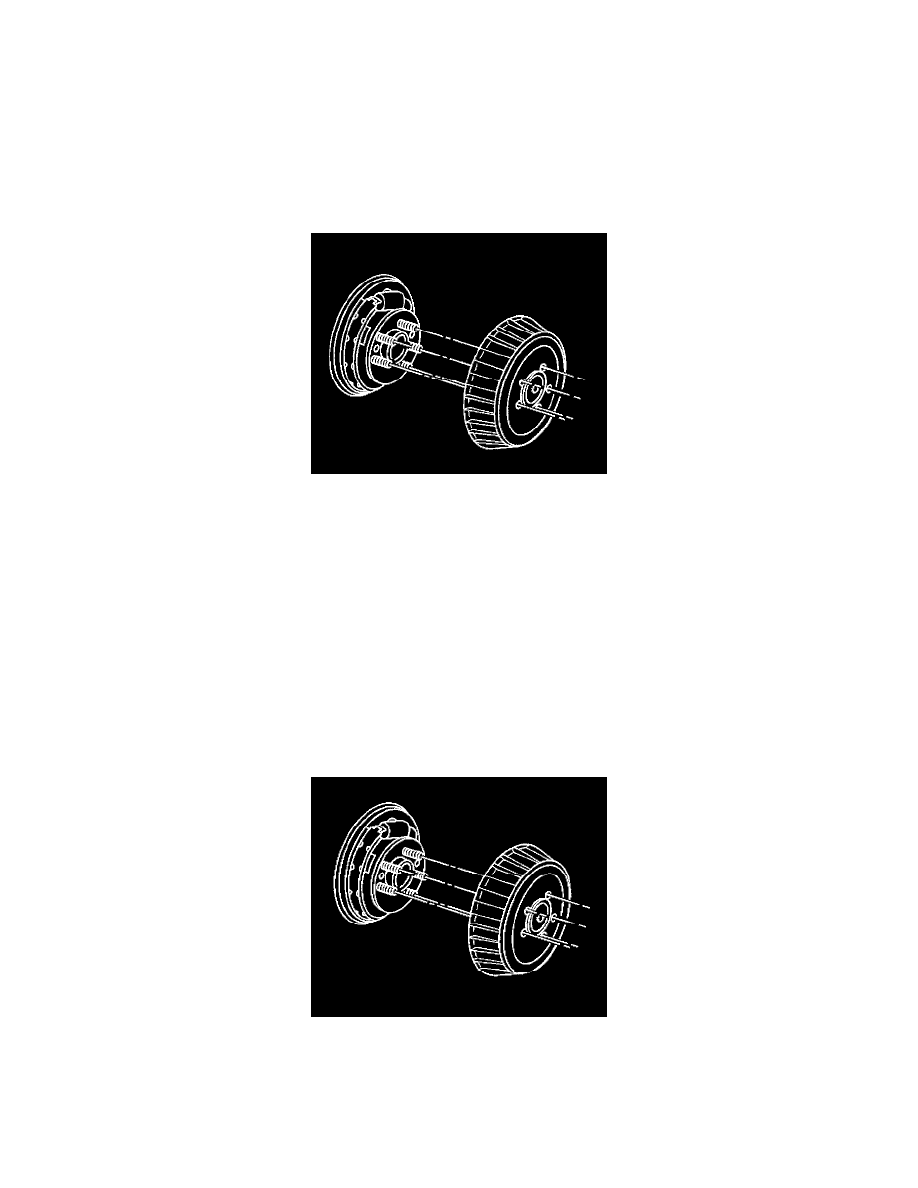
4. Index the relationship of the drum to the axle flange.
Notice: Do not pry against the splash shield or backing plate in attempt to free the drum. This will bend the splash shield or backing plate. A bent
backing plate may cause brake chatter and/or pulsation.
5. Remove the brake drum. Complete the following steps if difficulty is encountered when removing the brake drum:
5.1.
Remove the retainer clips.
5.2.
Verify that the parking brake is released.
5.3.
Use a rubber mallet in order to tap gently on the outer rim of the drum and/or around the inner drum diameter by the spindle. Do not use
excessive force, which may deform the drum.
Installation Procedure
1. Use the J 42450-A to clean the hub.
2. Clean the mating surface on the inside of the brake drum. Using the J 41013.
3. Install the brake drum. Align the marks made during the brake drum removal.
4. Install the tire and wheel assembly.
5. Lower the vehicle.